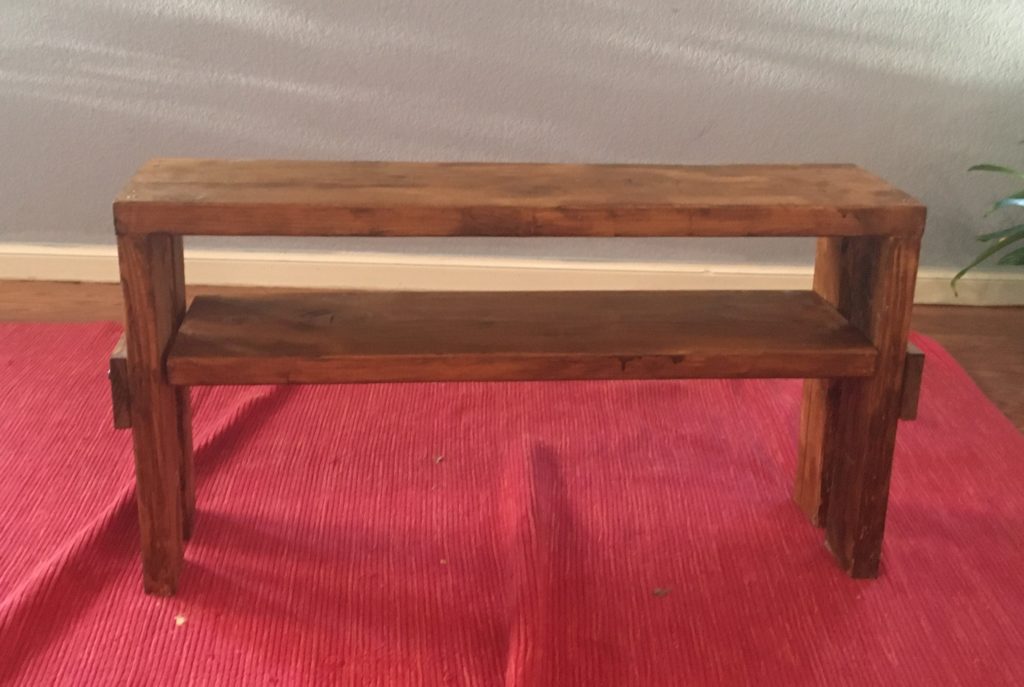
In this project I built a bench with a built in shelf. The shelf could be used for anything, I personally use it as a shoe rack.

The construction of this project is fairly straight forward, the steps are listed below.
Step 1: Determine the dimensions you would like for your bench (height, width and depth): For my bench the dimensions were 20 inches high, 36 inches wide, and 9 inches deep.
Step 2: Create the top of the bench: This step was pretty simple for me, as I used a single board and cut it to the proper length. Make sure the board(s) you select are strong enough to support a few people’s weight. This is the board I used (shown after being sanded and stained).

Step 3: Attach the legs: For my legs I just attached two 2 x 4’s to each side. If you want you could use a wide single board for each side instead, just make sure the legs are strong enough to support weight.
Step 4: Create the supports for the shelf: In the bench I made I created a cross board for each set of legs to keep the legs in place. Then I had the bolt which extends through the cross board serve as the support for the shelf. You could drill holes in the legs and use pegs to make the height of the shelf adjustable if you wanted to go that route.
Step 5: Add the shelf. For my bench this step was very easy as I just cut a board like the one on the top that was the correct length to be the shelf.
Step 6: Sand and stain (or paint) all the surfaces. You should sand the surfaces, at the very least sand the top section which people will actually sit of as you want that to be smooth. The other sections are less important to sand but sanding them will give the bench a more finished look. It may be easier to sand and stain each piece before you attached it to the shelf.
And that’s it, you have made a bench with a built in shelf!
A video summarizing the project can be found here: