Both my kids are of bike riding age, so we have four bikes in our family, and do not have room to store them in our garage. We used to simply park them outside, uncovered. However, the bikes would rust over time due to being exposed to the rain and stopped working properly. The same thing happened with my kids scooters.
So my idea was to create a storage rack for the bikes and scooters that would be outside but would protect the bikes and scooters from the rain. The photo below shows what I came up with:
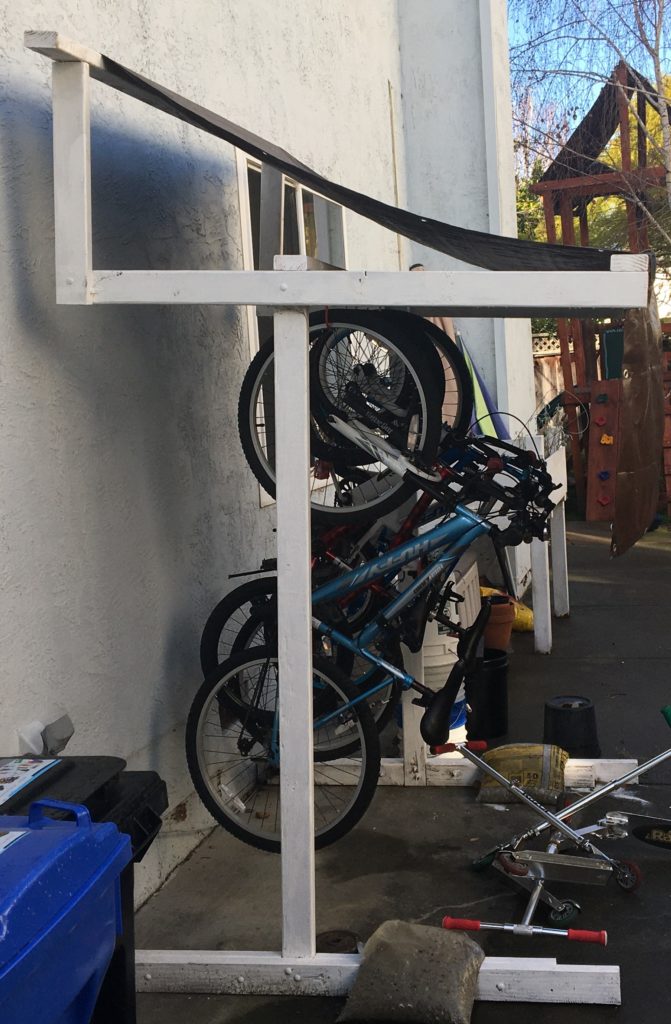
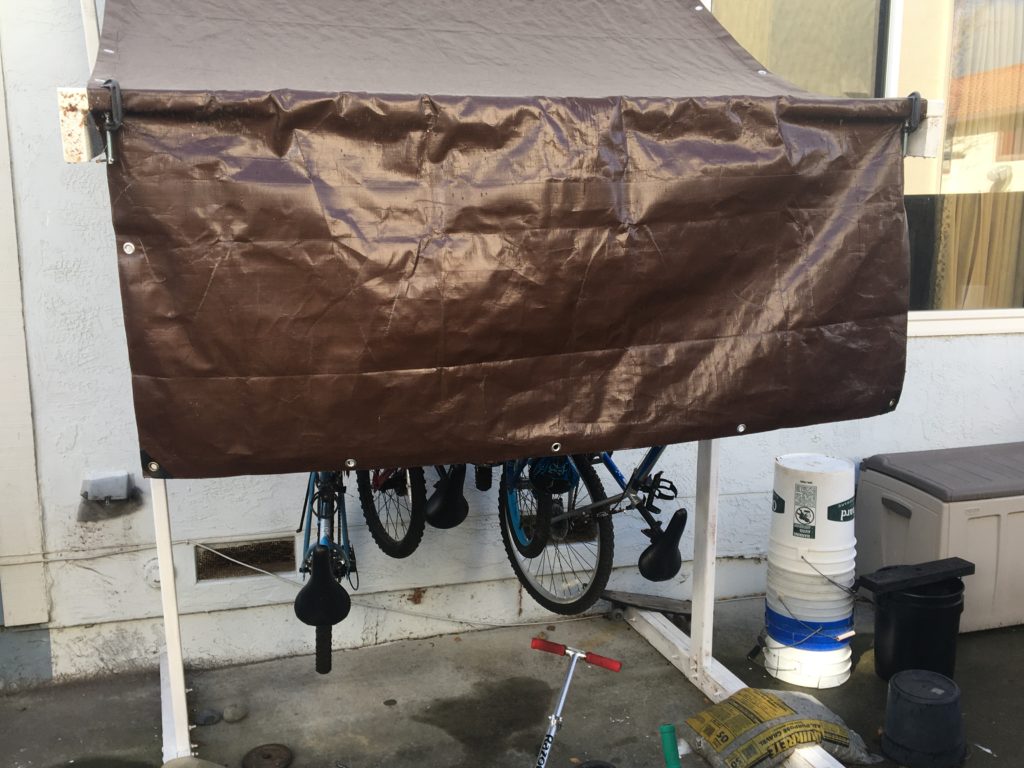
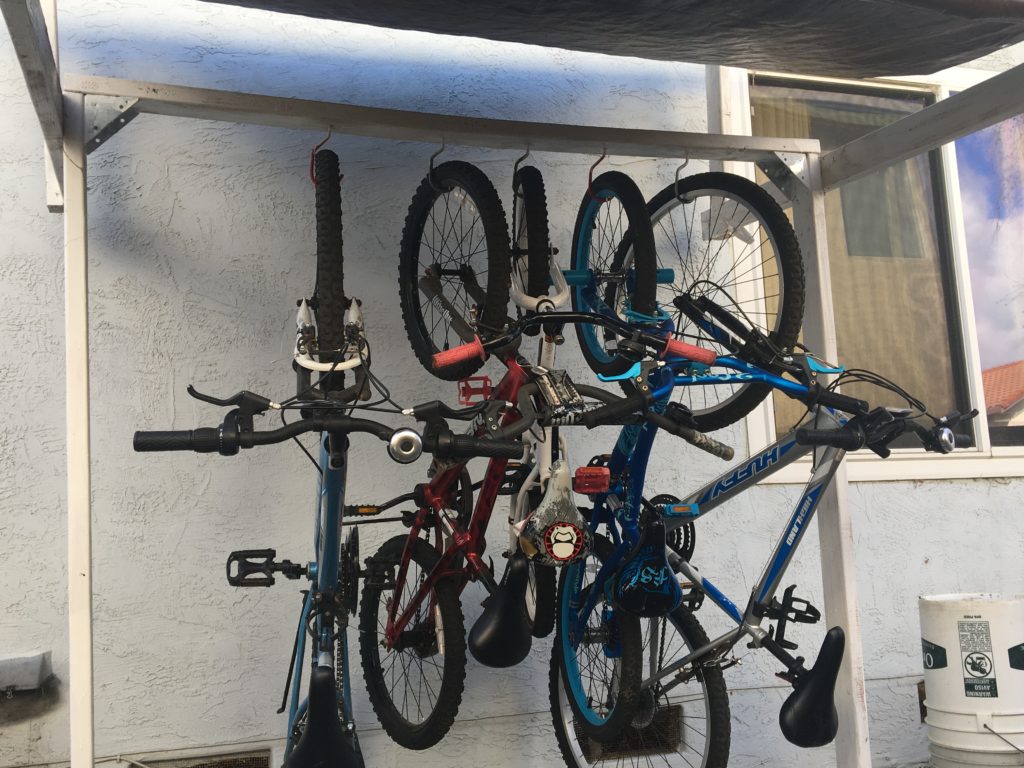
The steps to build the bike rack are shown below. Note that it will take a while to build it, an honest estimate would be 20+ hours of time to build it.
Step 1: Build the initial frame: The initial frame is two vertical boards and a horizontal board on the top. To keep the frame from swaying you need to add an additional support in the corner of the frames. Here is a picture of the corner supports I used.
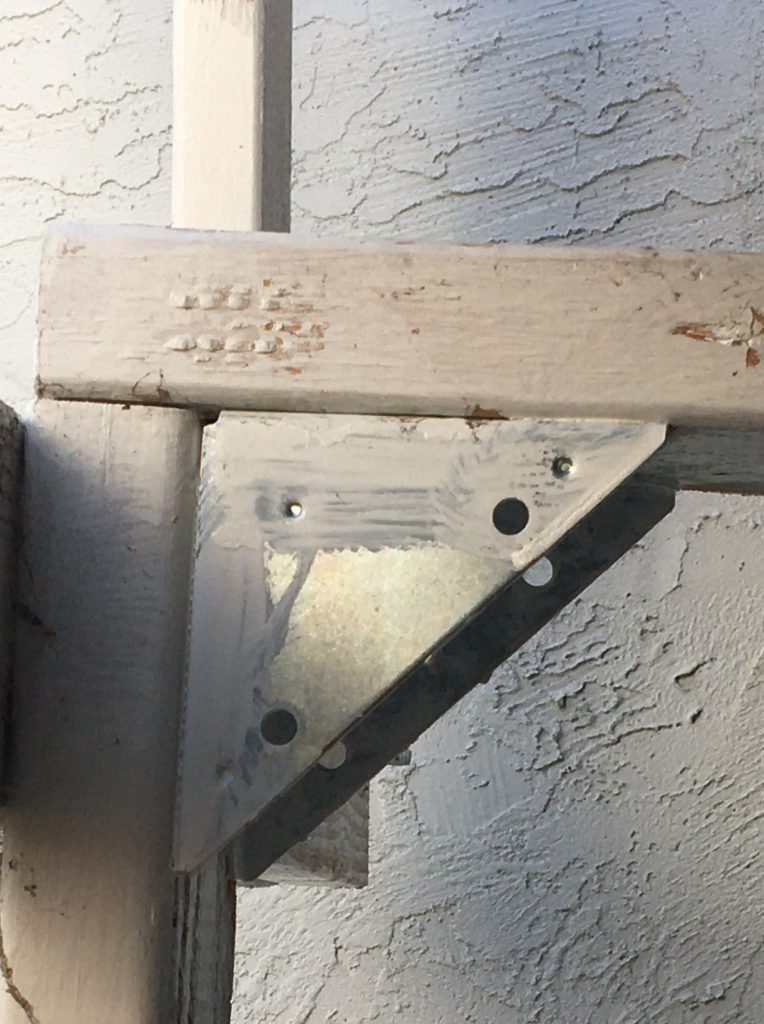
You can get similar ones on Amazon here: Angle Code, WEBI Stainless Steel Corner Braces, Trapeziform Angle Brackets, Multi-Angle Joint Fastener, Shelf Support for Desk Edge, Box, Wood Beam, 3 Pack
The frame supports make the frame much stronger. Without them the frame would sway and possibly collapse, which is why I added the supports.
Step 2: Build the “feet” of the bike rack. The feet are the horizontal boards at the bottom of the bike rack which will attach to the initial frame and will keep it in place. To keep the bike rack steady I had a board on the outside and two boards in line with the vertical board to hold the feet in place. I also placed a 50 pound bag of rocks on each foot to hold it in place. You could add any weight you want to hold the feet in place, it obviously does not have to be a bag of rocks.
The picture below shows how the feet look, you can see the two horizontal boards which hold the vertical board in place:
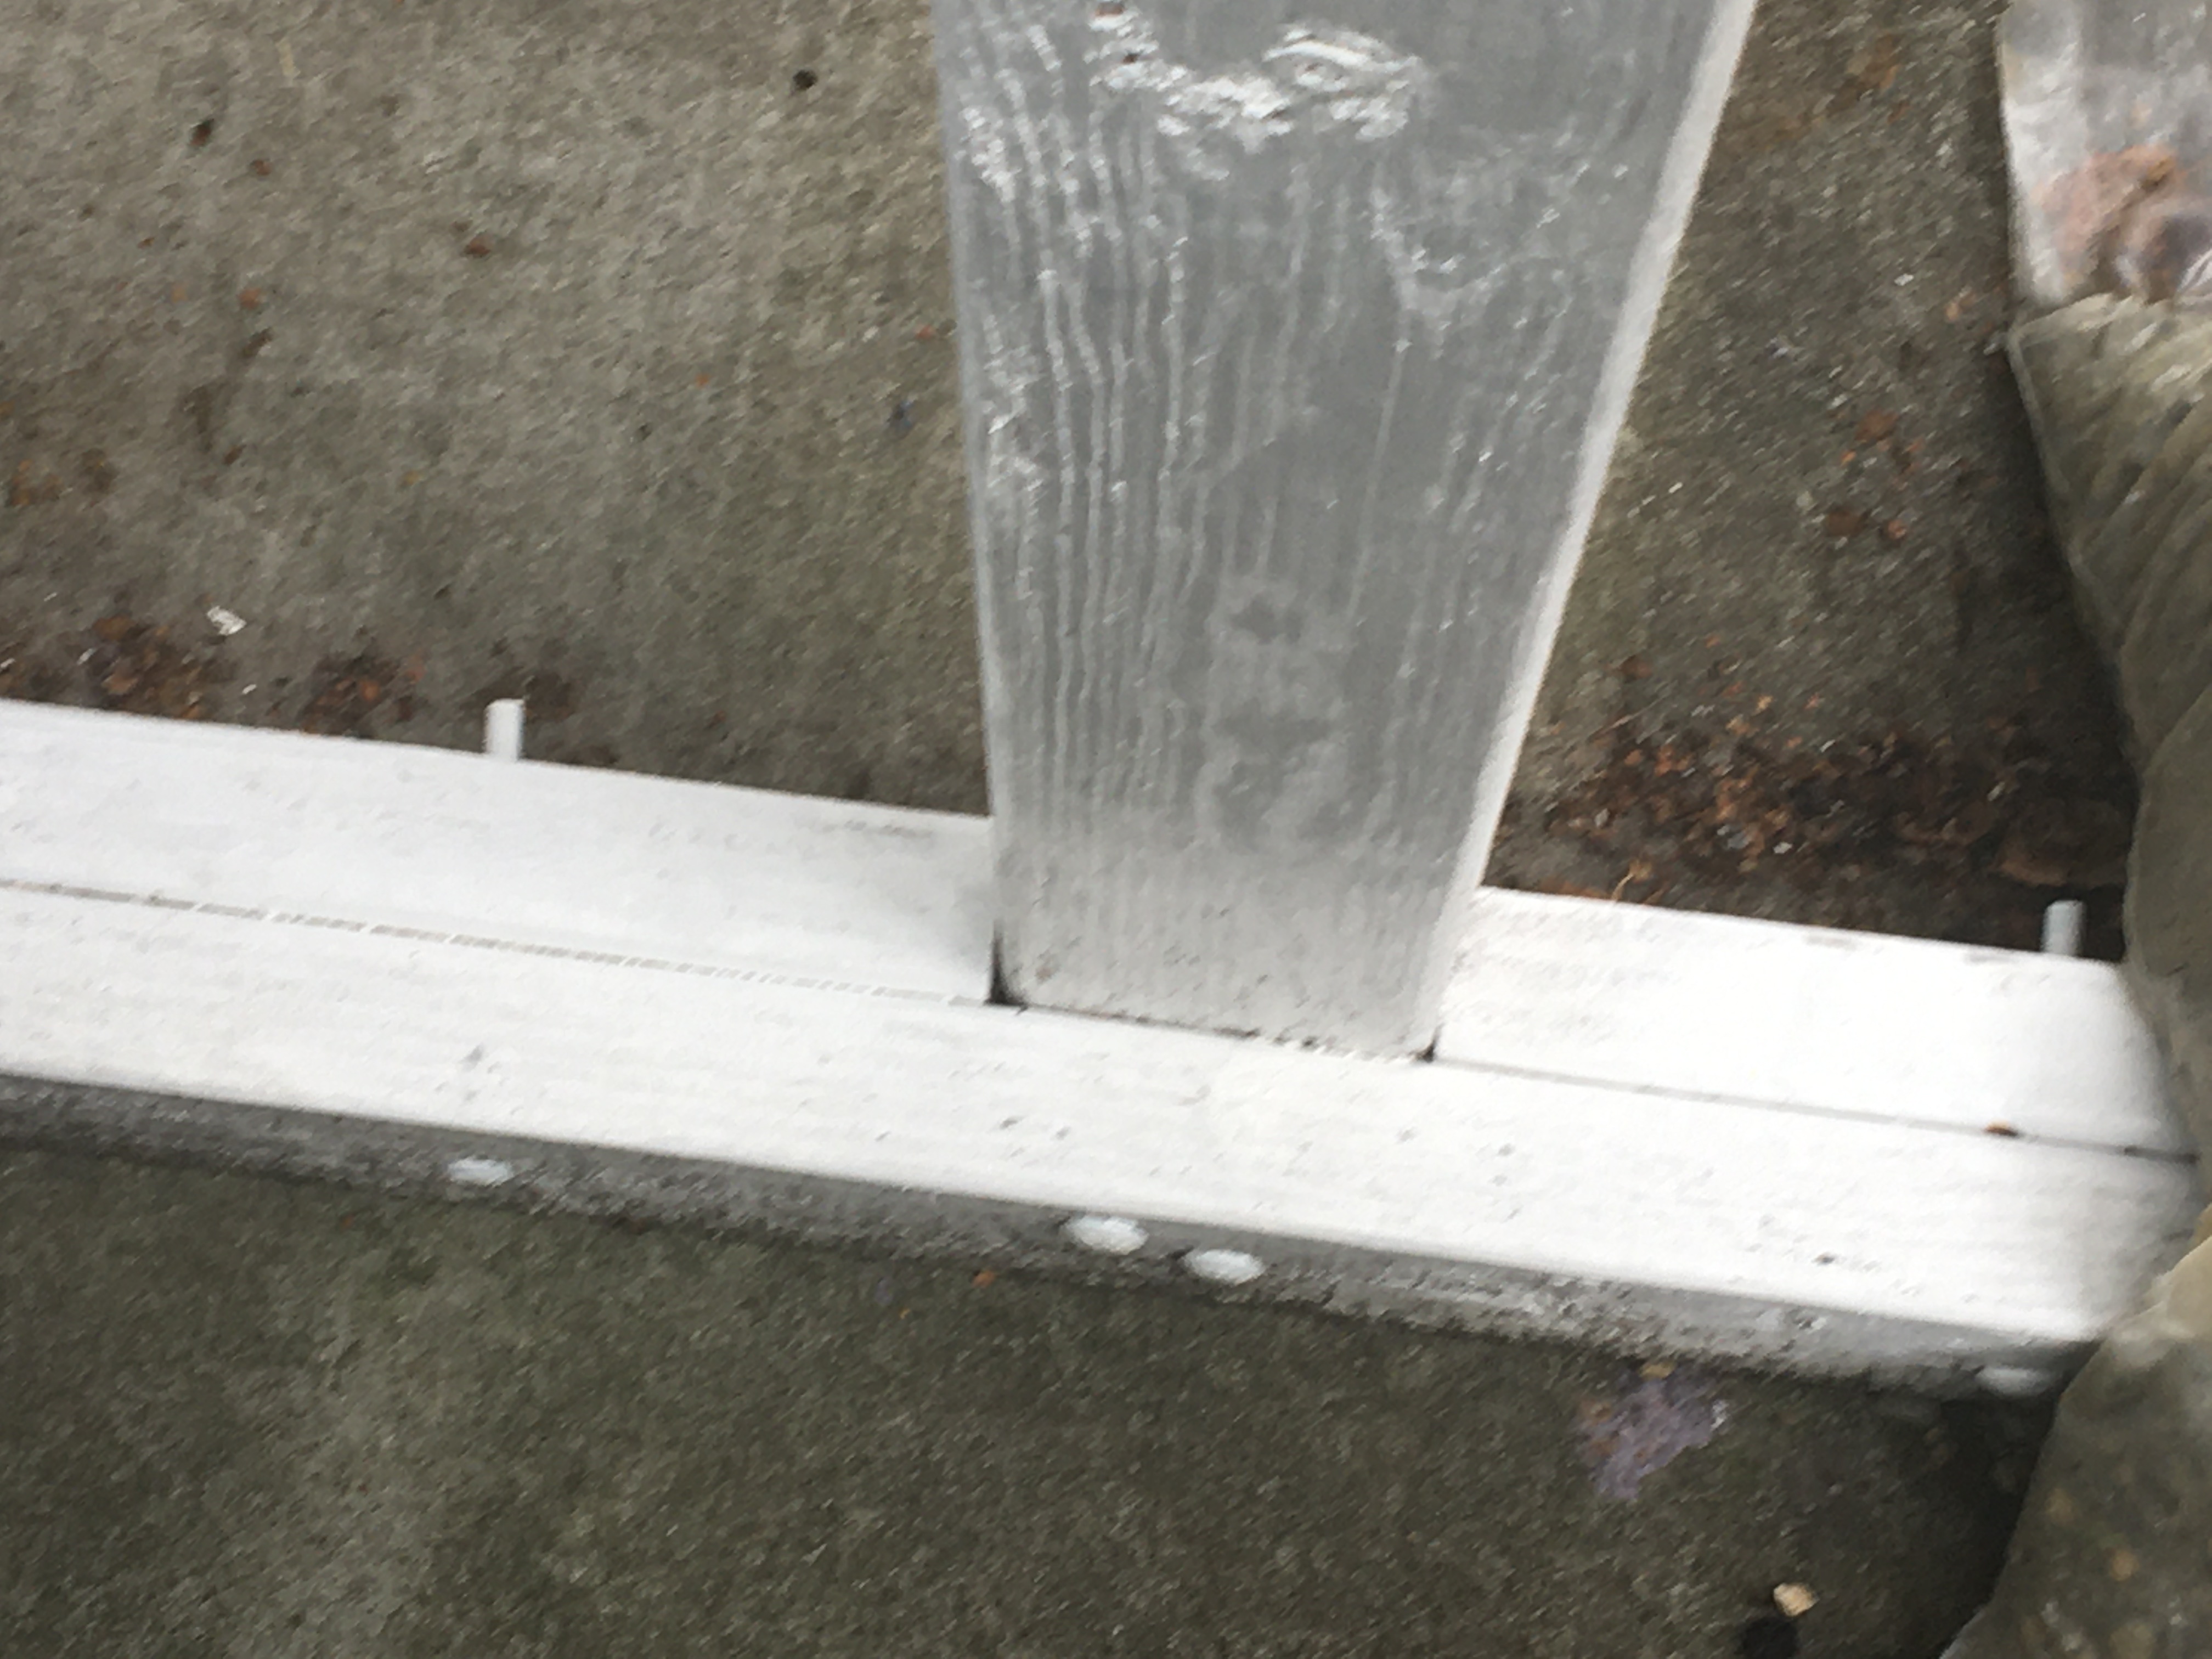
Step 3: Add the bike hooks to the frame. The next steps is to add the bike hooks to the horizontal board. These are the hooks from which you will hang the bikes, scooters and so on. Installing the hooks is very easy as the hooks have a screw on one end and you simply twist them into the board (although it does take a decent amount of force to get the hook started). They are also fairly cheap, you can get a 8 pack of hooks for $14 on Amazon here: StoutMax Heavy Duty Bike Storage Hooks Set, 8 Pack
This is how the hooks look:

Step 4: Build the awning frame: If you don’t need to protect your bikes from the elements (rain, etc.) then your bike rack is done (besides painting). For those of you who do need to protect the bikes from the elements you need to build an awning. The frame for this awning will consist of five boards. It will have two long horizontal board which will stretch the distance that the awning will cover. At the end of each of these boards will be a short vertical board. This is because you don’t want the awning to be completely flat as rain water would pool on the awning. You want the awning to be on a decline so that rain water will roll off the awning. The last boards of the awning frame will be long board which will go the width of the bike rack and will hold the awning.
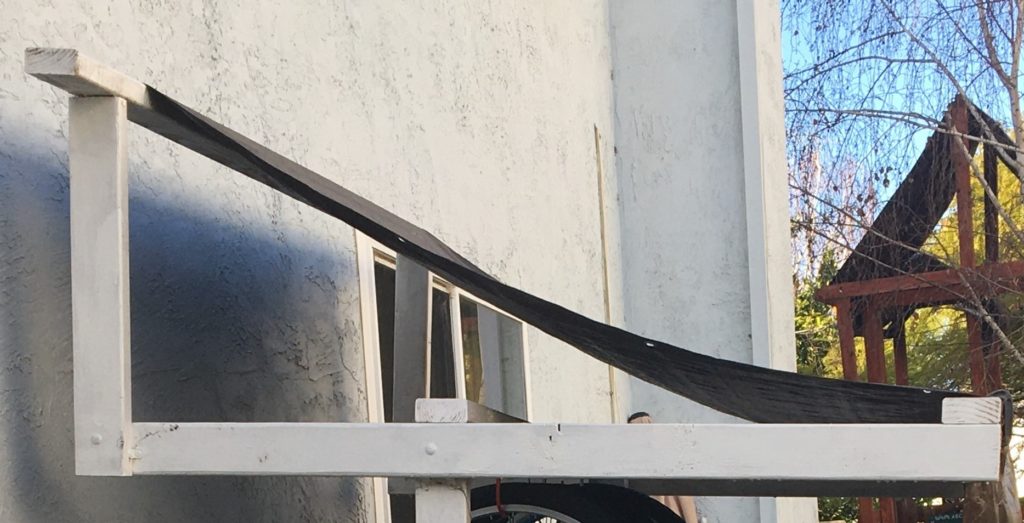
Step 5: Paint the bike rack: The next step would be to paint or stain the bike rack to protect the wood. I painted the bike rack white as you can see in the photos. It is much easier to paint the bike rack before installing the awning, as the awning can get in the way and will likely get paint on it.
Step 6: Install the awning: The awning is a tarp which will cover the bike rack and prevent the bikes, etc. from getting rained on and protect them from the sun. For the awning you will want to use a heavy tarp (10 millimeters thick), not a light tarp (less than 10 millimeters thick). If you use a light tarp in a year or less the sun will wear the tarp down to the point that it tears or otherwise starts falling apart.
Heavy duty tarps are more expensive than lightweight tarps, but still are not that expensive. The 6 ft by 8 ft tarp I used on my project cost about $16 and can be found on Amazon here: Super Heavy Duty Brown Tarp 8 Oz, 6’X8′
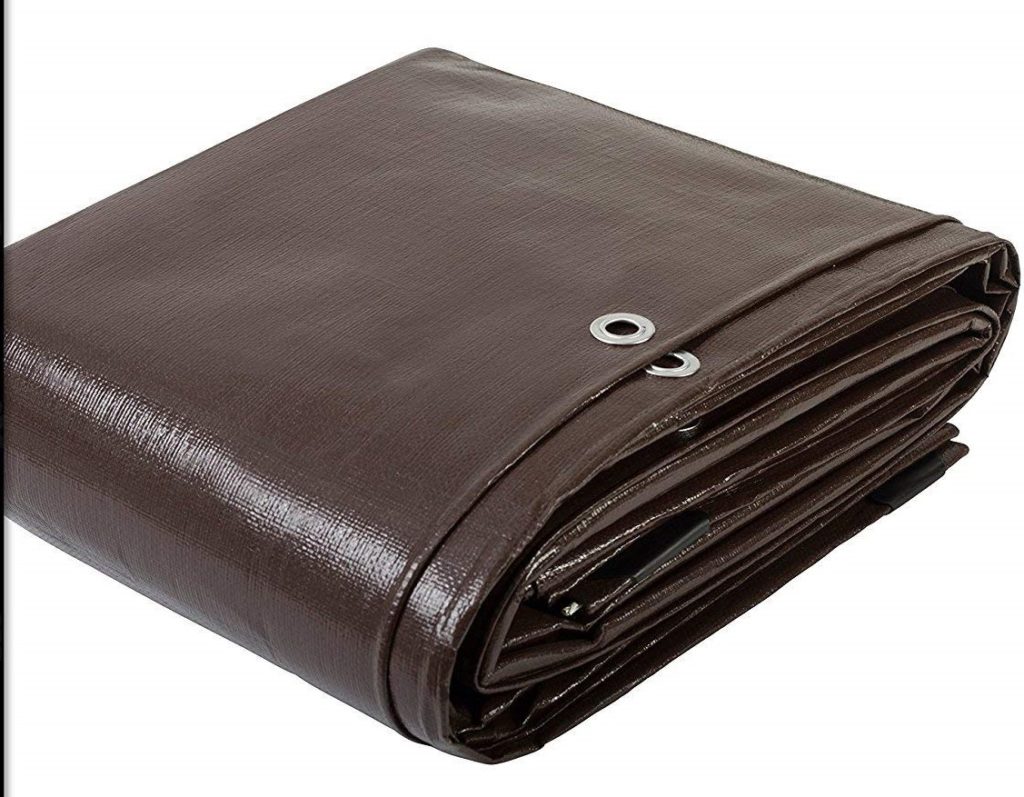
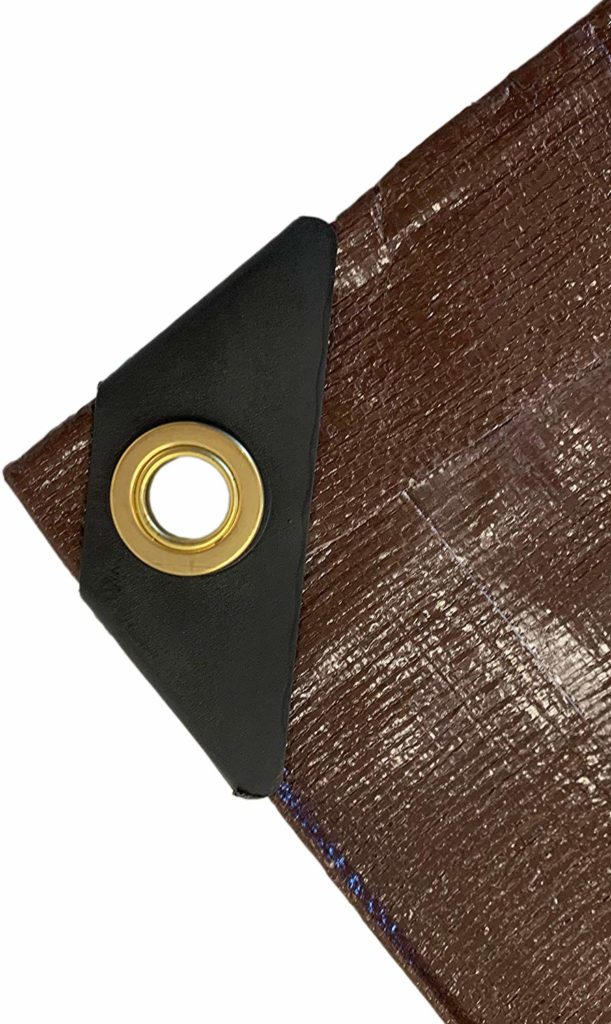
To install the awning I screwed it into the cross board at the end. I screwed it in with a screw and a washer in the grommets of the tarp.
I also attached the midpoint of the tarp to the cross beam at the end of the horizontal board. This was attached with clamps.
And there you have it, after all these steps your bike storage rack will be done.
The following video provides a summary of the entire process to make the bike rack.
Great idea! So simple and functional, thanks.