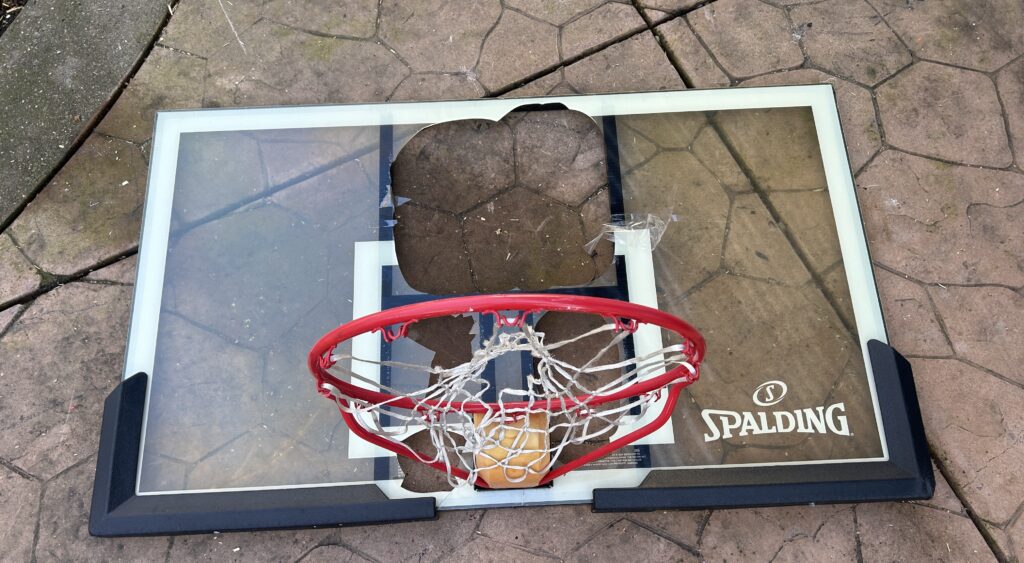
I have a basketball hoop and recently the backboard (which was plastic) started to crack. A few weeks later the plastic pieces started to fall off so I needed to replace the backboard. In my neighborhood I noticed that other people had similar issues with their plastic backboard breaking into pieces. Essentially the plastic would weaken over time due to exposure to the sun and then it would break.

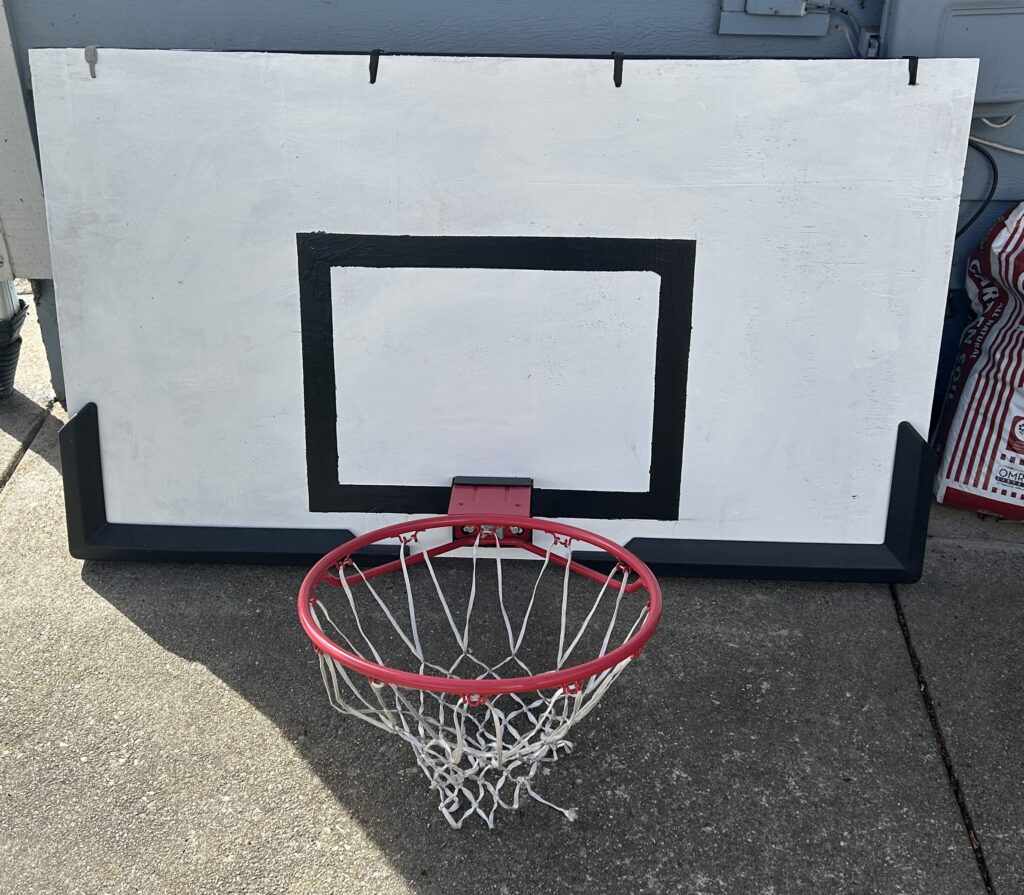
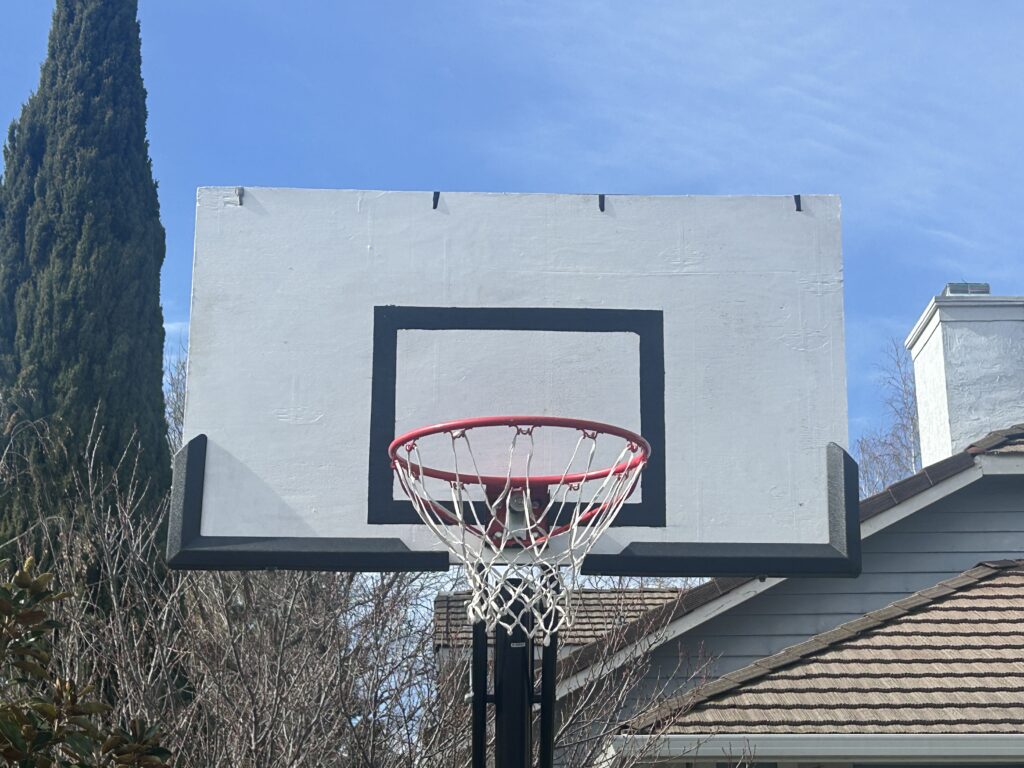
Therefore, I decided to replace my backboard with a wooden backboard as this would be more durable than plastic. It didn’t seem too difficult of a project so I decided to build it myself. This is the finished product, I think it turned out really well.


Building the backboard took the following steps:
Step 1: Remove the old backboard: Removing the backboard from the set up wasn’t that easy. I made sure to note how everything went together and not lose any pieces so I could put it back together. It turned out the plastic backboard was primarily held in place with glue. I was able to pull most of the backboard off and broke the rest off with a hammer.
Step 2: Cut the new backboard to the right size: I bought a piece of plywood to serve as the new backboard. It was 5/16 inches thick, which was at least double the thickness of the plastic it replaced. I cut the plywood to the exact dimensions of the backboard frame so that it was the exact size of the backboard it was replacing.
Step 3: Prepare and paint the backboard: I sanded the backboard smooth first. Then I drilled the four holes for the hoop. Next I painted both sides of the backboard, two coats on each side.
Step 4: Paint the “shooting square”: Next I painted the square in the middle of the backboard (I painted it black). It is actually a rectangle, not a square, but online it was said that it is called the shooting square. To make sure I got the dimensions of the square correct I made the square out of Lego, then outlined it and filled in the outline with black paint (again two coats).
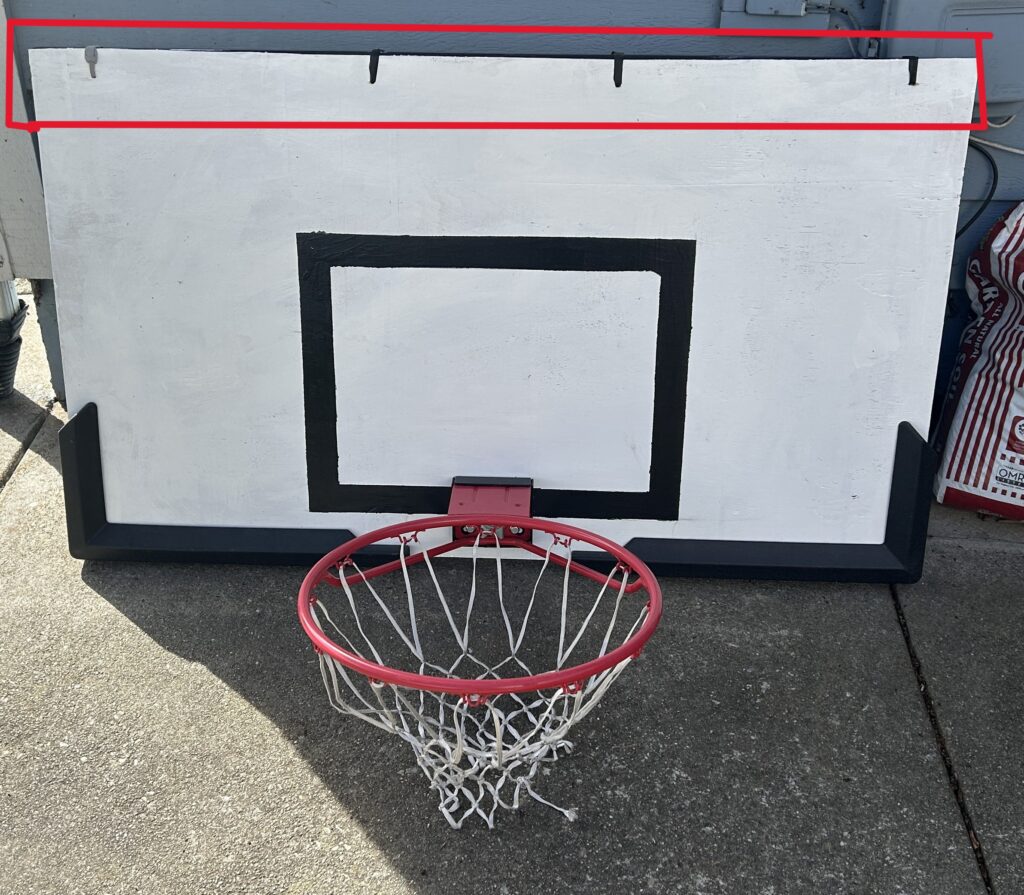
Step 5: Add straps to the top of the backboard to keep it in place: The previous plastic backboard was primarily held in place with glue. It also had screws at the bottom where it connected to the hoop. When I connected the wood backboard to the screws at the bottom the top part was still loose and the whole backboard leaned. To fix this I drilled four small holes at the top of the backboard and threaded each hole with a velcro strip to secure the backboard to the metal frame. You can see the straps in the red box in the picture below, I tightened them as much as possible to keep the backboard in place.

So far the straps have done a good job of keeping the backboard in place.
Step 6: Last step: Re-attach the backboard to the hoop: In this step, I basically put everything back together. The hoop was attached to the backboard and the whole thing was then attached back to the pole. I made sure to note how everything connected when I took it apart to make it easier to attach things back again. I also made sure to keep track of all the pieces.
That is the complete summary of the project. It took about 5-7 hours in total, spread over a week due to the coats of paint.
You can see a more detailed summary in the following video: