Skip to content

Life Hack and DIY Lifestyle

  • Things I like
  • Life Hacks
  • DIY projects
  • Home Improvement Basics
  • About Me
  • Resources
  • Lego
  • 3D Printing

Category: DIY projects

Building a standing raised garden bed

August 22, 2021August 22, 2021 admin

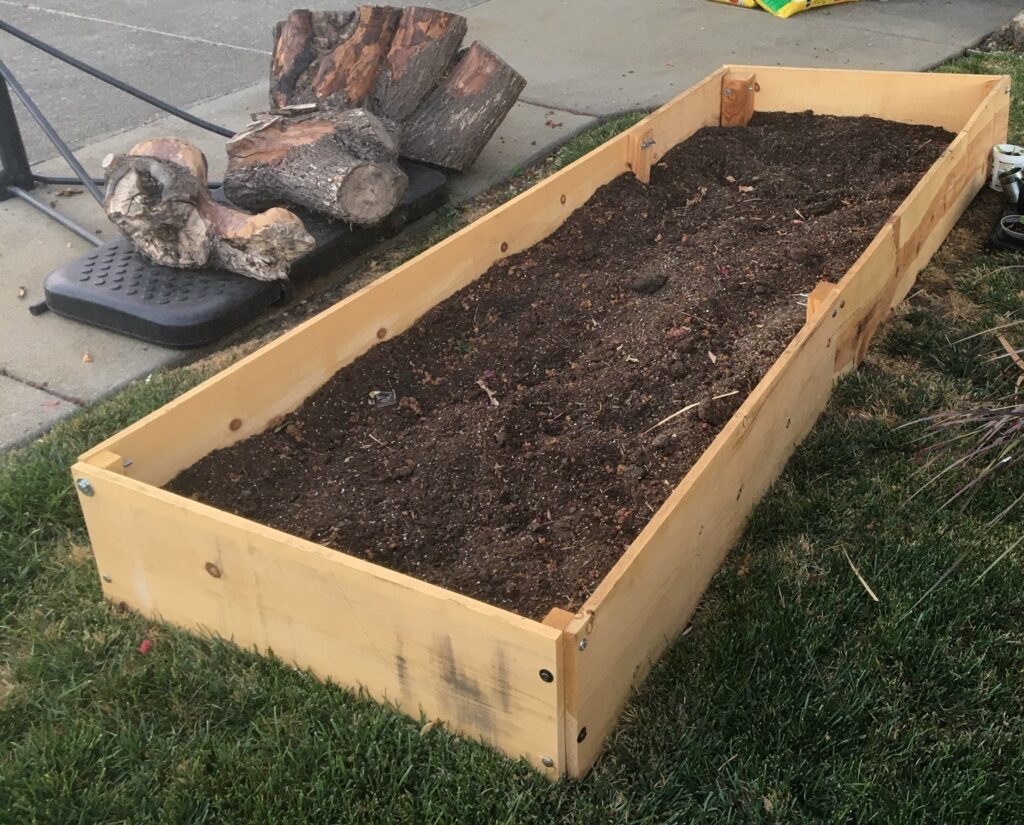
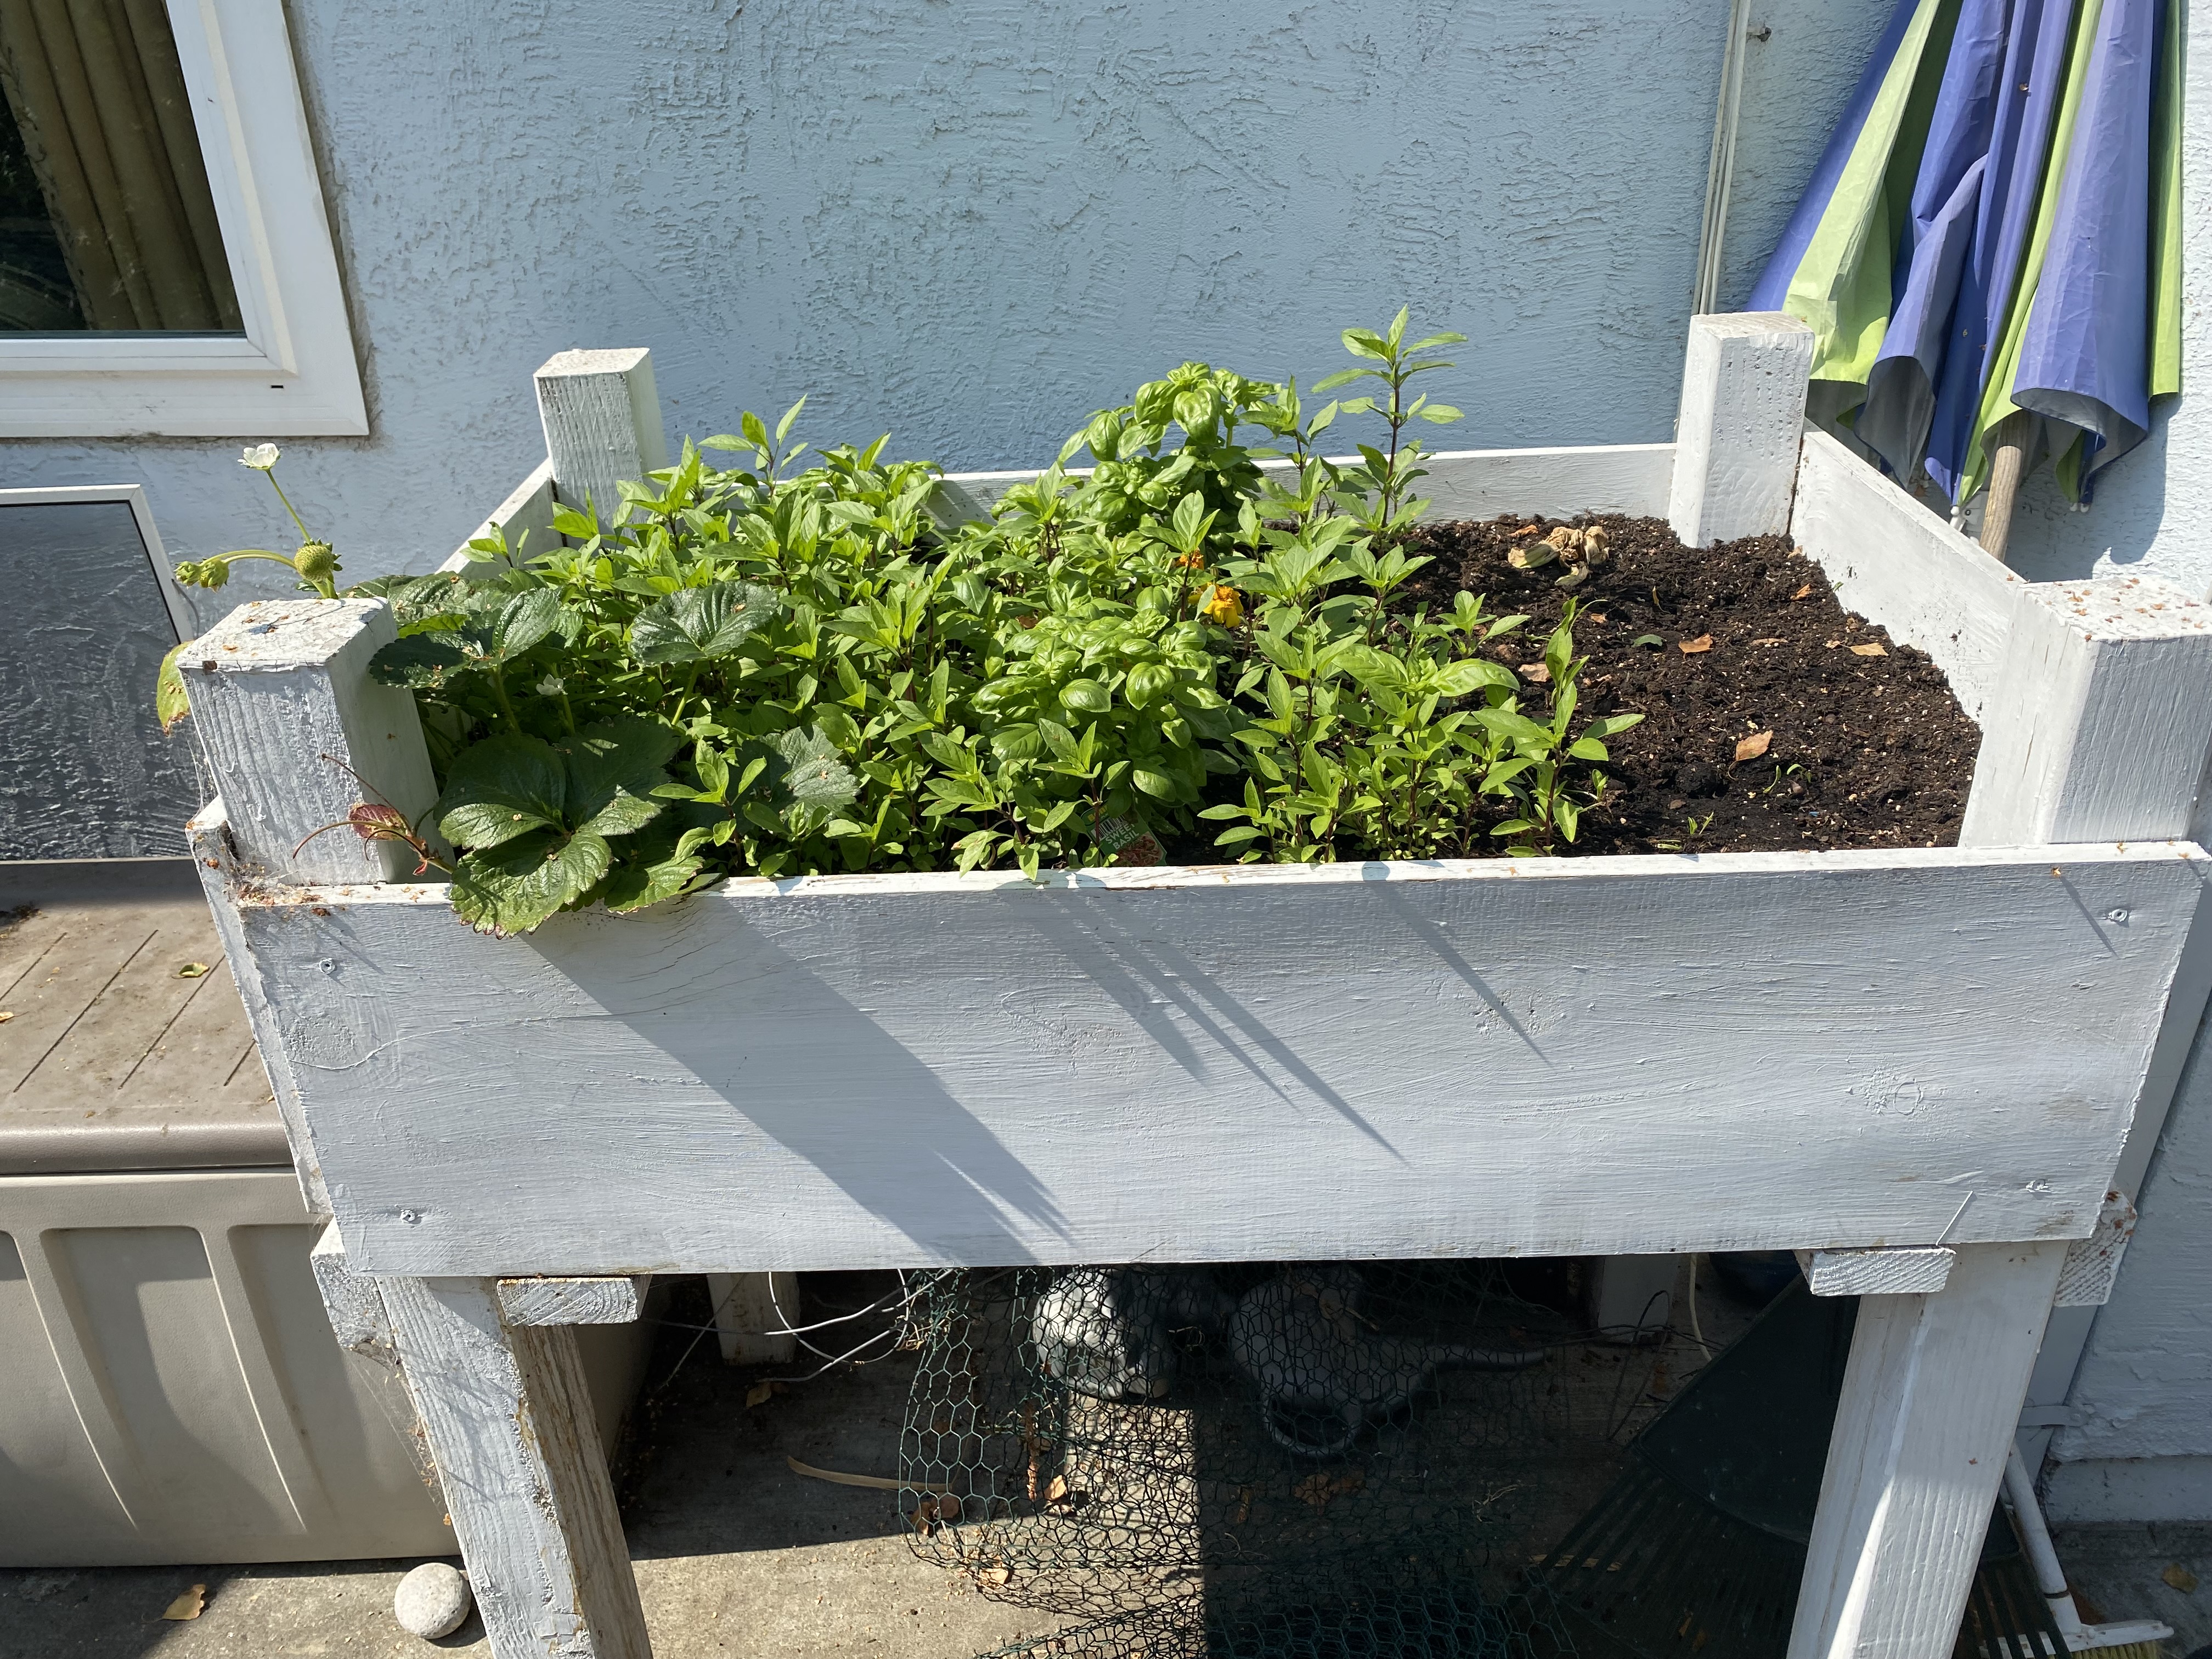
In this project I built a standing raised bed. We planted food bearing plants in it (strawberries, etc.) and wanted something which was off the ground to deter pests from eating the food. This is how I turned out, I am pretty happy with how it turned out and have had it for three years now.

This is a top view of the standing raised garden bed.

Building the standing raised garden bed was pretty simple.

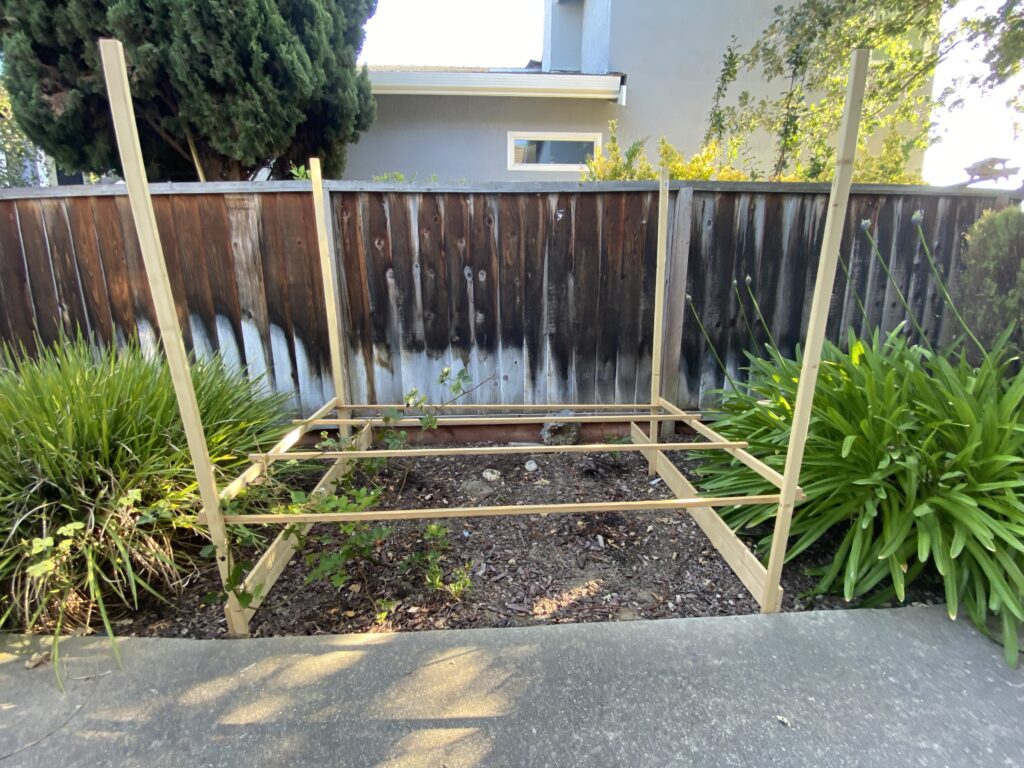
  1. Build the legs: I wanted the bed to last a long time so I used thick legs. I used four by fours, which I cut to 5 feet high.
  2. Add supports to the legs for the flooring: I cut two 2 x 4s for each side. I screwed them into the legs, making sure that the support boards would be the same height on both sets of legs.
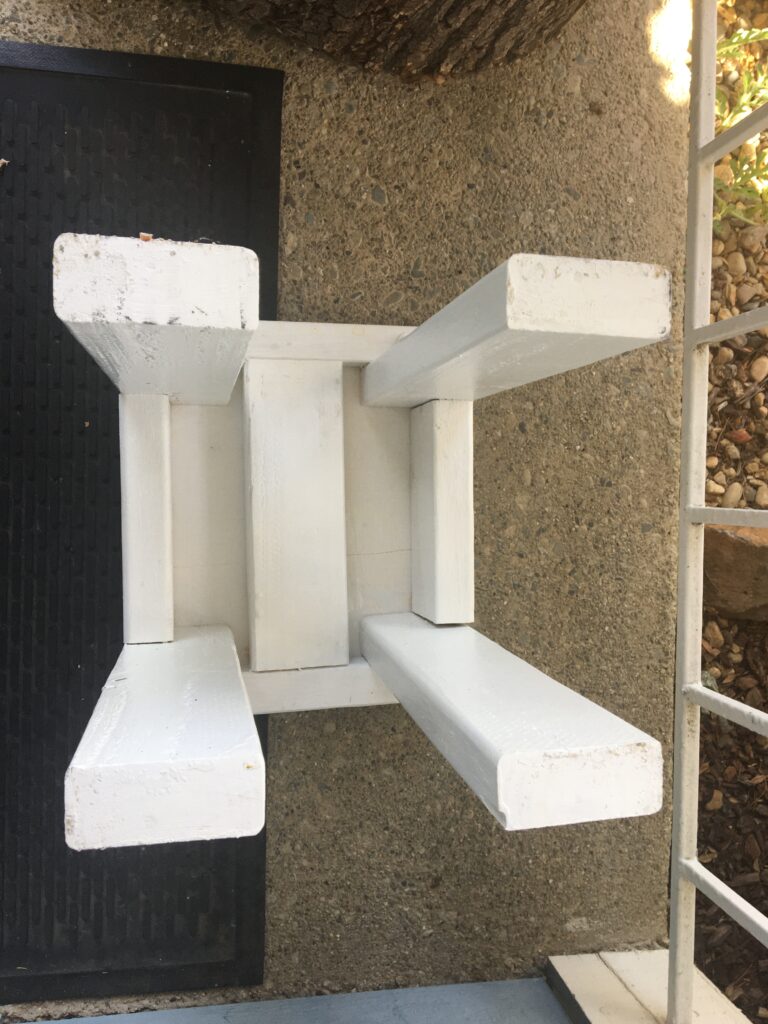
  3. Add additional support: Since dirt is heavy I wanted to add additional support boards for the flooring. I added two 2 x 4s, which you see in the photo.
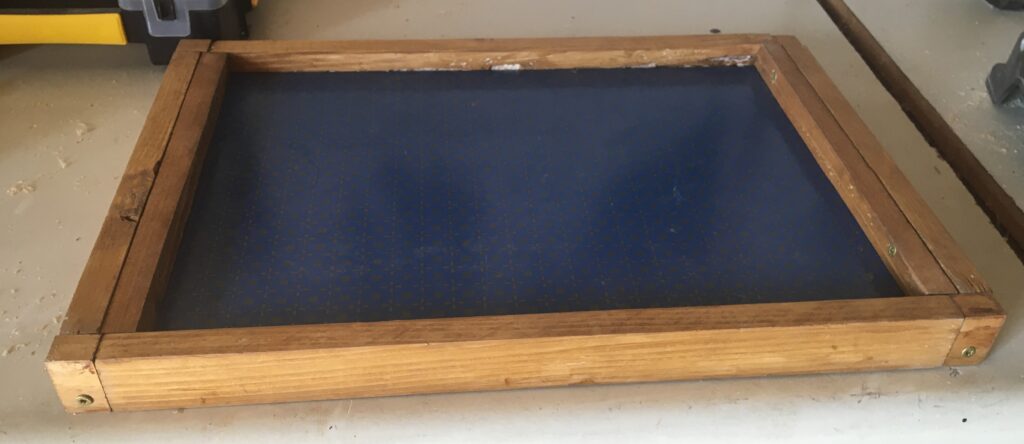
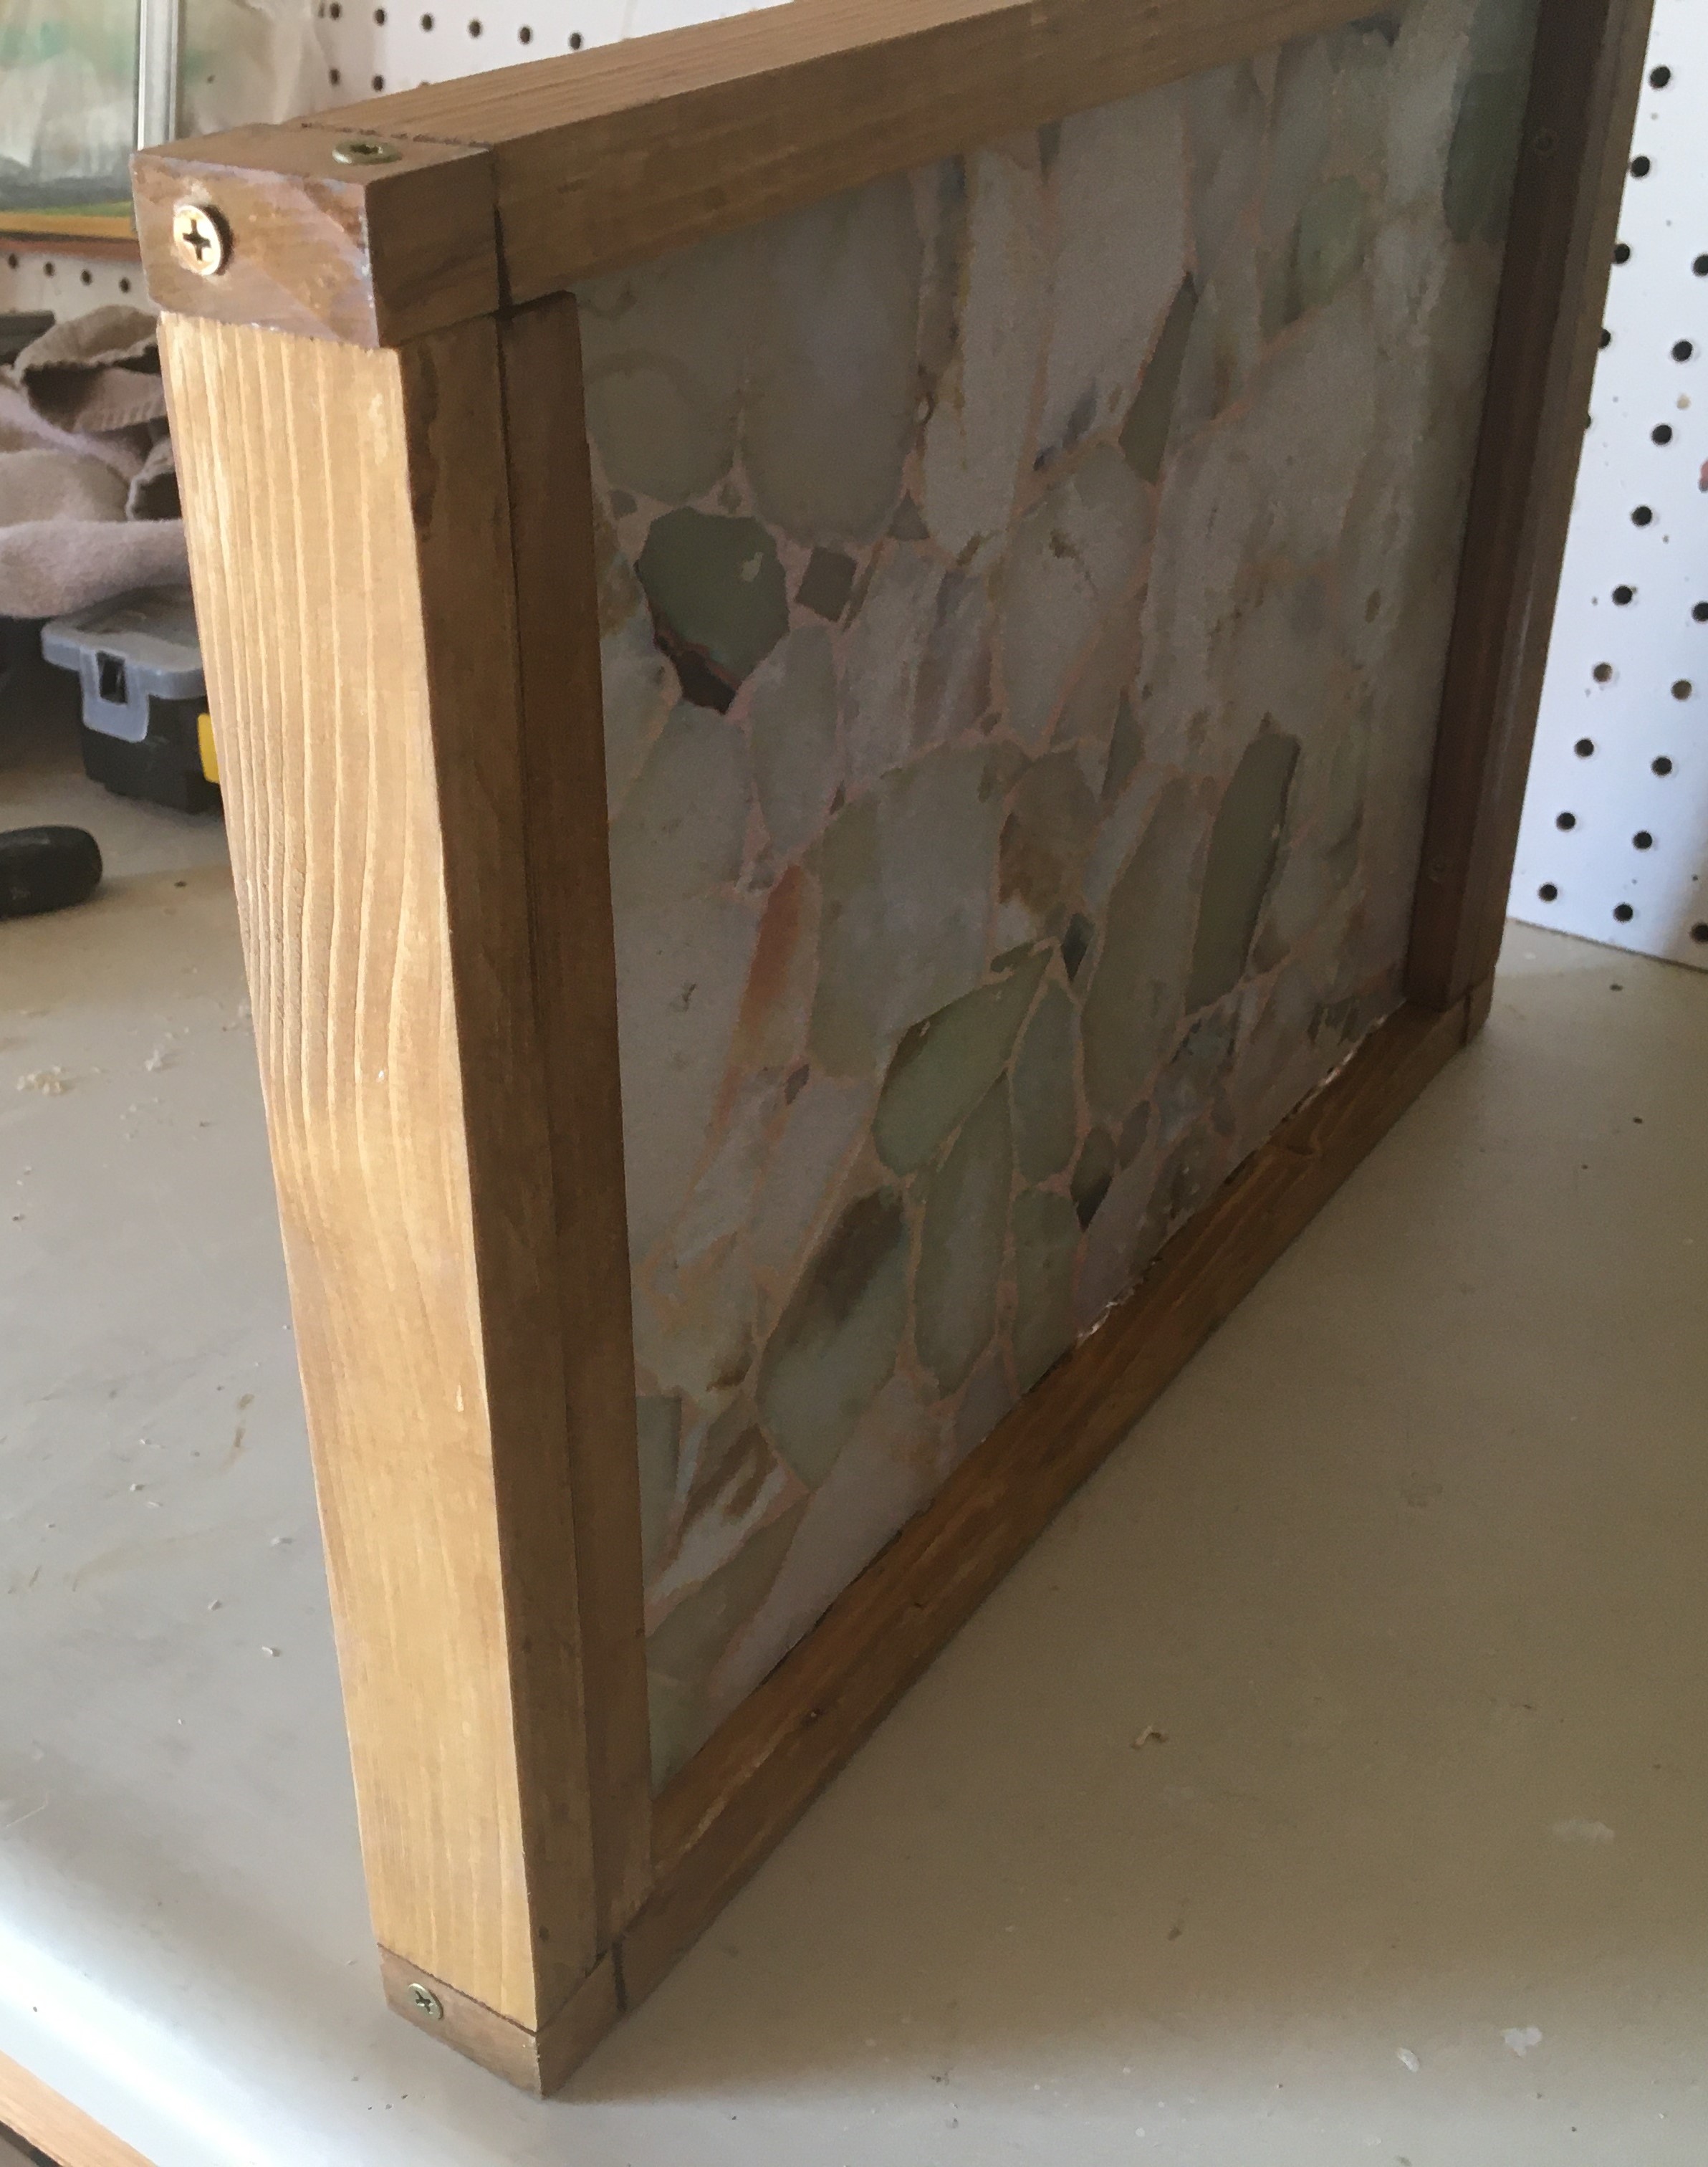
  4. Add the garden bed flooring: I added the garden bed flooring. I used thick boards (the same thickness as the 2 x 4) again as the dirt would be a lot of weight and I wanted this to last a long time.
  5. Add the sides: I added the sides next. These boards were not as thick as the 2 x 4 (they were about half an inch thick) as they would have less weight pushing on them than the flooring.
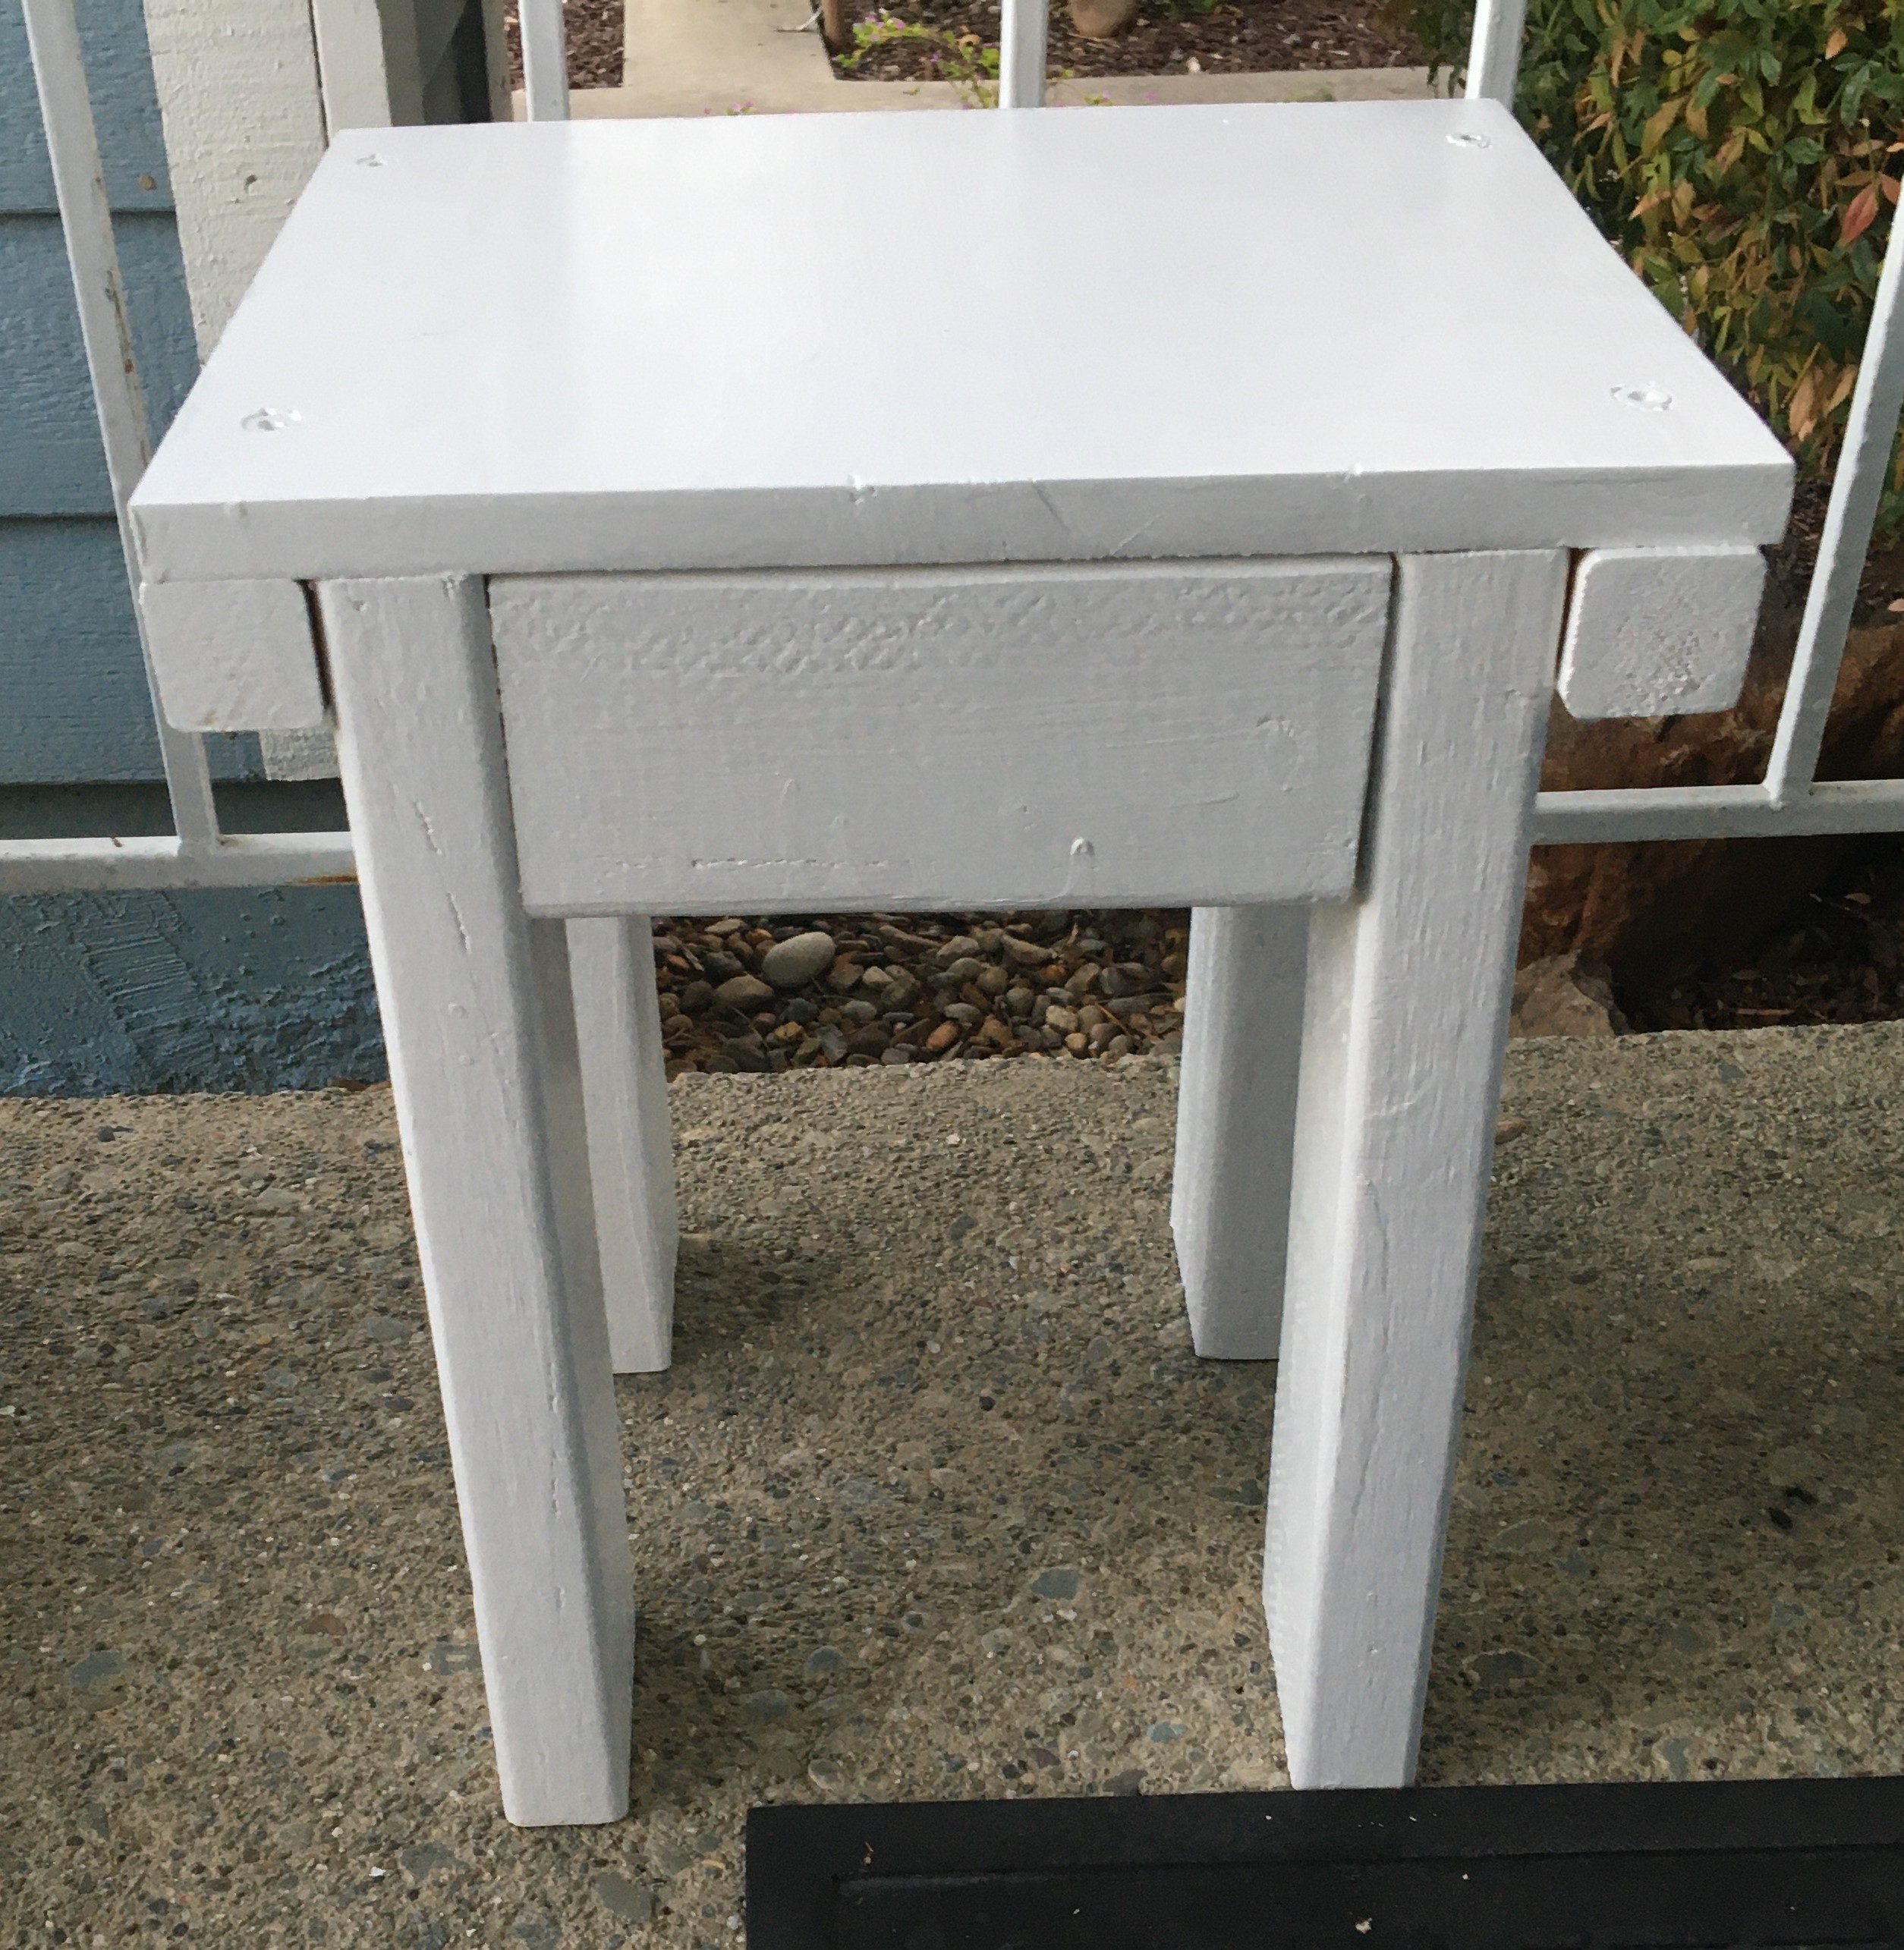
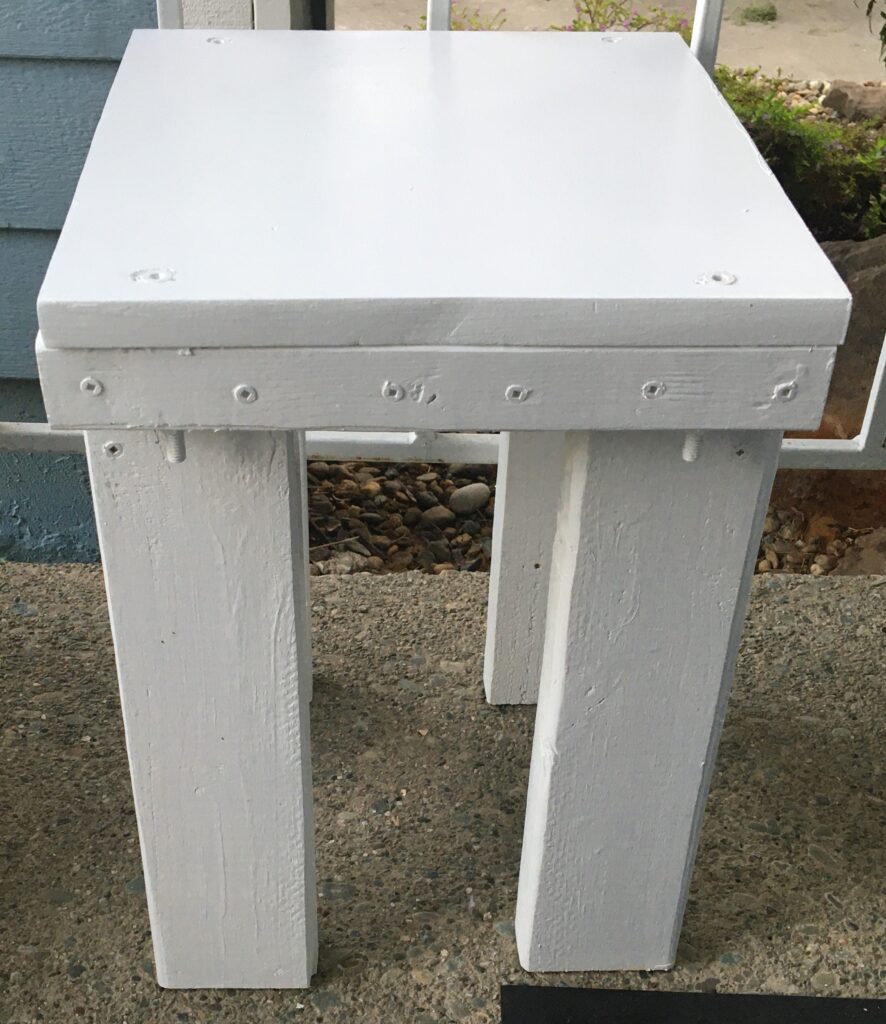
  6. Paint everything: Lastly I painted everything. I used a water based paint, since this would be holding food. If I could do it again I wouldn’t have painted the inside of the garden bed where the dirt is, as the paint could potentially leach into the soil and then leach into the food. However, I did paint the inside but later learned that wasn’t the best idea.

Either way, I really liked this project. We use this regularly and have not had any issues with animals eating the food we are growing.

Below is a video which provides more details:

Posted in DIY projects

Building a blackberry trellis

July 17, 2021July 17, 2021 admin

For this project I built a trellis for my blackberries. This is how it turned out, I am pretty pleased with it.

The steps to build it were pretty simple. I used thicker boards to serve as the vertical poles and thinner boards to be the horizontal boards which serve as the frame for the blackberries. To give the trellis more weight I add two thick boards at the base to give the trellis more weight and make it more stable.

The overall goal was for the blackberries to grow in a rectangle which would increase in height over time. I will add more horizontal poles as the blackberries grew so they would have something to hold on to as the vines rise in height.

More details about the trellis are in the following video:

Posted in DIY projects

DIY Project: Outdoor Table

June 15, 2021June 25, 2022 admin

For this project I made a simple table for my backyard. I think it turned out pretty well, this is how it looks:

The steps to make the table were pretty simple. I purchased the legs from Amazon, you can find a link to them here. The legs were $35 but they seem really sturdy and should last for a long time.

The table top I bought as a single piece at Lowe’s. It is actually several boards glued together it seems, but it was the right size and didn’t require me to do any additional cutting so I went with it. I sanded the board, applied a pre-stain and then stained it (just one coat). I think it came out pretty well, I made sure to really take my time staining it. Then I drilled holes for the bolts that connect to the legs and tried to counter sink them so the bolts wouldn’t stick above the surface of the table. That is all the steps, it was pretty easy but I think it turned out well.

Here is a video which has more details on the project:

Posted in DIY projects

Wooden workout bench with folding legs

January 5, 2021January 5, 2021 admin

For this project I built a workout bench with folding legs. The bench was made out of wood, and the idea was that the folding legs would be a space saver, allowing to move the bench out of the way when it is not in use.

Here is the weight bench with the legs extended.
Here is the weight bench with the legs folded. As shown it is a real space saver to have the legs fold.

The steps to make the bench were pretty simple.

  1. Purchase materials: Buy a 4 x 4 (for the bench legs) and a thick wide board for the top of the bench. You also need to buy folding brackets for the folding legs. I really like the ones I bought on Amazon, which you can find here: Brackets. The brackets are great in that they have a simple locking mechanism so you don’t have to worry about the legs accidentally folding in.
This is how the bracket looks, it has a lever you can push down to disengage the locking mechanism. I recommend these brackets.

2. Cut the bench top and legs to length. My benchtop was 48 inches and the legs were 17 inches (which are common weight bench measurements based on my research), but you can obviously cut these to whatever dimensions you like. Also, make sure all the legs are exactly the same length so that the bench will be even.

3. Sand the bench top and legs. Before putting everything together, sand these pieces so they are smooth. It will be much easier to sand the pieces at this step rather then sanding them after everything is put together.

3. Connect the brackets. To secure the brackets well, I drilled a hole through the top of the bench and had a bolt go through to hold the bracket in place. Then I added some small screws to keep it in place. For the bolts I counter-sinked them (made the hole wider at the top) so the bolt would sit flush on the bench top and not stick out.

4. Attach the legs to the brackets. To attach the legs I used one wide torque screw and then some smaller screws to keep it in place.

That is basically it for all the steps. It is a pretty simple but useful project.

The following video has more details on how to put the bench together:

Posted in DIY projects

Building a wooden sword

November 26, 2020November 29, 2020 admin

For this project I built two wooden swords for my kids to play with. They turned out pretty well, see picture below.

The steps to build the sword were pretty simple.

  1. First I cut a square pole to the length I wanted (which in this case was 110 centimeters).
  2. Then I cut out two pieces to serve as the bell guard. I connected these pieces using a L bracket, with one screw going into the sword and the other going into the bell guard.
  3. Next I added an additional piece which was screwed into both bell guard pieces to keep them in place.
  4. Next I sanded the blade part and the handle of the sword to avoid splinters.
  5. Lastly I bought tennis racket grip and used that to cover the handle so that the handle was more comfortable and also to avoid splinters.

And that’s it, with these steps your wooden sword will be complete.

Then following video was more details on how to make the wooden sword.

Posted in DIY projects

Mahogany Frame

November 17, 2020November 29, 2020 admin

In this post I talk about a mahogany frame I made for some art I made a long time ago. The art is canvases I spray painted, which dried in a form which made them look pretty cool.

Construction of the frame was pretty simple. I cut four mahogany boards to go around the canvases. Then I added three boards on the back to give it structure: one on top, one on the bottom and one in the middle. These boards are bolted to mahogany boards to be kept in place, you will see the black bolt tops in the picture. To hold the canvases in place I used velcro.

There are more details in the following video which explain how the frame works better:

Posted in DIY projects

Angled raised bed

October 31, 2020October 31, 2020 admin

This project was pretty simple, I made a raised bed for our front yard. The raised bed had an angle at the top which made it a little more complicated. It turned out pretty well, this is how it looks:

The construction was pretty simple, basically just making a box. Two parts were a little complicated:

  1. Attaching the boards to each other
  2. Creating the angle section

To attach the boards to each other I put a 2 x 4 behind the ends of the two boards and held them in place with bolts. A similar process was used for the corner pieces but that required using a 1 x 1 piece.

Making the angle section was more complicated. Cutting the board at the correct angle was difficult, as I only had a mitre saw and circular saw. I ended up cutting the angles by hand, but it did not end up straight. Later I figured out I could have angled the circular saw, which would have made it easier to make the cuts. I used gap filler pieces to make the angle part flush. Afterwards I bought a jigsaw which would have made cutting the angles much easier.

Overall I am pretty happy with how it turned out. You can see more details in the following video:

Posted in DIY projects

DIY Project – More Trivets

September 15, 2020September 15, 2020 admin

This is pretty simple, it builds upon my previous post about making trivets which can be found here.

The process to make the trivets was simple.

  1. Cut rectangle pieces of wood, all the same size.
  2. Glue the pieces together overnight (using wood glue), holding them with clamps so the seal is strong.
  3. Sand the trivets to remove any rough spots.
  4. Stain the trivets (optional)

I made them the same way I did previously, but tried some different types of wood. When you make multiple versions at once assembly line style the process becomes pretty quick, I would say it took about 20 minutes per trivet.

The first set was made out of pine, oak and poplar (poplar is the middle board). You can see how these look here:

The second set was made out of pine and oak, similar to the one I made before. This is how those looked.

Posted in DIY projects, Uncategorized

DIY Project – Serving Tray Frame

September 4, 2020September 6, 2020 admin

In this DIY project I build a frame for a serving tray. The previous frame broke and my wife had a sentimental attachment to the serving tray so I built a new one. This is how the final project looked:

Overall I am pretty happy with how it turned out. The project is pretty simple, you just make a rectangle and screw it together. I had to add some additional boards on the ends put that is because I measured wrong.

I cut a groove in one of the boards to slide the tray into, but it was really difficult to make the groove straight so I gave up on this as a method for holding the tray in place. To hold the tray in place I attached four small boards (two on each side) to the side of the frame.

I was really happy with how the stain on the frame came out. This is the most even I have had a stain come out in a long time. I used pre-stain / wood conditioner before applying the stain and this made the stain come out much more even. I am going to continue to use pre-stain going forward.

Here is a video summarizing the project:

Posted in DIY projects

DIY Project – Building a sturdy stool

August 15, 2020August 31, 2020 admin

For this project I built a stool for my front porch. I didn’t have any seating in my front yard since I moved the bench off my porch to inside my house to serve as a workout bench. Therefore I decided to make another stool, which could also serve as a chair. I made it the proper height so that you could sit on it comfortably. I didn’t build a chair on its own as the one chair I built didn’t turn out that well as I didn’t arch the backrest. Either way, I prefer stools to chairs since they are more versatile and so much easier to make.

The stool came out pretty well, see pictures below:

Building the stool was pretty simple and consisted of the following steps. Note that before I added any wood pieces I sanded them down first, as it was easier to sand them at that point then after they were connected to the project.

Step 1: Cut the stool top to size. The first thing I did was cut the piece that was going to serve as the top of the stool. This piece was a rectangle measuring 19 inches by 21 inches.

Step 2: Attach the leg anchors. I am not sure what else to call these, I cut two pieces of 1 by 1 to match the length of the stool top. Then I drilled two holes in each 1 by 1 and used a nut and bolt to secure them to the stool top. Note that I counter sinked the holes on the stool top so that the bolts would be flush or beneath the wood so you wouldn’t feel them when sitting on the stool top. These leg anchors are the only things connected to the stool top, all the other pieces (legs and support pieces) connect to the leg anchors and not the stool top.

Step 3: Attach the legs. The legs were just 2 x 4s which I cut to length. Then I positioned the legs to support the table top but attached them to the leg anchors with two screws per leg.

Step 4: Attach the cross supports. To make the stool more stable I added cross supports on the sides of the stool without the leg anchors. These were made out of 2 x 4’s. The cross supports prevented the legs from leaning or the stool otherwise becoming unstable. I also added an additional cross support across the middle of the top board, which you can see from the photo above of the stool upside down. This board was added to support the top of the stool so that it wouldn’t crack or bend if a lot of weight was put on the stool.

Step 5: Paint or stain the stool (Optional): Since the stool was going to be outside I wanted to protect the wood so I decided to paint it. Painting is the thing I like the least when building something out of wood but it is a necessary evil. The paint I used had separated as it was watery at the top, requiring me to get creative to mix the paint well, see more details on how I did this here.

That’s it, the steps to make this stool are pretty simple. It has come in really handy, and due to the thick legs and support beams it is very stable.

See more details on the stool and how to build it in this video:

Posted in DIY projects

Posts navigation

Older posts
Newer posts

Life Hack and DIY Facebook Page

Get more stuff

Subscribe to our mailing list and get interesting stuff and updates to your email inbox.

Thank you for subscribing.

Something went wrong.

We respect your privacy and take protecting it seriously

Proudly powered by WordPress | Theme: x-blog by wpthemespace.com