Skip to content

Life Hack and DIY Lifestyle

  • Things I like
  • Life Hacks
  • DIY projects
  • Home Improvement Basics
  • About Me
  • Resources
  • Lego
  • 3D Printing

Category: Uncategorized

DIY Project – Renovating my swing set

September 4, 2022September 5, 2022 admin

In this project I renovated my kid’s swing set so that it could support adults.

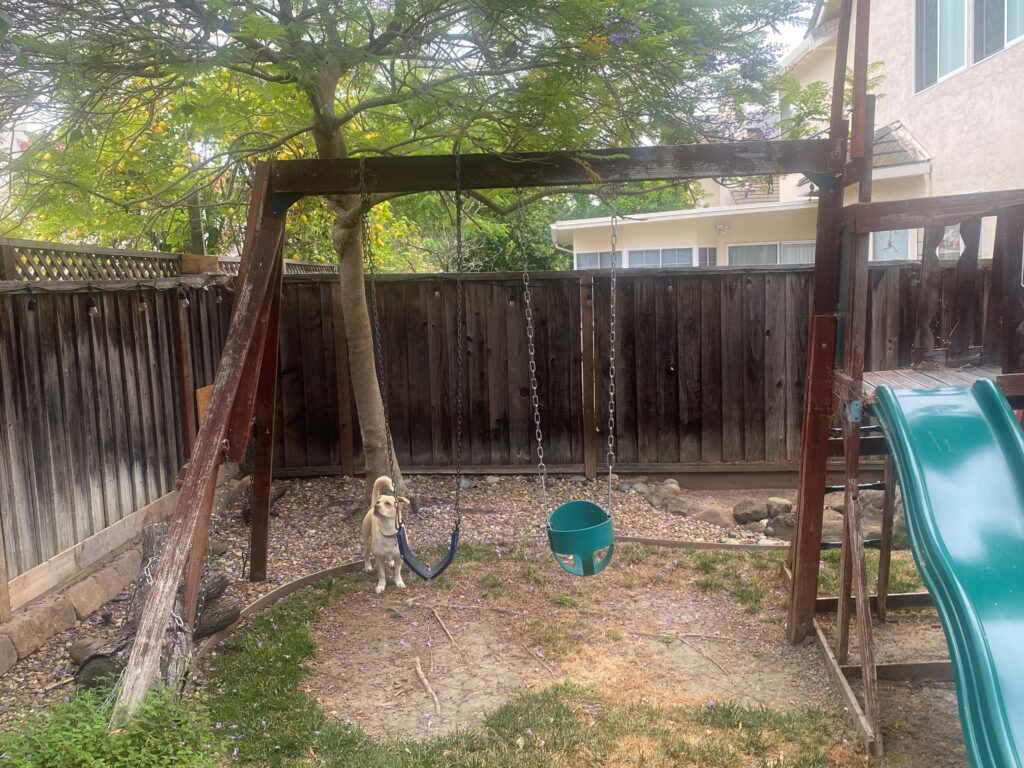
This is how the swing set looked before any renovations. Note that it actually had three swings but I had already removed one of the swings before taking this picture.

This is the swing set before any improvements (plus dog)

The idea was to upgrade the swing set so that it could support adults. This required the following upgrades:

1.Replace the swing chains: I wasn’t sure how much weight the current chains could support. Also, the current chains were rusted. So it seemed best to just replace them.

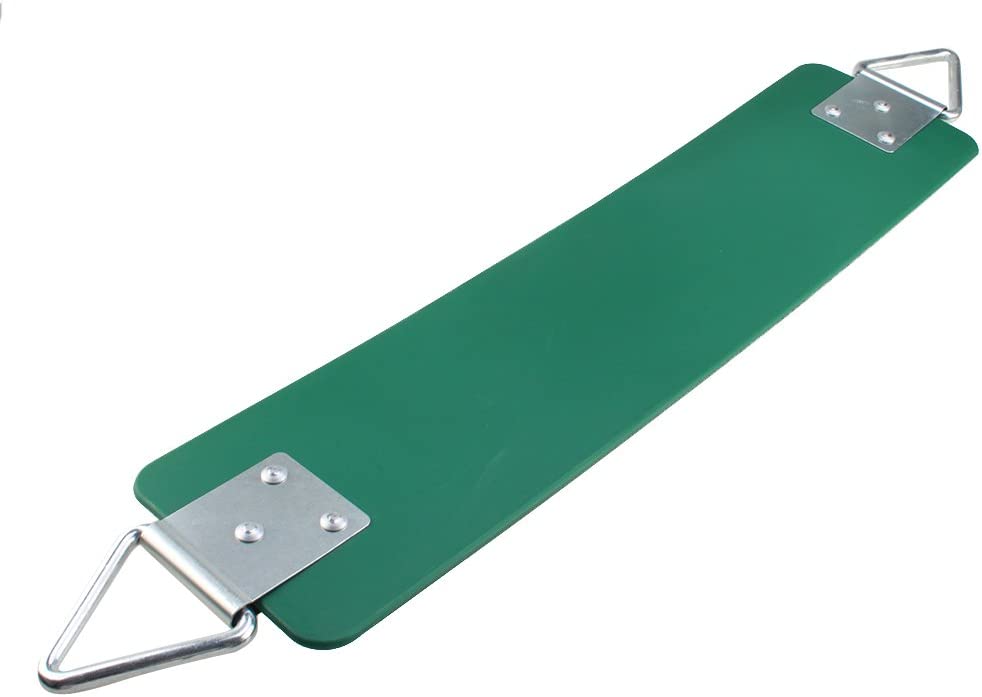
2. Replace the swing (the part you sit on): The set still had the original swings which were meant for little kids. I replaced them with stronger swings I found on Amazon.

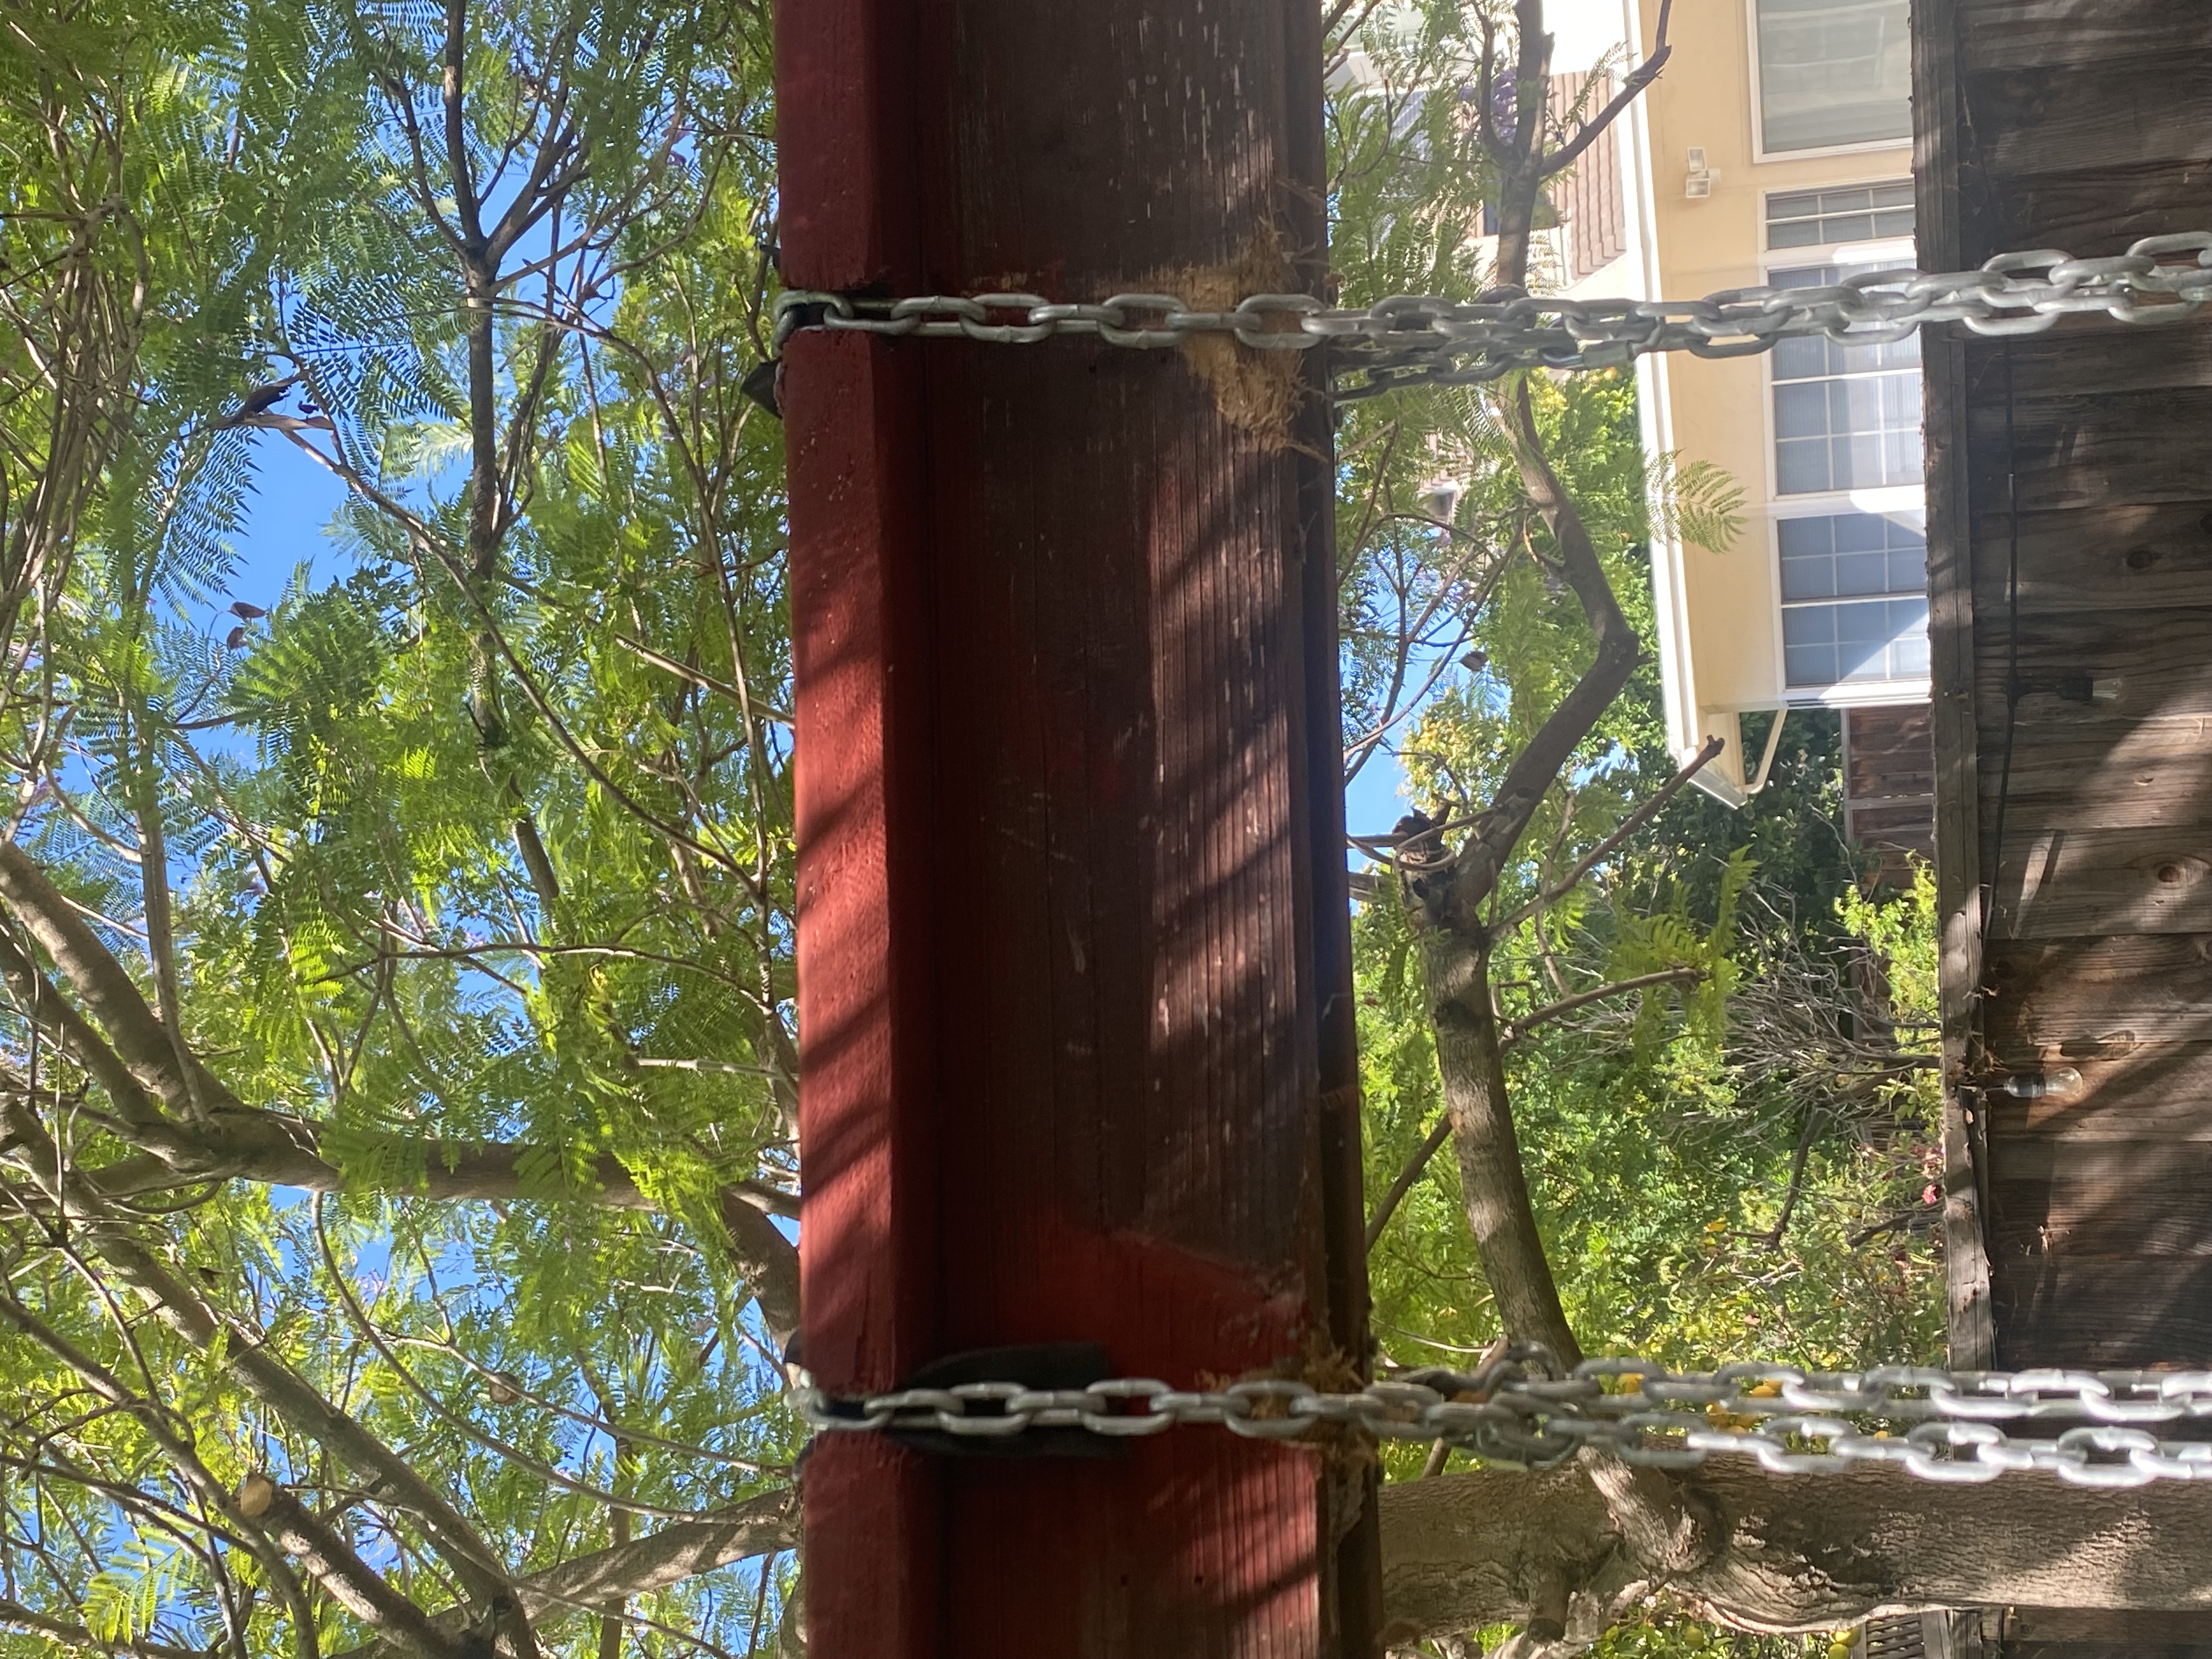
3. Strengthen the beam the swings sit on: Previously the swings were held in by a long screw / eye bolt with a hole in it, so all the weight of the rider was on the swing. I didn’t think this would work for an adult that weights 200 pounds. So I added an additional beam on the top of the swing set and had the swing set chain go over this board.

4. Create new swing “tracks”: I created track for the swing chain to go over the support beams so the chain would not move around and damage the wood but would stay in one place.

5. Stabilize the swing set: The swing set had a tendency to wobble (and even slightly come off the ground) when multiple people were on the swings. To prevent this I added more weight to the side of the swing set that didn’t have the platform.

Here are more details on each of these steps:

Step 1: Replace the swing chains: I bought new chains at Lowe’s. They were rated for 500 lbs so they should definitely be strong enough to support an adult. I bought eight foot chains lengths, which were about a dollar a foot.

I also bought chain accessories to connect the chain to itself and to connect the chain to the swing.

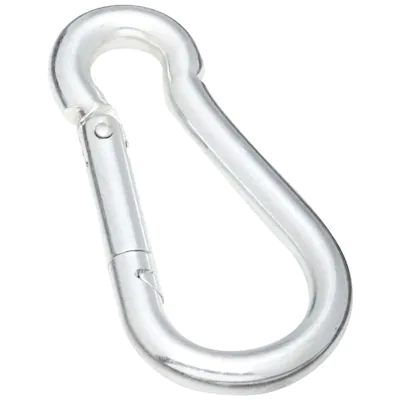
To connect the chain to itself I used a “quick link” (At least this is the name it is given on Lowe’s). It is a chain link which was a portion that unscrews. How it works is that you unscrew the link, connect the two pieces of chain, and then re-link them by screwing the quick link closed. To connect the chain to the swing I used what Lowes called a Spring Snap, which is similar to a carabiner.

This is a quick link, which is what I used to connect the chain to itself.
This is a Spring Snap, which is like a carabiner. I used this to connect the chain to the swing.

Step 2: Replace the swing: The original swing set had a swing built for children which I don’t think could support a lot of weight. So I replaced the swings with adult swings which could support my weight which I found on Amazon.

This is the new swing I bought on Amazon, it is rated to support up to 660 pounds.

Step 3: Strengthen the beam the swings sit on: To strengthen this support beam the swings sit on I added a extra board over the top of the swing.

Step 4: Create tracks for the swing: I wanted to create tracks for the swing so that it would always swing in a straight line and the swing would always contact the same portion of wood. To create the track I first drilled hole with a spade bit. The goal was for the swing chain to go through these holes. Then I put a track of rubber down on the area where the swing chain would contact the wood. This way the swing would not damage the wood as it swung, but would instead put pressure on rubber, which hopefully could take the weight. The rubber I used to make the track for the chain is actually meant to be used on the bottom of garage doors. I bought it on Amazon, you can see details in the picture below.

This is how the rubber looks like I used to make the track for the chain.

I had the chain go over the rubber and through the holes I drilled to keep the chain in place. This is how the final product looked. You can see the drilled holes and the chain going through, which is supported by the rubber.

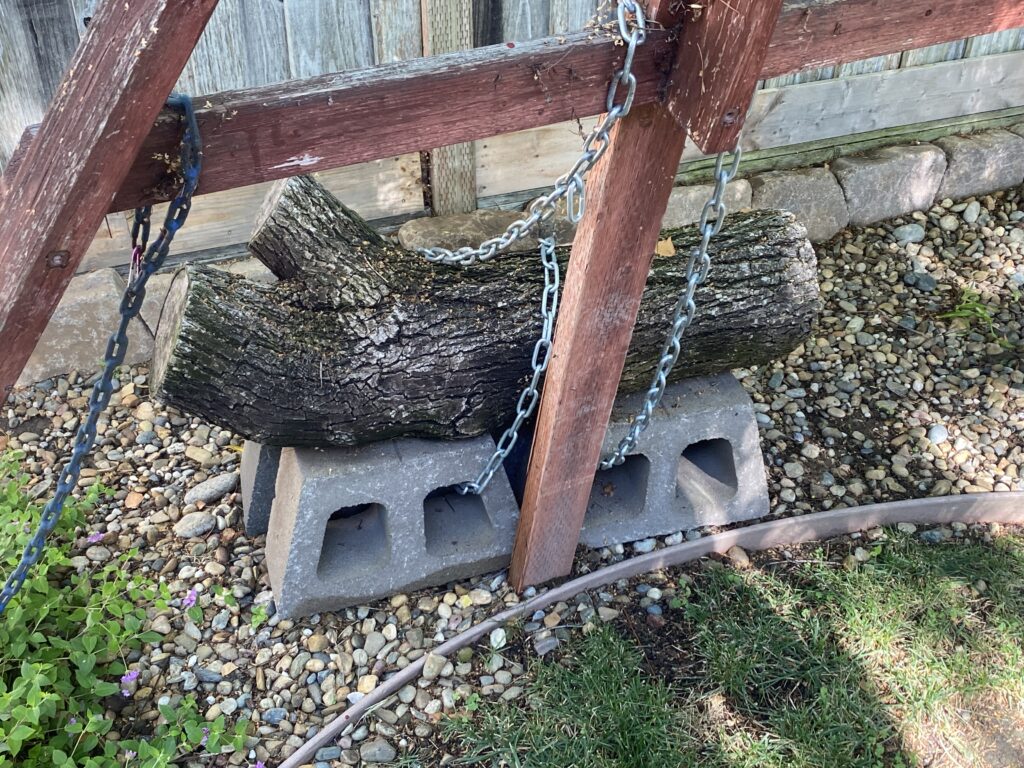
Step 5: Stabilize the swing set: As I mentioned before, when the swing set had multiple people on it the swing set would shift and parts of it would even come off the ground. To make it more stable I bought four cinder blocks which weighed 40-45 pounds each. They also only cost $5 each. Next I put a chain through the cinder blocks and attached the same chain to the swing set. This is how it looked in the end:

Here are the cinder blocks I chained to the swing set to give it more stability.

This was the final step. After this I was done. It was a decent amount of work but it turned out pretty well. See more details in the following video:

Posted in DIY projects, Uncategorized

Using a crayon as a candle

January 24, 2022January 25, 2022 admin

This is a simple life hack, but if you are desperate you can use a crayon as a candle. I personally have tested this out and it does work.

Here is an how a crayon looks as a candle. Impressive flame size!

However, two things to know are:

  1. It takes a while for a crayon to start burning (about a minute). I think the paper on the crayon helps so cutting the top of the crayon off might make the process faster.
  2. The crayons do not burn long. In my test the crayon burned out in 10 minutes and when I tried again it burned out in 15 minutes

See more details in this video:

Posted in Uncategorized

Make your own dog treat / dog bag carrier

March 13, 2021June 15, 2021 admin

In this project I made my own dog treat or dog bag carrier / container. We had bought our own which were $8-$10 each, and seemed kind of a rip off considering how easy they are to make.

Here is the dog poop bag carrier (left side) and dog treat carrier (right side) which we bought. They were $8 to $10 each.

The steps to make the carrier was simple. First find a small container to use to hold the bags or treats, which should only cost $1 or so. Next you need to make the loop to connect to your dog leash. To make this, cut a small hole in the container (small enough for a zip tie to fit through) and then place a dowel in the container. Wrap a zip tie around the dowel, then make a loop on the open end of the zip tie. Next, close this loop with another zip tie.

After this you are done it should look something like this.

This is a dog bag carrier I made. You can see the dowel in the container and the zip tie loops for attaching it to the leash.

It is hard to picture making this with just words. For more details on how to make it watch the following video:

Posted in Life Hacks, Uncategorized

DIY Project – More Trivets

September 15, 2020September 15, 2020 admin

This is pretty simple, it builds upon my previous post about making trivets which can be found here.

The process to make the trivets was simple.

  1. Cut rectangle pieces of wood, all the same size.
  2. Glue the pieces together overnight (using wood glue), holding them with clamps so the seal is strong.
  3. Sand the trivets to remove any rough spots.
  4. Stain the trivets (optional)

I made them the same way I did previously, but tried some different types of wood. When you make multiple versions at once assembly line style the process becomes pretty quick, I would say it took about 20 minutes per trivet.

The first set was made out of pine, oak and poplar (poplar is the middle board). You can see how these look here:

The second set was made out of pine and oak, similar to the one I made before. This is how those looked.

Posted in DIY projects, Uncategorized

Life Hack – Stirring paint the easy way

August 5, 2020August 5, 2020 admin

This is an easy life hack for when you need to stir paint and using a paint stirring stick is not enough. To solve this problem you can attach a blender attachment (egg beater) or a similar tool to your power drill and use this to stir the paint. They actually make tools specifically for this purpose as shown in the picture below.

This is a paint stirrer (for power drills) which I found on Amazon for $7.

The situation I ran into was I had a can of paint which was very watery (as shown in the picture below). I tried mixing it with a paint stirrer but it didn’t really work.

The solution I tried was putting an egg beater in a power drill and using that to stir the paint. It actually worked really well, you can see the set up in the following picture. Also I was surprised at how little splashing occurred in the paint when using the egg beater for stirring.

I think it would work better with the actual extension designed for stirring paint, but even the egg beater worked well.

You can see more details in the following video:

Posted in Life Hacks, Uncategorized

Ikea table: main ingredient = Cardboard!

May 15, 2020May 15, 2020 admin

This isn’t really a think I like, but it is something I think is interesting.  If you ever have gone to Ikea, you are probably impressed by their prices and have a sense that the quality of some of the furniture isn’t that great.  The following story explains why Ikea can keep their prices so low.

A few days I was going to use the table top of an Ikea desk for other wood working projects.  The plan was to cut the table top into pieces, essentially making boards out of the table top.  However, I noticed the table top felt very light, even though it appeared to be made out of wood. 

Here is a typical Ikea table.

To test it I cut off a corner piece of the table to see the wood inside.  I was pretty surprised by what I found.  As shown in the picture, the corner piece is particle board where the leg connects to the table.  Particle board is cheap, heavy and brittle but at least it is real wood.  The surprising part was what the rest of the table is made of.  As shown in the picture, the rest of the table top is plywood on the top and bottom with cardboard as the filler in the middle.  That’s right, the majority of the table top is made of cardboard! 

You can see the particle board of the left and the cardboard on the center and right.
The cardboard from another angle.

You can see in the photo the leg bracket which is support by particle board and the cardboard sticking out for the rest of the table.  I was pretty shocked, the table was more cardboard than wood.  I will probably still shop at Ikea but will be much more wary of the durability and quality of the products.

Posted in Uncategorized

DIY Project- Replacing your air cabin filter in your Honda vehicle

February 3, 2020February 3, 2020 admin

This video shows how to replace your air cabin filter in your Honda vehicle. It is a very easy process and only takes a few minutes. Save some money and do it yourself instead of paying someone to do it. It is possible other vehicles have a similar process but I can’t state this for sure.

Posted in Uncategorized

Life Hack and DIY Facebook Page

Get more stuff

Subscribe to our mailing list and get interesting stuff and updates to your email inbox.

Thank you for subscribing.

Something went wrong.

We respect your privacy and take protecting it seriously

Proudly powered by WordPress | Theme: x-blog by wpthemespace.com