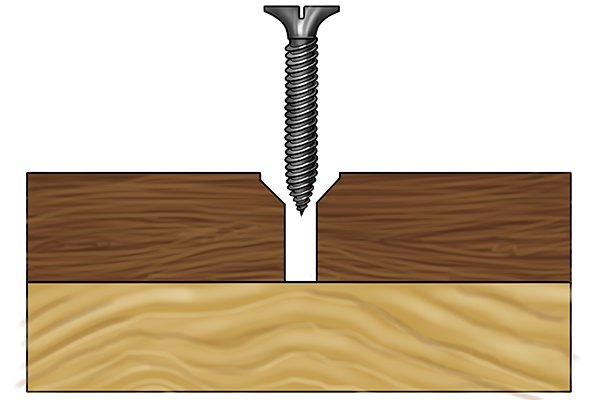
When working on your project you want your screw to be flush against the wood, not sticking out in any way. To accomplish this you will want to countersink the pilot hole before drilling in the screw. Countersinking means “to enlarge and/or bevel the side of a hole to allow any given fixing to be sunk below the surface of that hole.” Basically, you want the top portion of the pilot hole (not the entire hole) to be wide enough to fit the head of the screw. They have bits specific for countersinking, but I just use normal drills bits to accomplish this. I drill a small pilot hole and then drill a few millimeters on the top of the pilot hole with a wider drill bit to make room for the screw.
This picture will give you a better idea of how countersinking a screw works:

In this video I describe countersinking further and show an example of countersinking a screw.