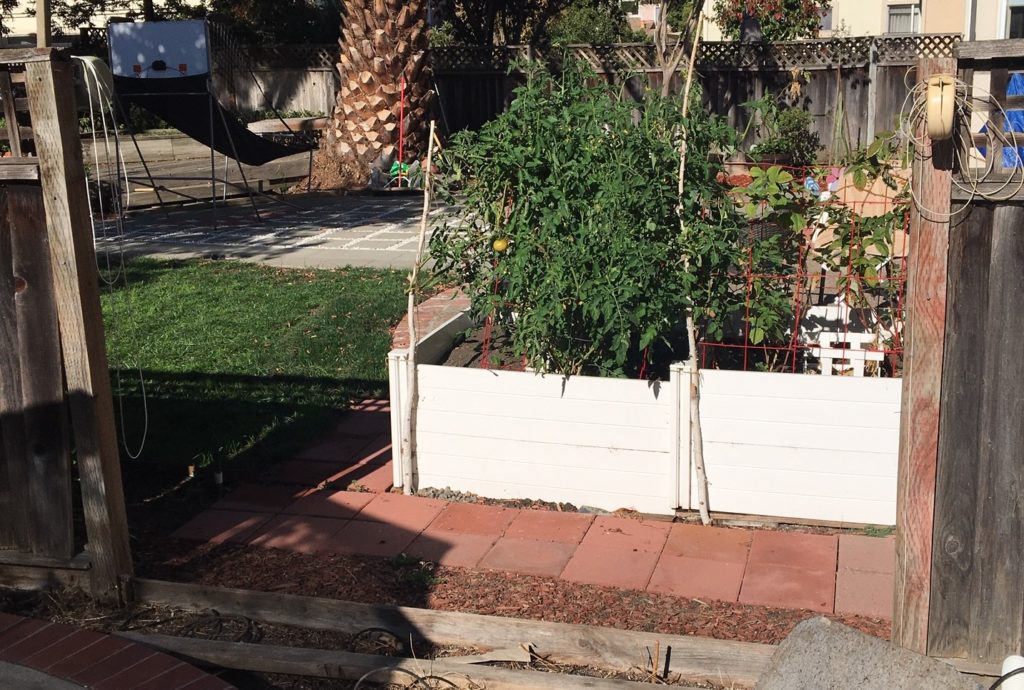
For this project, I replaced a section of fence which had fallen down. The complete section had fallen down and the only remaining pieces were the fence posts and a board which spanned the bottom of the section.
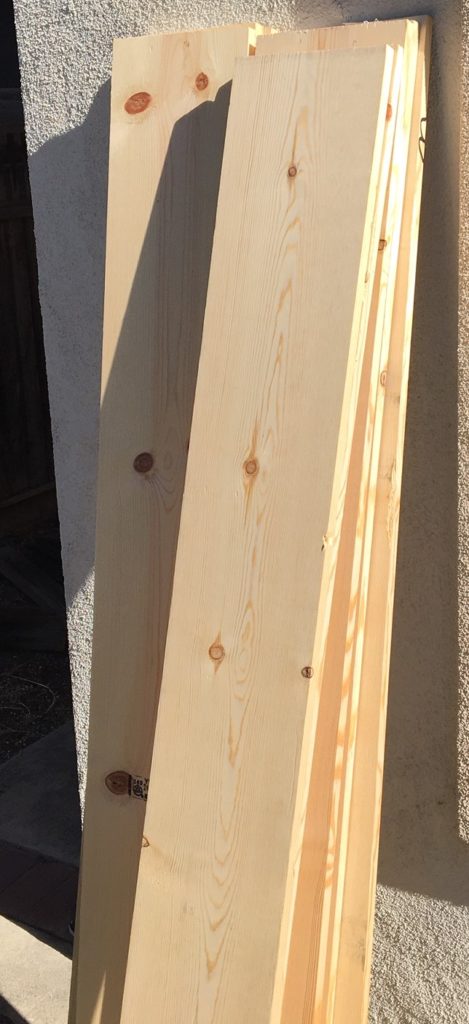
To replace the fence section I chose boards 9 inches wide and 6 feet tall which I would stack across the missing span of fence section.
To keep the fence stable I also bought a 2 x 4 to go horizontally across the span of new fence, which would be screwed into each individual board. The old fence also had a top board with a groove in the middle to fit the boards in. I wanted to use this board as another method for keeping the fence stable.
When the project is finished the fence will be very sturdy as it will be held in place in three different areas:
-Held in place by the base board at the bottom of the fence (with two torque screws per vertical wood plank)
-Held in place in the middle of the board with the 2 x 4 (with two torque screws per vertical wood plank)
-Held in place by the top board which is on the top of the vertical plank boards (held in place by the groove in the middle of the board)
Once the plan was set, creating the fence was pretty straight forward. I cut the boards to size, as the top of the fence was about 5.5 feet but the board were 6 feet tall. Then I placed in the boards spanning the missing section and attached them to the base board and the board at the middle height of the fence. This resulted in the fence looking like the following:
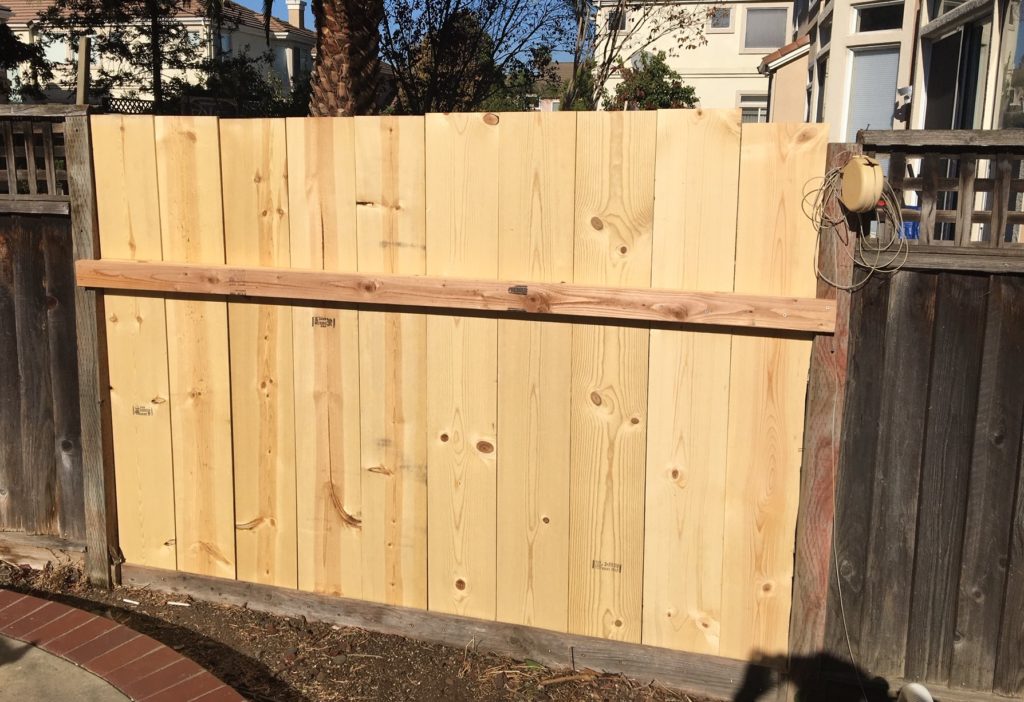
As shown in the picture, the boards heights were uneven. Much of this was due to the ground being uneven, as it sloped downwards. Therefore, I had to trim the top of the boards to match the downward slope so that the top board would fit properly. To trim the top of the boards I used a small circular saw which could be operated with one hand, as opposed to the more bulky, larger circular saws. This is the exact circular saw I used, it worked pretty well and I would recommend it, you can find it here on Amazon: WORX WORXSAW 4-1/2″ Compact Circular Saw – WX429L

After cutting the boards to the appropriate height I was able to attach the top board. This was the final step and then the fence was complete. I was pretty happy with the result, you can see the end result of the project in the picture below. In the picture the slant is more apparent now that the top board is attached.

And that’s it, replacing the fence section has been completed.
looks great!