The goal of this project is to build a simple but stylish bench. The one I built (and will show you how to build) is pictured below, but yours may be different based on the materials you select. My time estimate to create a bench like this is 10-20 hours.

Step 1: Decide on the dimensions for your bench.
Before you do any cutting or buying of materials decide on the dimensions you want of your bench (length, width and height). I am building a bench for our entry way and decided on a bench 3 ft long, 2 ft high and 1.5 feet wide.
Step 2: Make the top of your bench
As indicated in step 1, the top of the bench was to be 3 ft long and 1.5 feet wide. I didn’t have two boards that were 1.5 feet wide combined (well I did but they were warped and would not look could). Therefore, I took four 2 by 4s and used those. I made sure they were exactly the same length, as shown in the photo below.

Step 3: Build / develop the legs for your bench
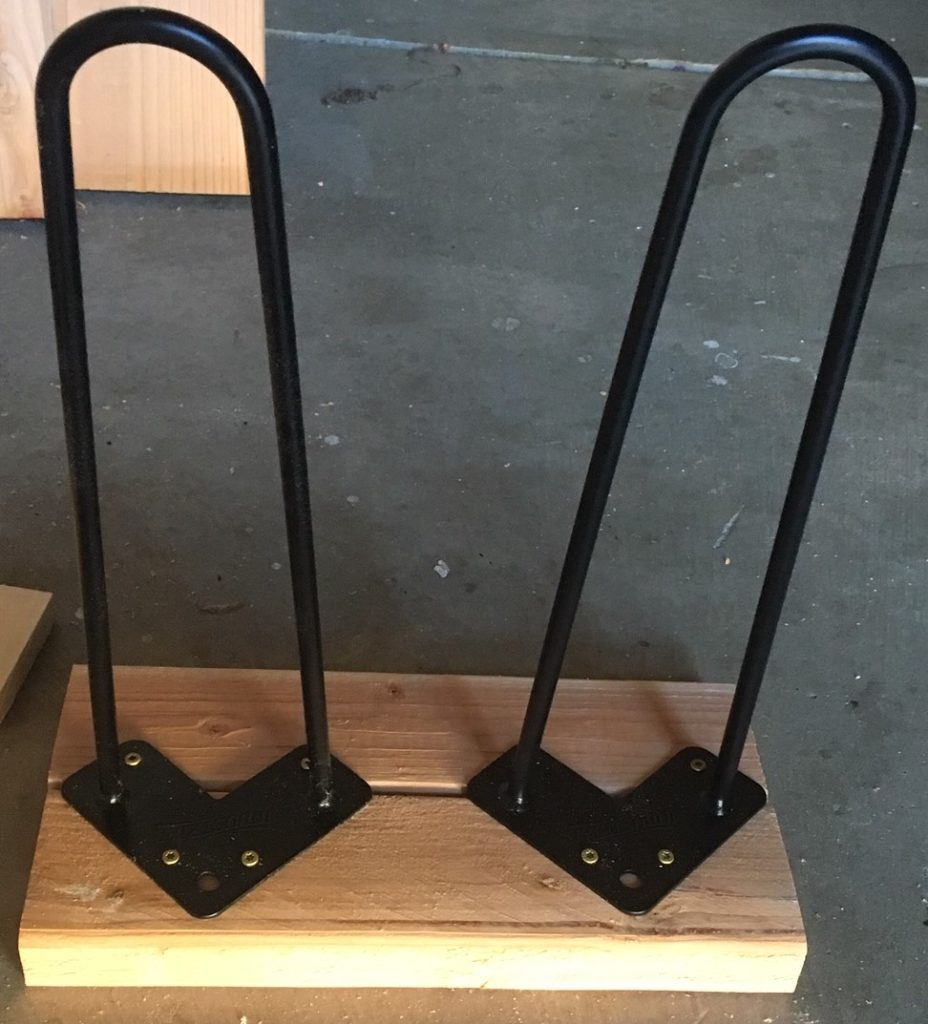
The next step would be to build/ develop the legs for your bench. I bought metal hairpin legs from Amazon which I used as the legs for the bench. However, I needed a board to connect to the bench top and keep those four boards together. Therefore, I made a platform for the legs and screwed the legs into this platform. This platform has made of two 2 x 4s which were the width of the four boards. Below is a picture of how this platform looked.
If you like these metal hairpin legs you can find them on Amazon here:
Heavy Duty Hairpin Legs (Satin Black) – Mid Century Modern – Set of 4 Table Legs
Step 4: Connect the legs to the top of the bench.
Next step is to connect the legs to top of the bench. I clamped the legs to the bench top and clamped the four boards which composed the top of the bench (six clamps in all) before drilling holes for the bolts to connect the table to the legs.
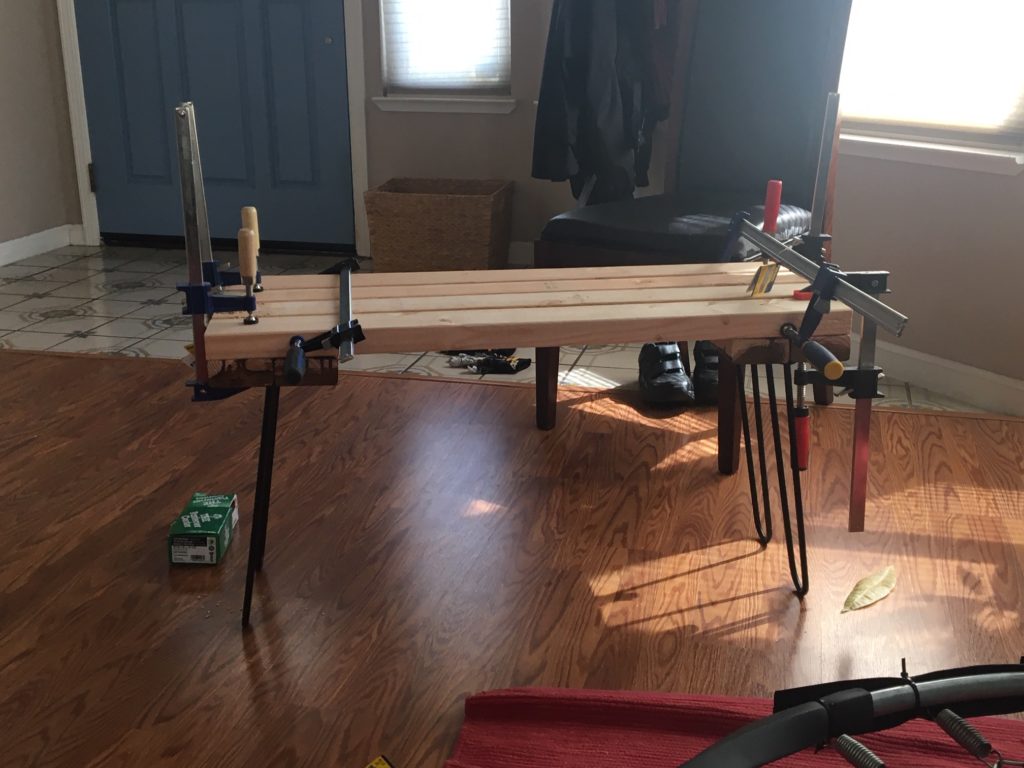
I prefer using bolts with washer and nuts to connect the legs to the top of the bench instead of screws, as the bolts are easier to adjust and provide a sturdier fit.
The bolts I used can be found here on Amazon:
Hillman 812626 1/2X6 Carriage Bolt, 1/2 x 6-Inch
Step 5: Sand and stain (or paint) the bench
This is the final step of the making the bench. I sanded the wood using a random orbit sander until it felt smooth and had no rough edges. Then I stained it using a light brown stain but you could always paint it if you prefer.
And that’s it, you have created a simple but stylish bench!