In this project I built a 3 level printer stand.
This is how it looked when finished:
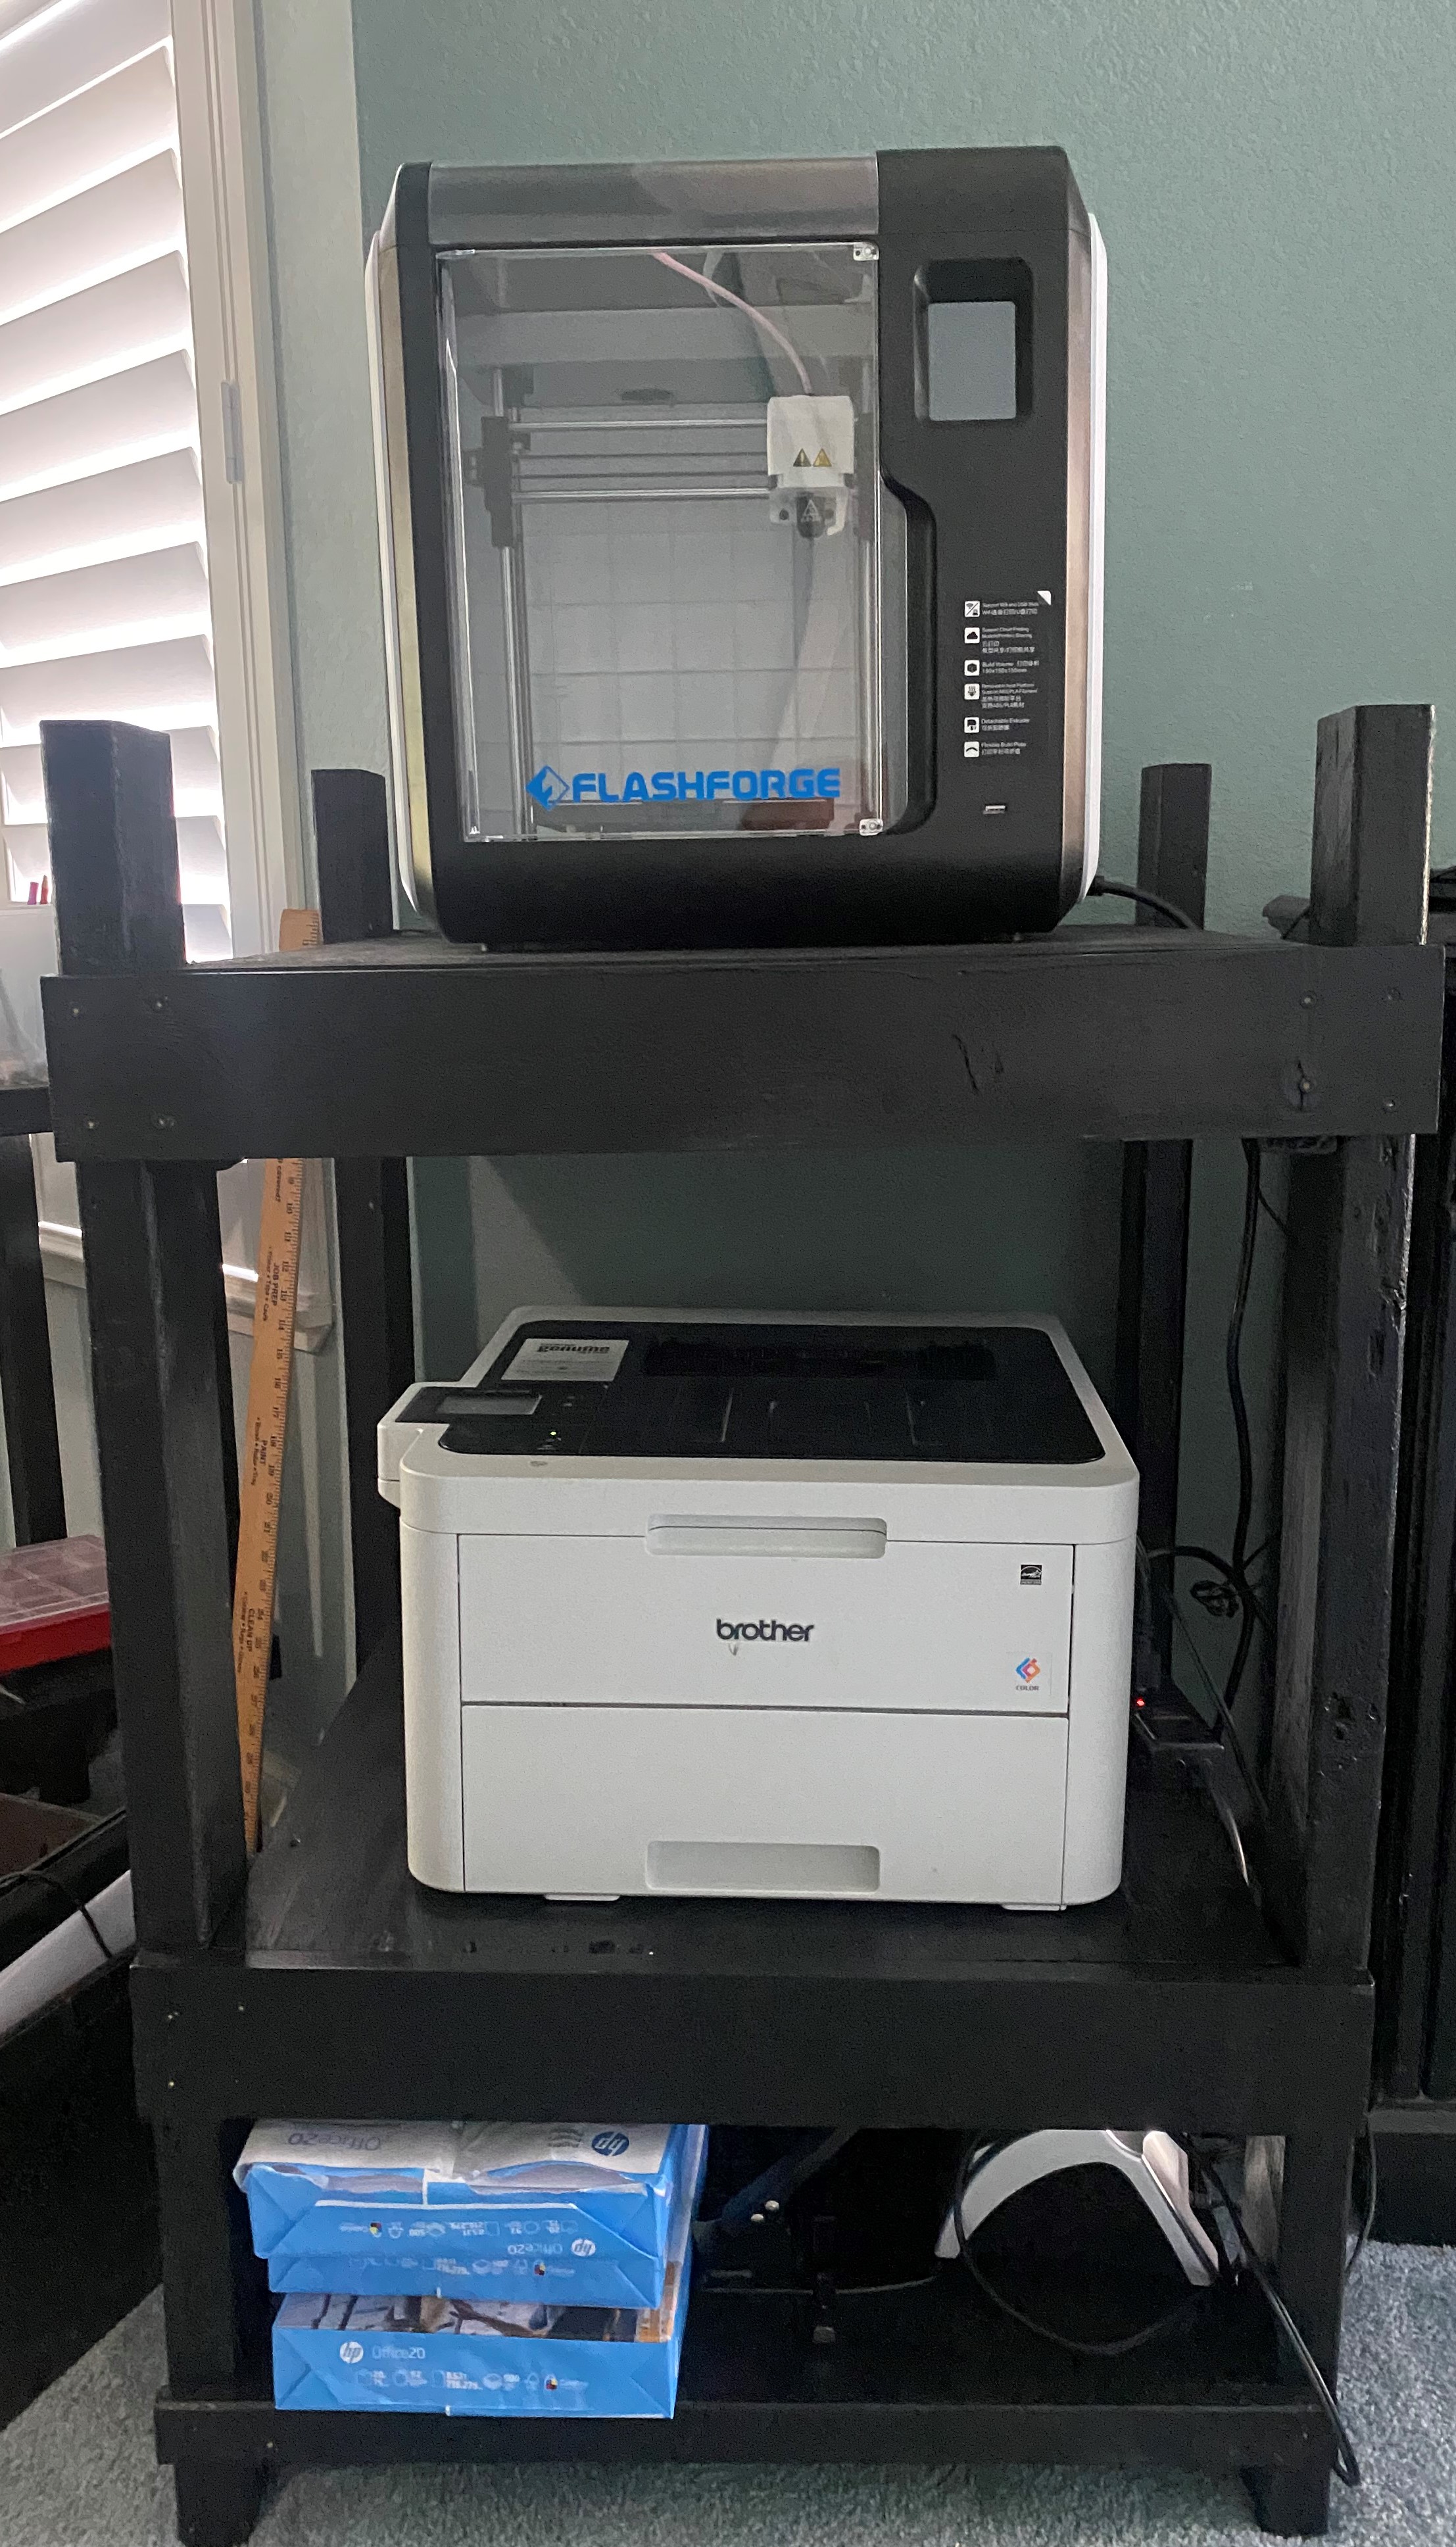
Here are some details on the finished stand:
-Level 1 was to hold printer supplies. I made this level five inches off the ground. The level itself was 8 inches tall.
-Level 2 was to hold my laser printer. The printer is pretty big and heavy. This level was 13 inches off the ground and was 24 inches tall.
-Level 3 was to hold my 3D printer. The printer is tall but not that heavy or wide. I placed it at the top so that nothing would get in the way of the printer’s height. I made level 3 36 inches tall, as this is the same level as my dresser.
General structure: The general structure of the printer stand is that the four legs would be made by 2 x 4s, and each level would have a horizontal 2 x 4 (or 1 by 1 on the first level) to support a plywood rectangle. The rectangle was almost a square, the dimensions were 22 inches wide and 24 inches deep.
Steps to build it:
- Cut the platform pieces to the correct size: This might not have been the ideal first step, but I cut the platform pieces (which were 22 inches by 24 inches) first and based everyone on these pieces. If I had to do it again I would probably cut each platform piece as needed which would allow for the fit of the platform pieces to be more exact. Regardless, my platform pieces were made of plywood. I had a few thicknesses of plywood to use and used the thickest plywood for the laser printer platform as that was the highest piece.
- Cut the legs: This was pretty simple, I cut four 2 x 4s to be 40 inches long. The top platform will be 36 inches high so the legs will extend beyond the top platform by about 4 inches.
- Build platform one: This platform was 5 inches off the ground. I cut two one by ones to support the platform. I drilled a hole and secured these to the legs with a hex bolt and nut. Then I screwed the platform to the one by one support, using Torx screws. Last, I added one board to each of the sides without the supports. These boards were to keep the legs more stable.
- Build platform two: This has the same steps as building platform one except I used a 2 x 4 for the platform support.
- Build platform three: This has the same steps as building platform one except I used a 2 x 4 for the platform support.
- Sand and paint all the wood: I sanded all the wood (to get it ready for painting), and then I painted everything black.
And that’s it! It took a while to make but I am pretty happy with how it turn out. You can see more details in the following video: