For this project I built a wooden chair. To determine the dimensions I would use for the wooden chair I measured the dimensions of chairs around my house to give me a guide. In the end the dimensions I decided on were:
-Seat Height=19 inches
-Seat length (not including back leg): 15 inches
-Chair width: 16 inches
-Back leg height / back rest height: 44 inches
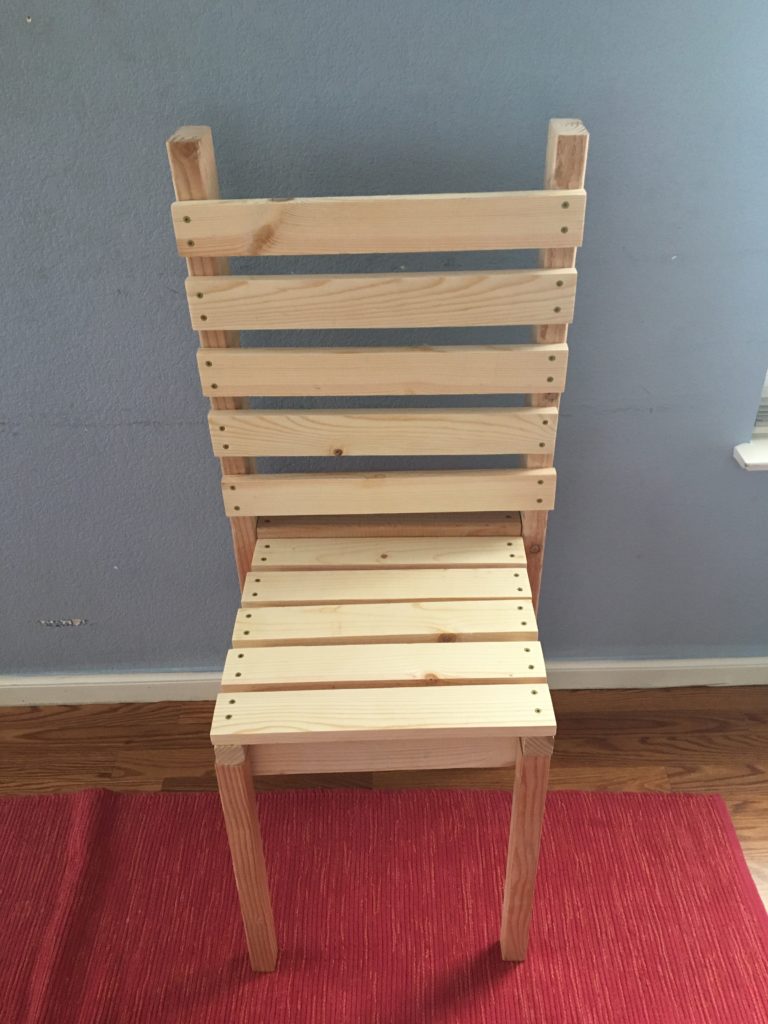
The picture below shows how the chair turned out (painted and unpainted). I am pretty happy with the chair but admit that it is not perfect and could be a little more exact.
Creating the chair is pretty straightforward and I estimate it would take 6-12 hours to build (before painting).
Here is a summary of the steps to create the chair. After this summary I have a video summarizing the chair and the steps to make it in greater detail.
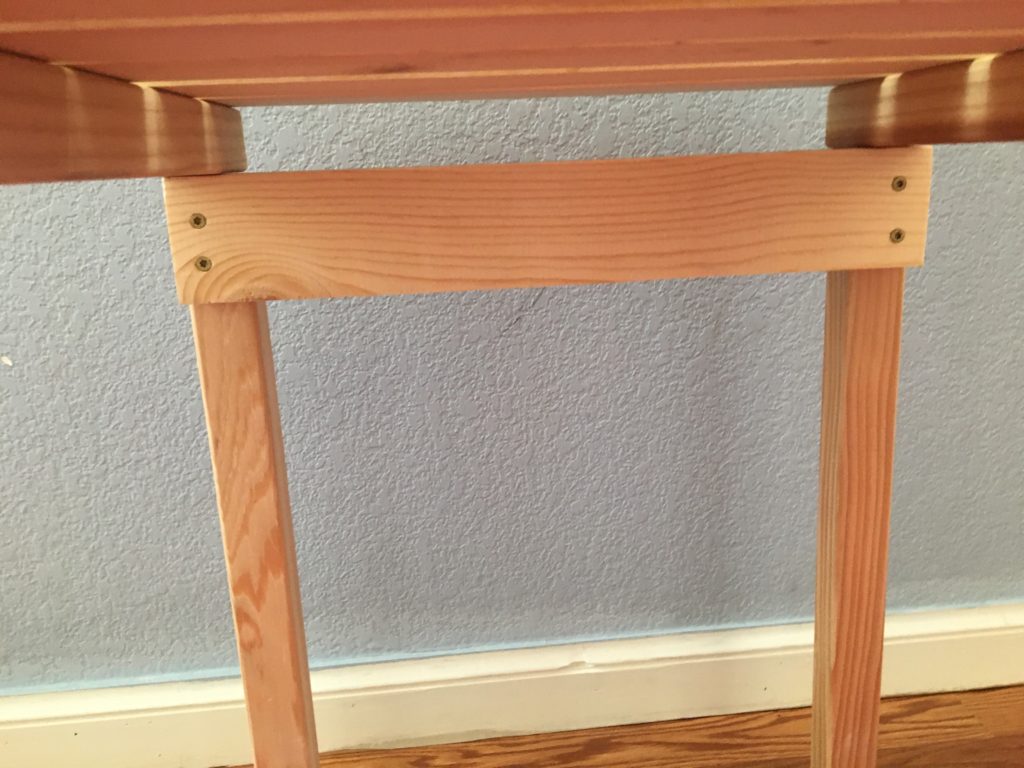
Step 1: Build the legs of the chair. The back legs of the chair are 2 x 4s cut to the desired height. These legs are bolted to a 1 x 1 horizontal board which is the frame of the seat for the chair. This horizontal board attaches via torque screws to a 1 x 1 board which will serve as the front legs for the chair.
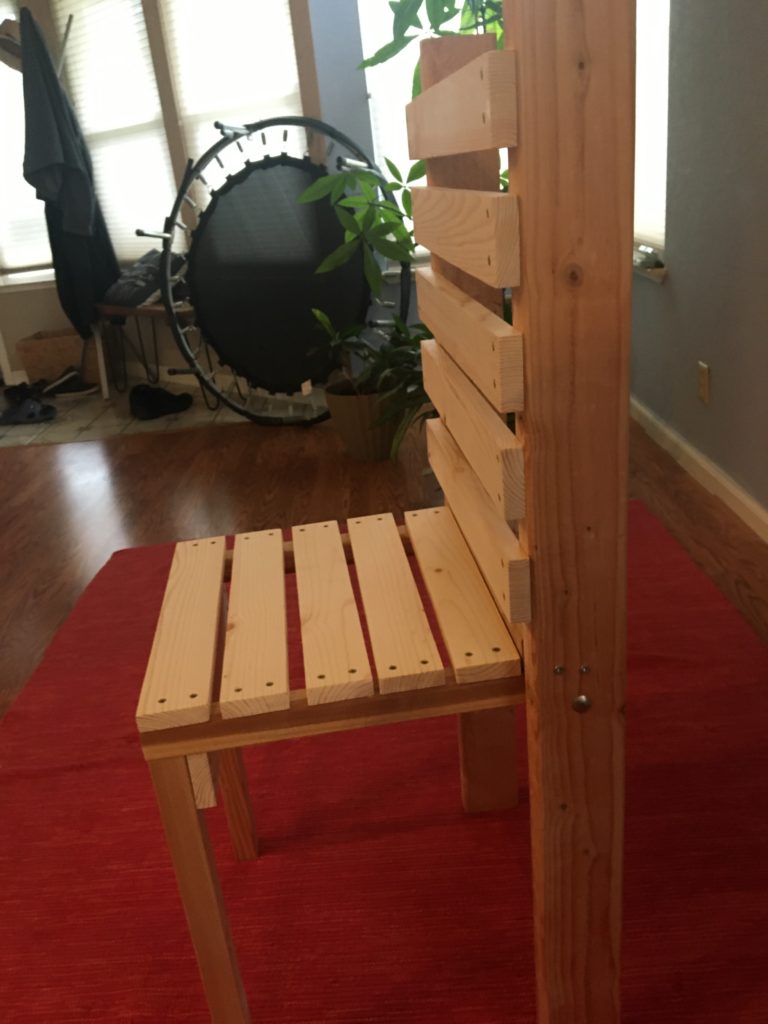
Step 2: Build the seat of the chair. To build the seat of the chair I drilled thin boards into the horizontal boards on the legs of the chair. I spaced the boards apart by roughly a half an inch.
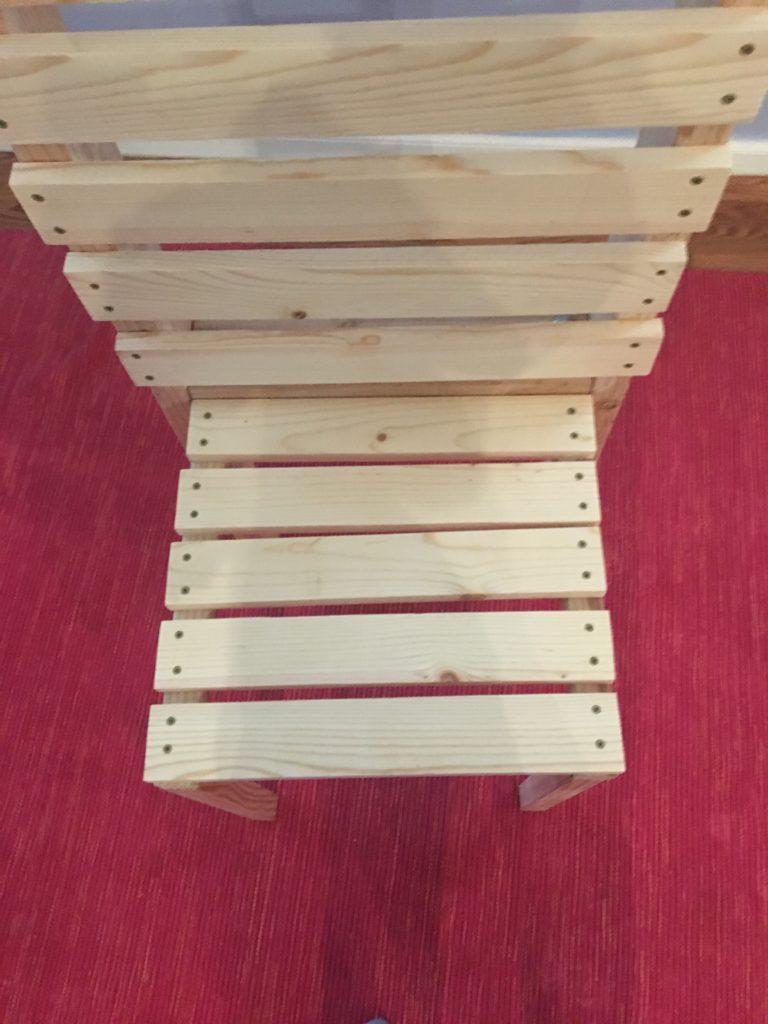
Step 3: Build the back of the chair. To build the back of the chair I drilled thin boards into the chair’s back legs. I spaced these boards apart by roughly three quarters of an inch.

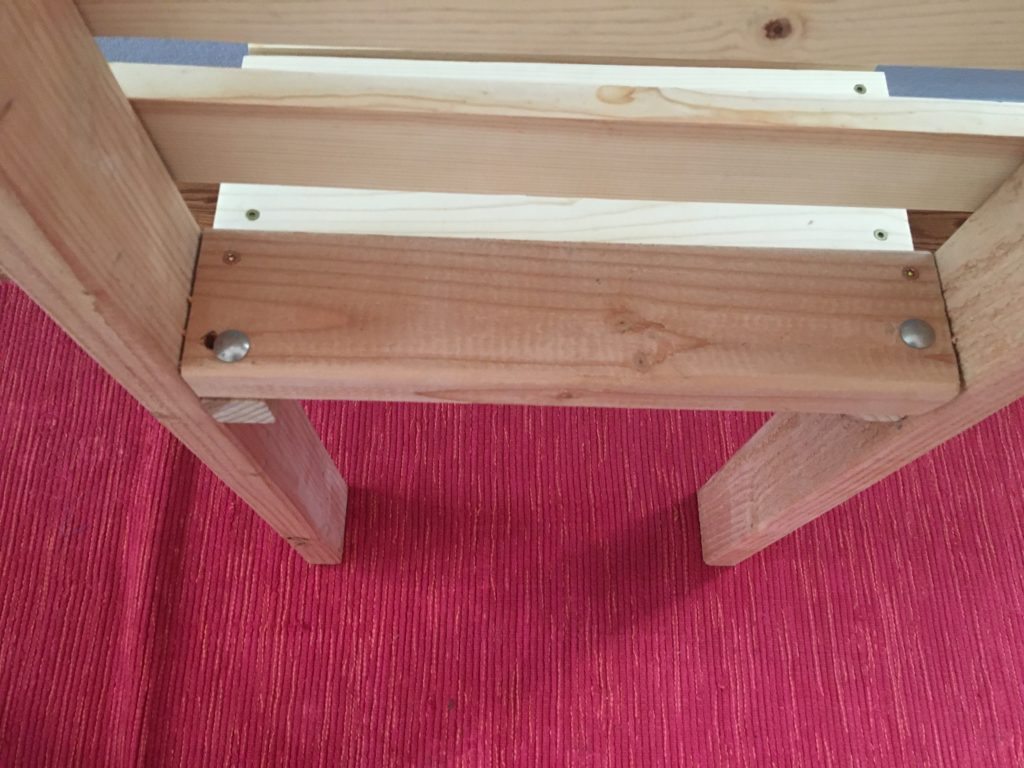
Step 4: Adding support boards to increase stability to the chair. The last step to build the chair was to add support boards to increase chair stability. One support board goes across the front legs to keep those boards secure and make sure the legs do not move. The second support board connects the back legs to the horizontal seat boards to keep the back legs stable. If this board is not added the back legs tend to shift based on how you are leaning in the chair.
And with that your chair is done!
The following video describes the step in more detail and shows the progression of the project from start to finish.