This project, creating your own wooden easel, is fairly easy. You can buy small easels (2 inches or so) for only a few bucks, so I wouldn’t bother building one that size. However, the easel I built could hold a letter sized piece of paper (8 inches by 11 inches or so). An easel this size (or larger) is more expensive if you buy one ($15 +) and is harder to find.
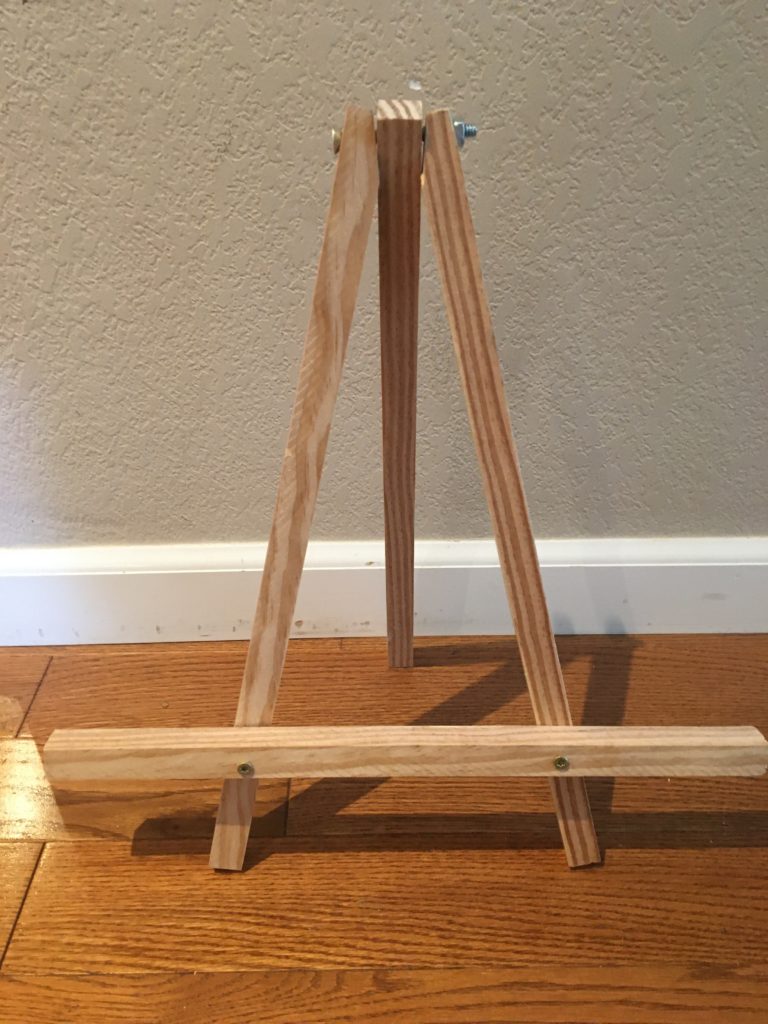
Making the easel is pretty simple and shouldn’t take more than an hour. The only lumber you will need is a 3/4 inch square wooden rod which you can get at a hardware store for only a few dollars. Buy one which is six feet or so, as this rod will be used to make the easel legs, back support and cross beam. The steps to build the easel are shown below. The dimensions I mention are what I myself used to make my easel, but feel free to adjust the dimensions as needed to fit whatever size you want your easel to be.
Step 1: Make the easel legs: The first step is to make the two legs of the easel. For my easel the two legs were 17 inches long, so I just simply straight cut these two 17 inch pieces from the rod. Note that the legs will be placed at an angle which the easel is completed.
Step 2: Make the easel back support: The back support is the rod at the back of the easel. It should be about the same length as the legs, but could be longer depending on how you want it to look. To start I would cut a longer piece than needed (in my case 20 inches) and then adjust it once the easel is put together and I can see how the completed piece looks.
Step 3: Put the back support and legs together: The top of the legs and top of the back support will meet at the top of the easel. To get the legs to meet the back support in a flush manner you need to taper the top of the legs at about a 25 degree angle using a saw (mitre saw would work best). Next clamp the legs and back support together or simply hold it together so you can drill a hole. Then, drill a hole through all three. After that put a bolt through the holes and tighten a nut to it to keep the legs and back support together. Be careful when drilling the hole as it can cause the wood to split, which could require you have to replace that piece.

Step 4: Add the cross beam: The cross beam is the board which will hold up whatever is being placed on the easel. To add it, you need to cut a piece of the wooden rod to the appropriate length and then screw it into the legs (hopefully using torque screws). The length of the cross beam I used was 15 inches.
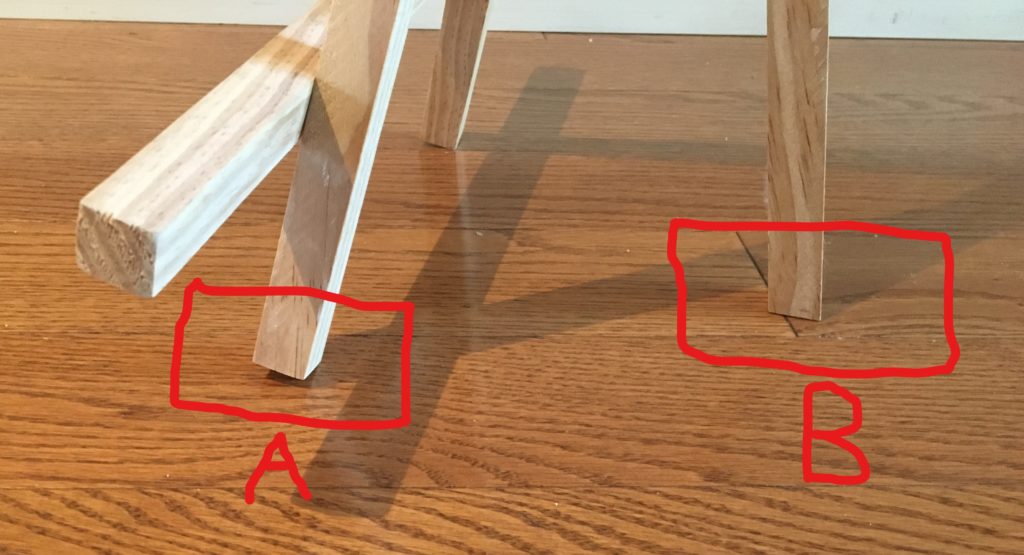
Step 5 (Optional): Taper legs and back support rod: One optional step is to taper the bottom of the legs or the back support rod so that it will sit flush with the ground instead of at an angle. If you don’t taper the leg or back support rods they will contact the ground at a single point and it will be less stable than if it was flush to the ground. However, it is stable enough even without tapering the rods, which is why I would say tapering the rods is optional. To taper a rod you just need to cut the end of the rod so that it will be flat when it touches the ground.
The picture below shows both tapered and untapered ends to the easel rods.
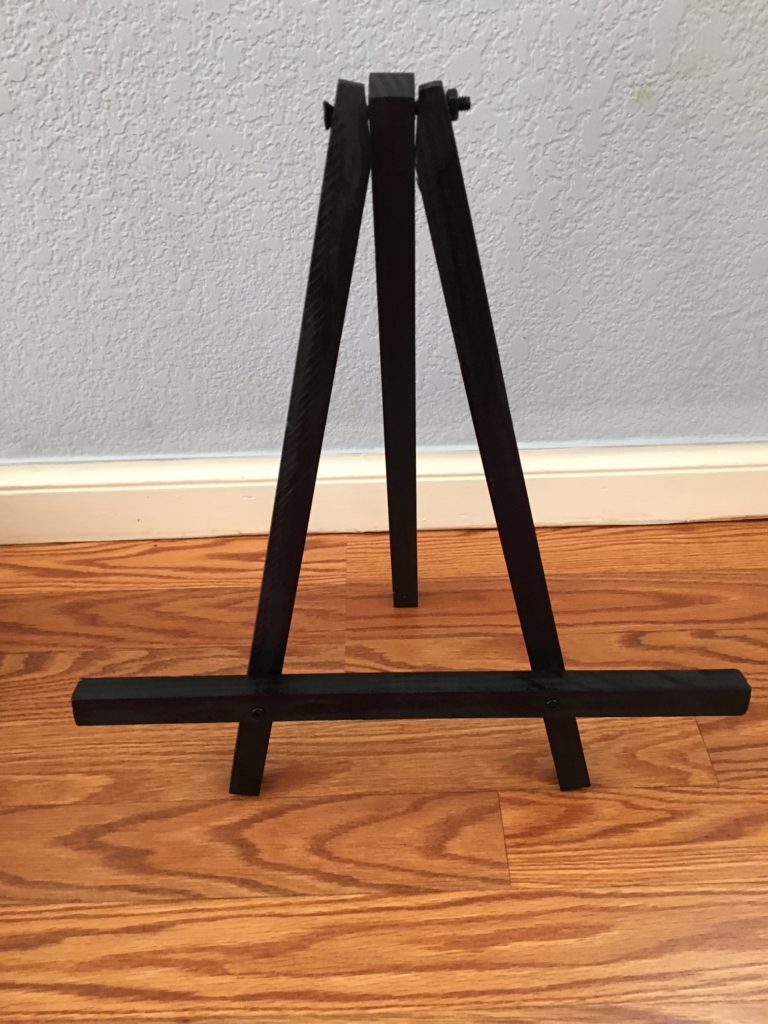
Step 6 (Optional): Paint or stain the easel: This is self explanatory, but if you wish to stain or paint your easel it is probably best to do it at the end. However you could also paint it before applying the screws and bolts.
The following video provides a summary of the steps to build the easel.
And there you have it, all you need to build your own easel.