We all have have gotten a crack on our windshield due to a rock or similar debris. However, getting the windshield replaced isn’t cheap (usually $500 or more) and if the crack is small it might make more sense to simply fix the crack. The crack doesn’t get fixed so much as sealed so that the crack doesn’t spread. You can pay someone to do this or you to do it yourself rather easily and very inexpensively.
Below are the steps to seal a windshield crack.
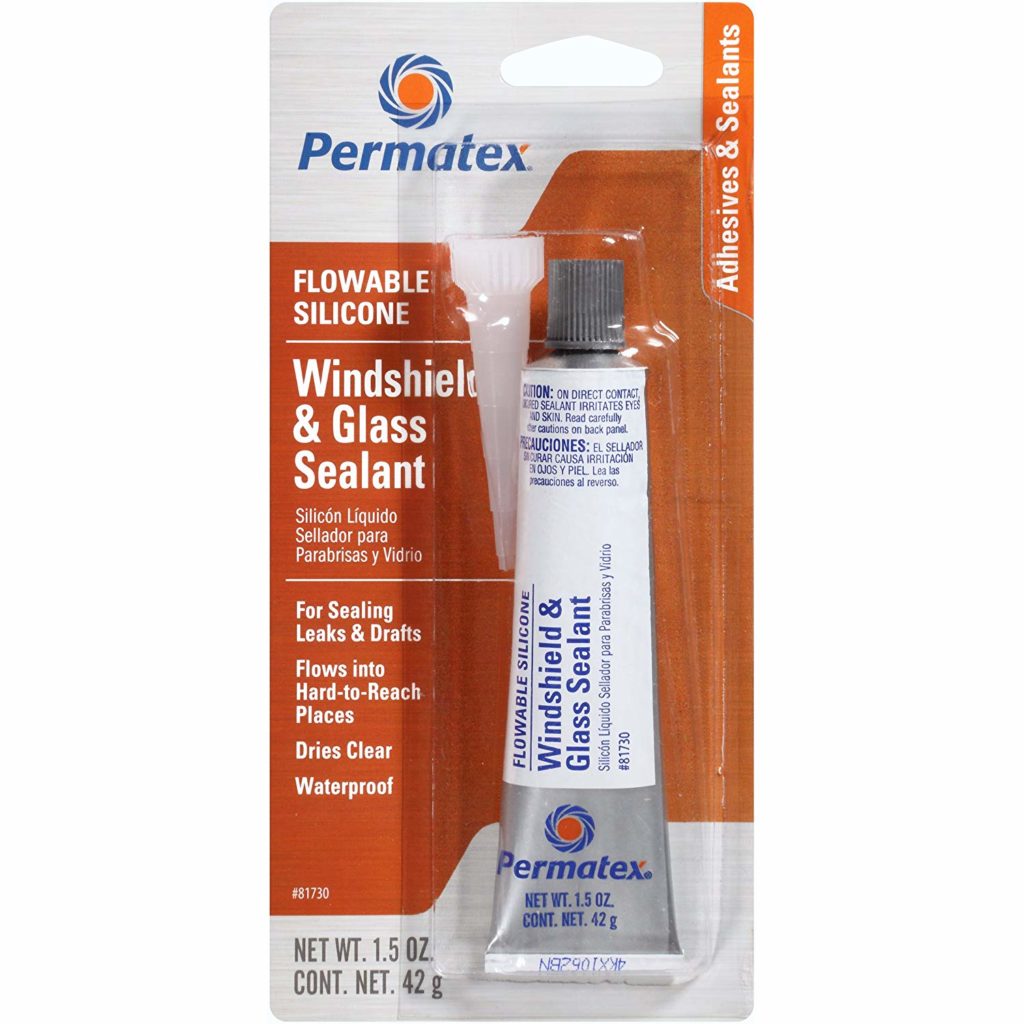
The only materials required is the sealant, which can be found on Amazon. I bought the sealant in the picture below for only $3 on Amazon, here is a link to the product on Amazon:
Permatex 81730 Flowable Silicone Windshield and Glass Sealer, 1.5 oz.
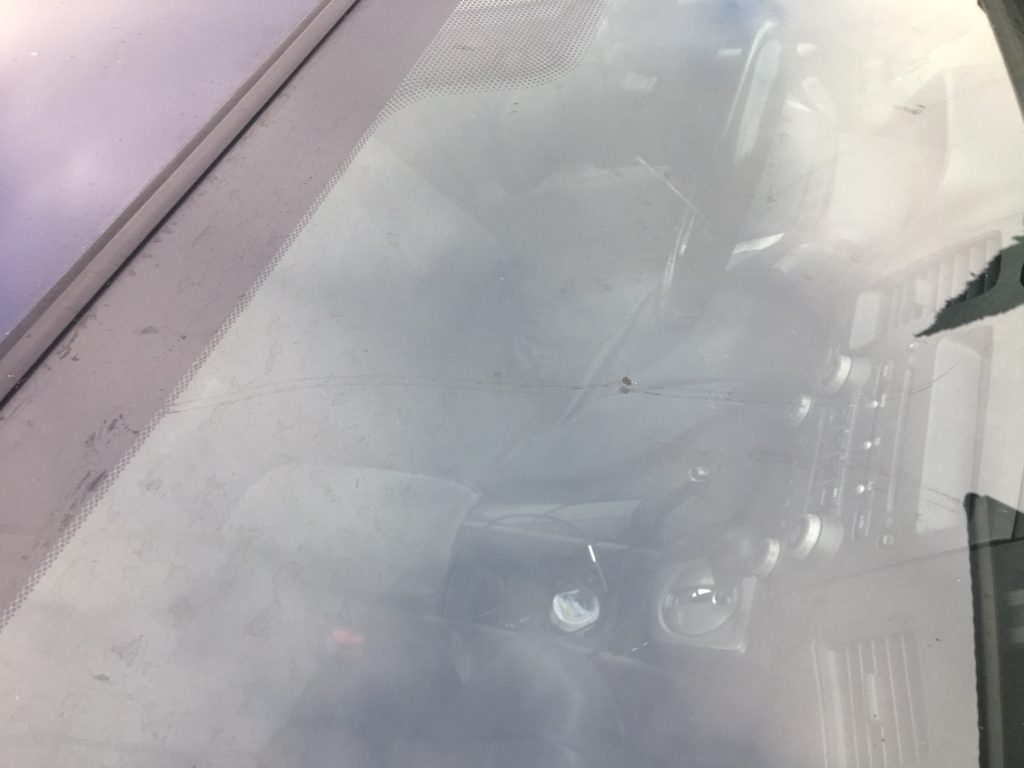
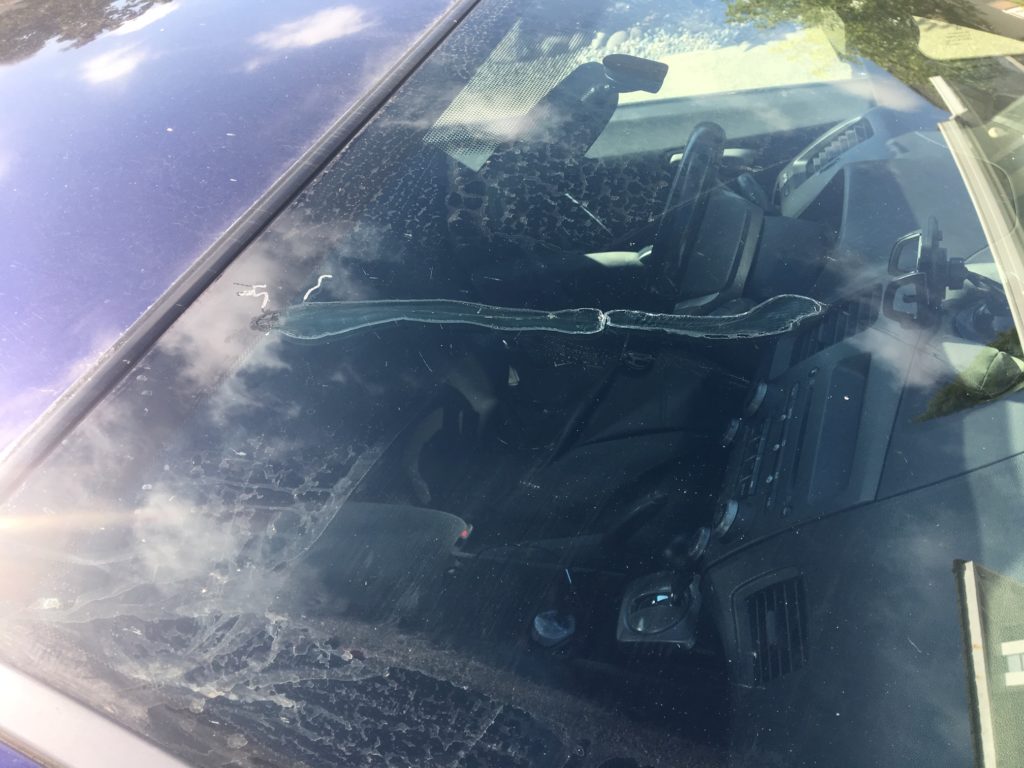
Step 1: The first step is to simply the clean the crack of any dirt or debris. This way you don’t seal any unwanted material into the crack. Below is a picture of the crack I am sealing. This is actually the third time I have sealed this crack (which is seven years old). By sealing the crack every few years I have prevented it from expanding.
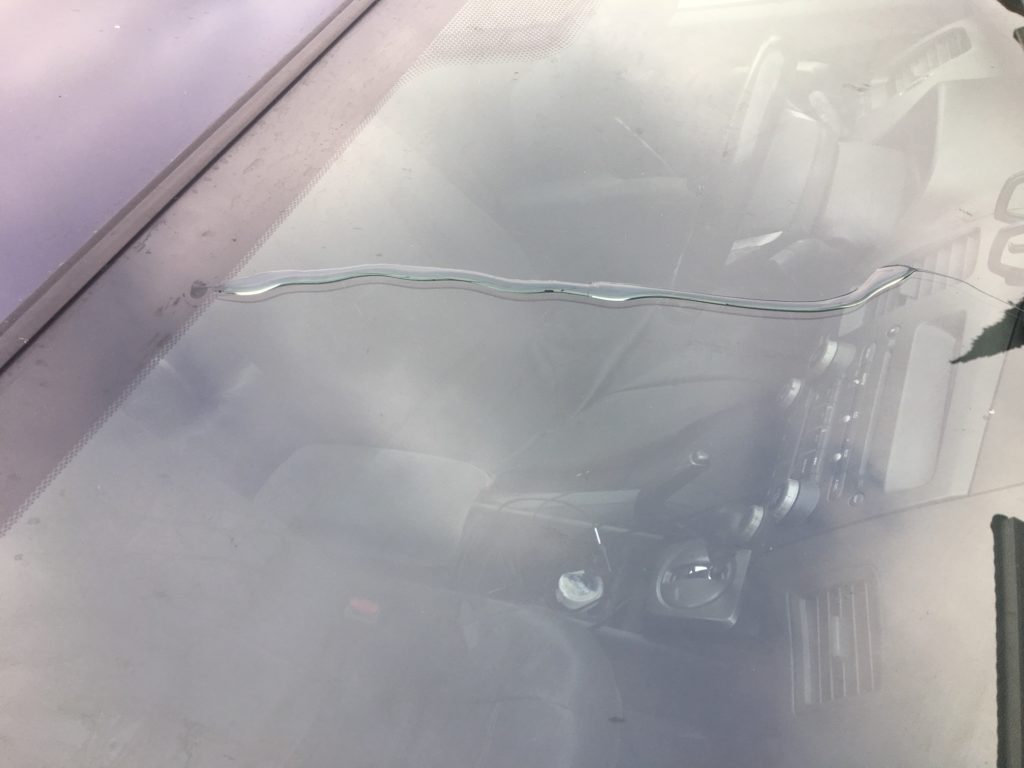
Step 2: In this step I cover the crack with the sealant. I normally use much more than I need since the excess will end up being scrapped off and the sealant is inexpensive.
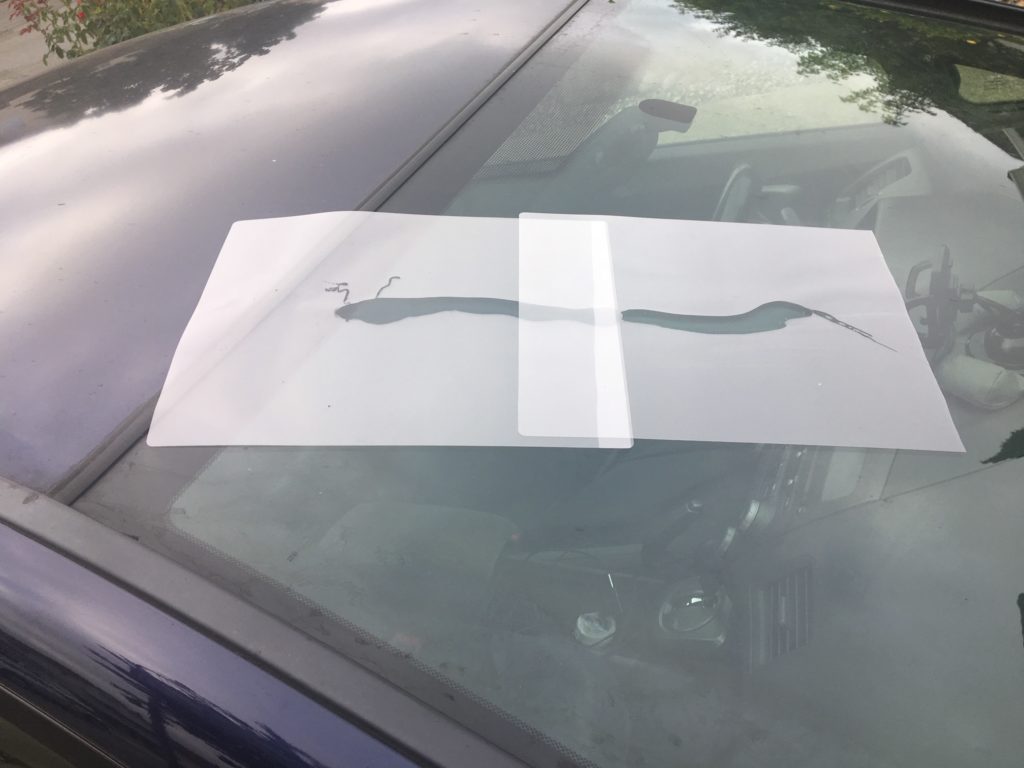
Step 3: In the next step I squeeze the sealant into the crack to fill any spaces below the surface. For this I took a laminator sheet to push the sealant into the crack. Other materials which could be used for squeezing in the sealant are saran wrap or a trash bag, basically anything to squeeze the sealant into the crack. After squeezing in the sealant leave the sealant alone for 3-4 hours so that the sealant has time to dry.
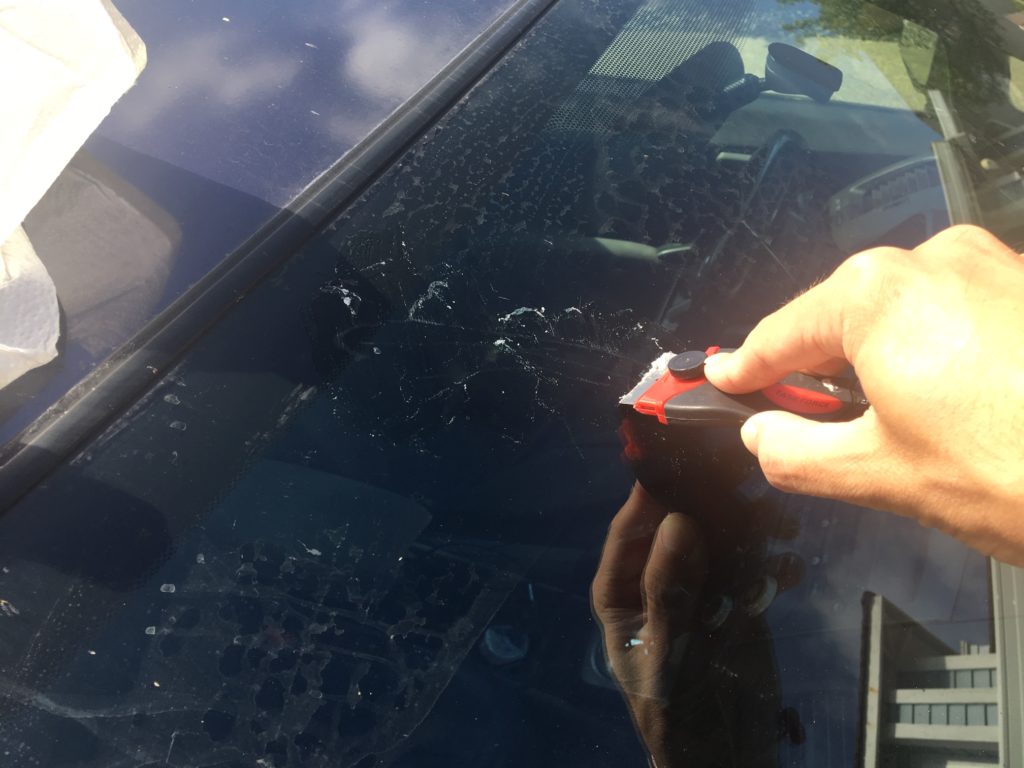
Step 4: In the final step I remove the laminator sheet and then scrap off the excess with a razor blade. For ease of use and safety reasons I had my razor blade in a razor blade holder when I used it. More details on razor blade holders can be found here: https://lifehackanddiy.com/razor-blade-holder/
That’s really all there is to it. If you follow these steps you should be able to seal any crack on your windshield, avoiding the need to pay for repairs and pay to have the windshield replaced.
See more details in the following video: