This is my second take on building an outdoor table. The first attempt worked out fine (see more details here: https://lifehackanddiy.com/diy-project-outdoor-table/) but the table top was made out of fabricated wood and it eventually split due to the elements.
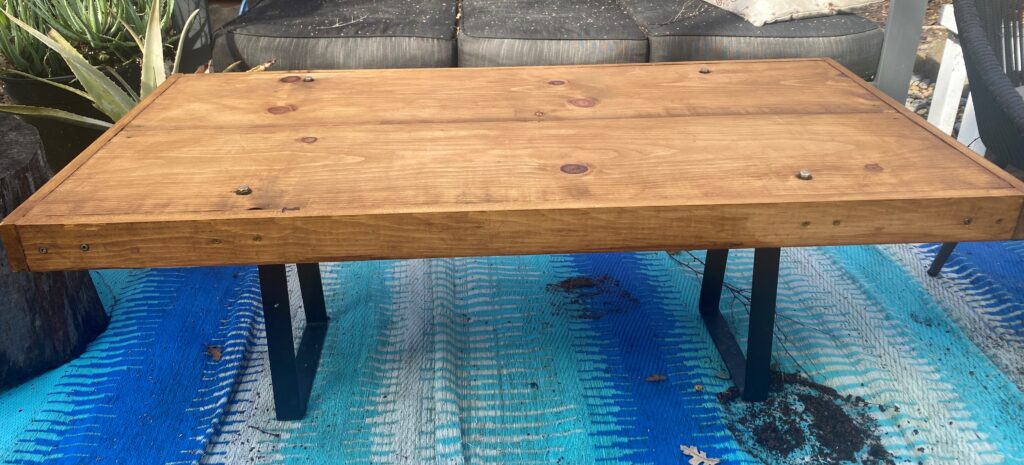
This is how the new table turned out, I think it turned out really well.
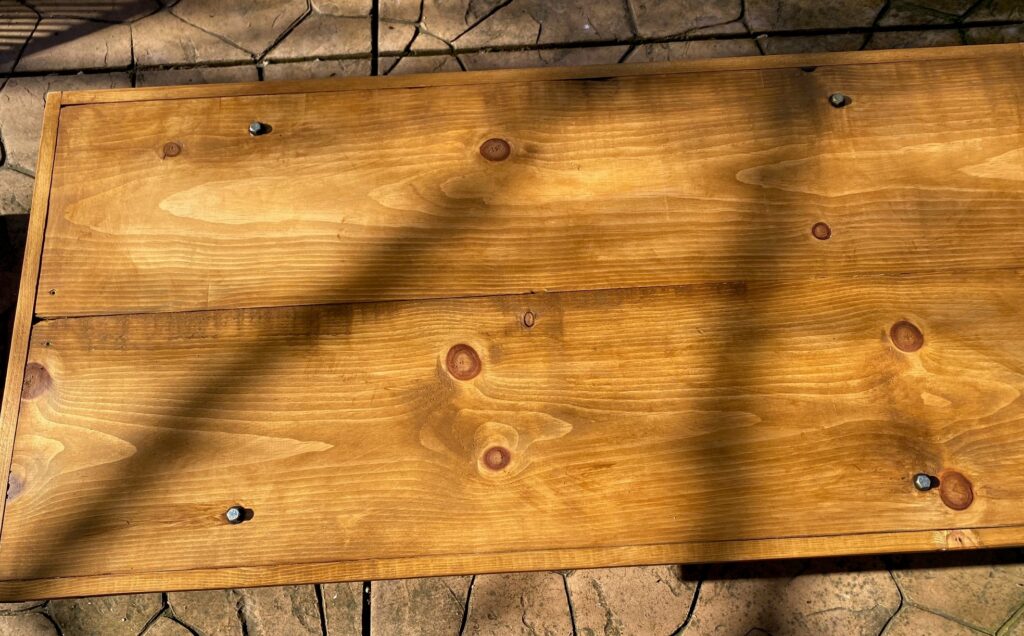
The basic construction is that I bought a 18 inch wide 8 foot long board and cut it in half, resulting in two boards. I put these boards together to make a 3 foot wide and 4 foot long table.
Below are step by step instructions on how I built the table.
Step 1: I cut a 18 inch wide, 8 foot long board in half. This resulted in a table top of 3 ft by 4 ft. Of course, I had to measure a lot and do some sanding to make it all even.
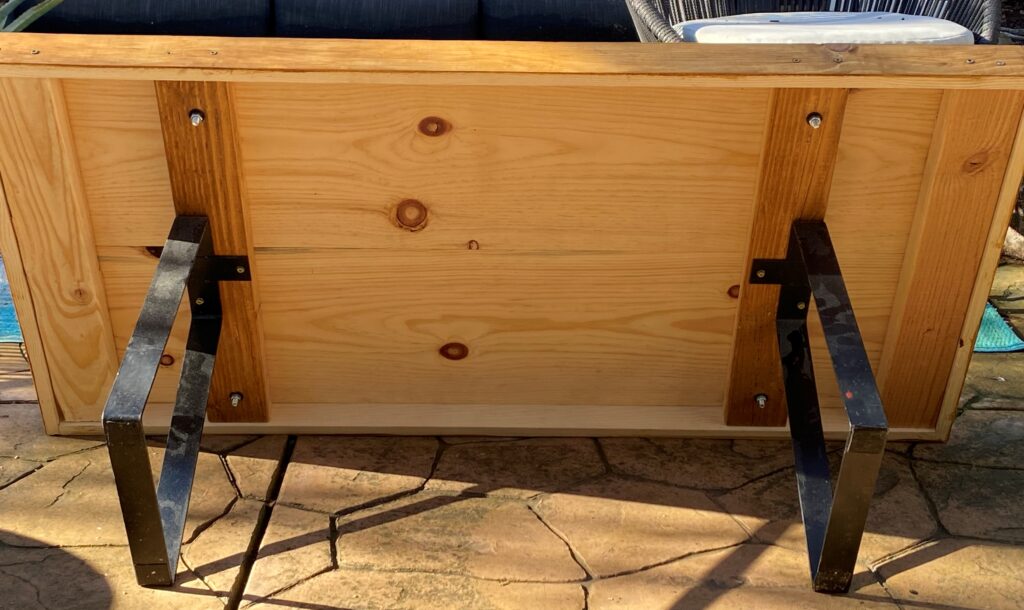
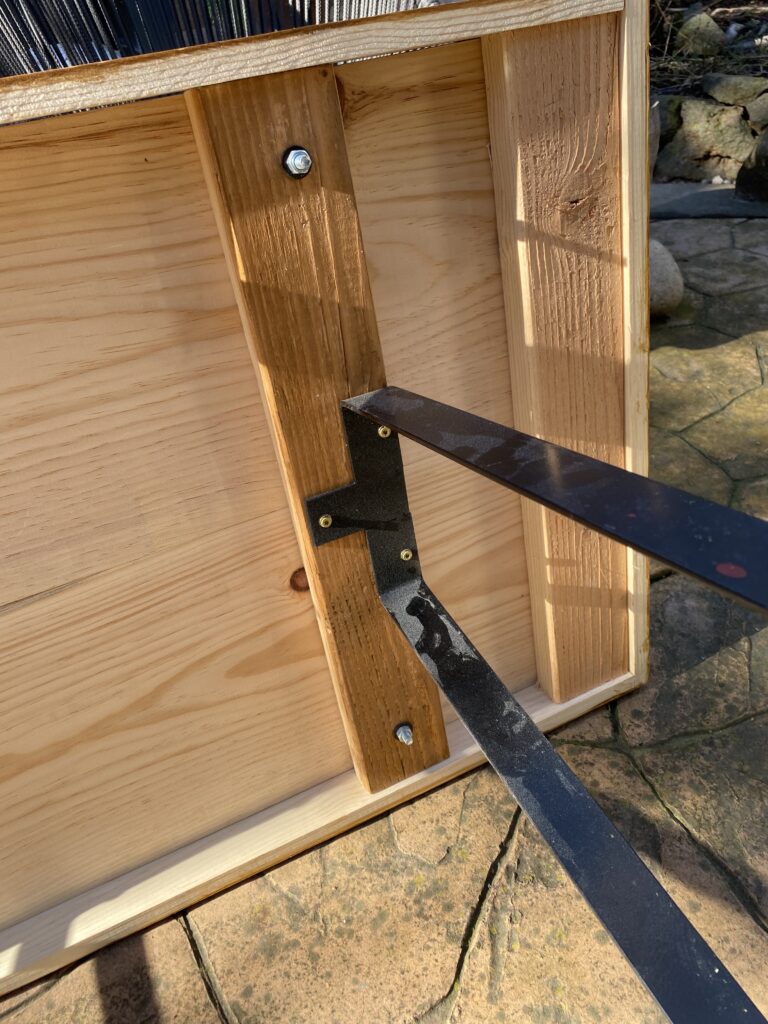
Step 2: I built a base for the legs. The base was made of two by fours. I connected the legs to the two by fours with torque screws. I wanted to make a base for the legs as the table top was relatively thin and I wanted something more substantial keeping the legs in place.
Step 3: I connected the two by fours to the table top with bolts and nuts (two bolts per leg, so four bolts total). The end result is that the table top is smooth except for these four bolts as shown in the picture below:
Step 4: I added a trim board all the way around to help keep the table top in place. Before I added this trim the table had the ability to shift out of alignment. With the trim in place this cannot happen.
Step 5: I added two more two by fours, one at each end of the table. This again was to add more stability to the table.
Step 6: I sanded and stained the table. And that was the last step, all done!
Here is a video summarizing this project: