A craze which was been circulating is the concept of the squirrel picnic table. If you look on Amazon you will see dozens of squirrel picnic table options, most for $25 or more.

The construction of the table seemed fairly simple so I decided to try to make my own.
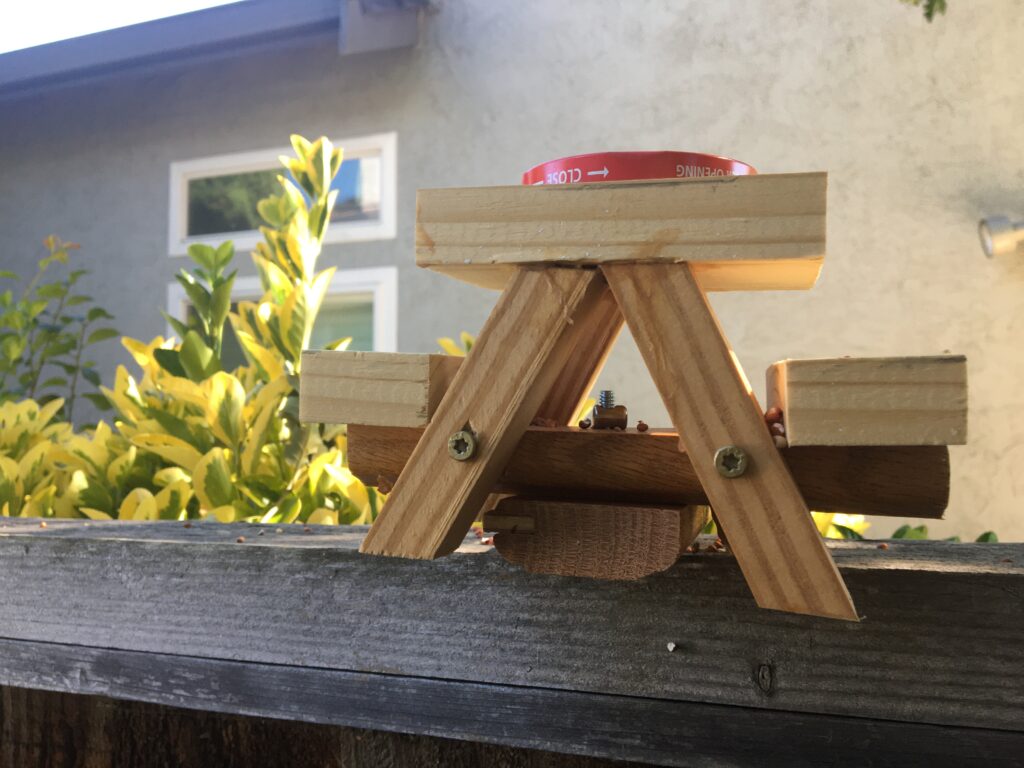
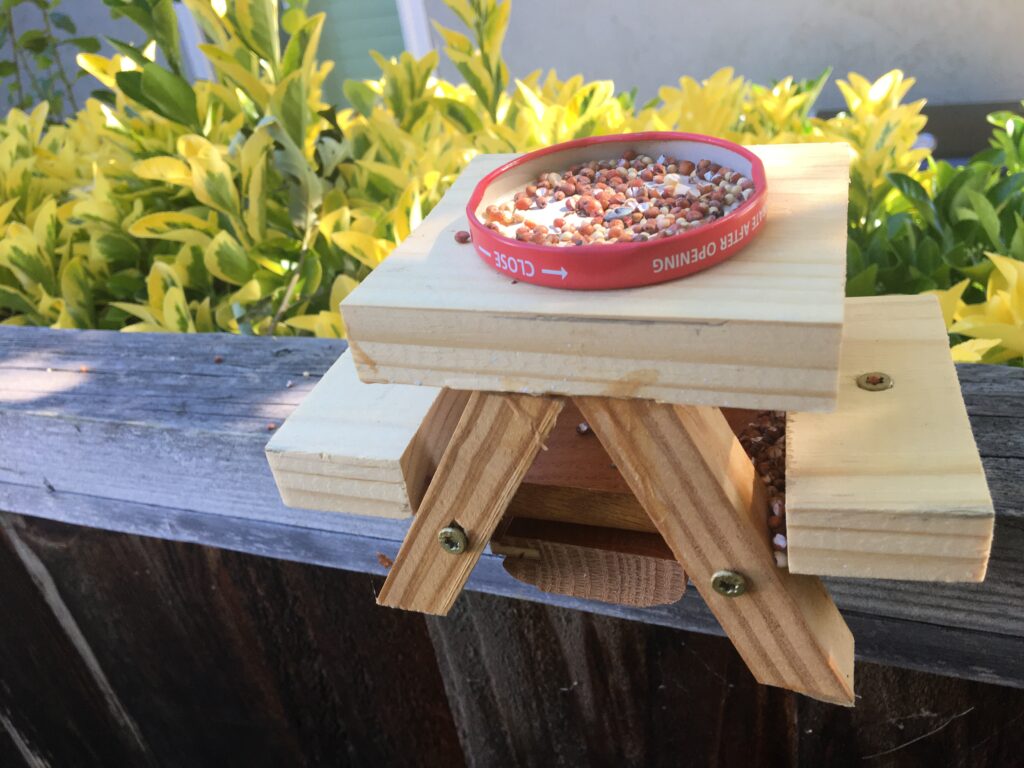
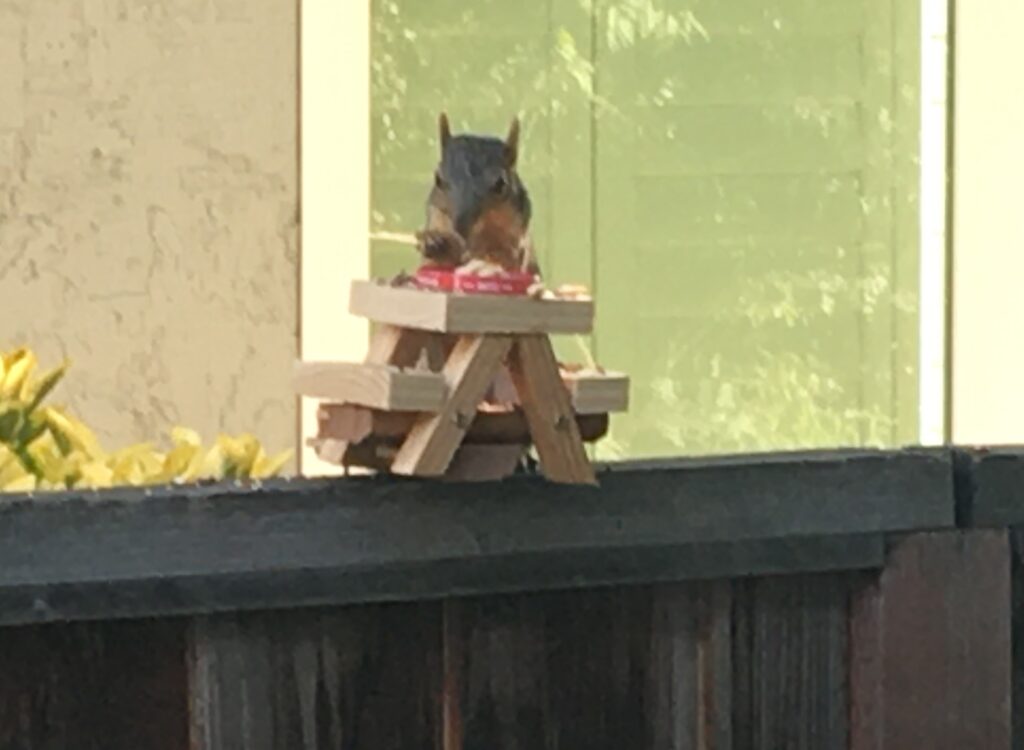
This is the end result, I am pretty happy with how it turned out.
Here are the steps to make the squirrel picnic table.
- Create the table legs: This is really simple, just cut four legs at an angle. Make sure the legs are all cut at the same length and the same angle. I used a Mitre saw for all of this, you could use a circular saw but it would make it more difficult to make the cuts exact.
- Create the table base: The table base is the board (or boards) which will support the benches and will attach to the legs. In the photo from Amazon the base is two boards while in the table I built it is one board. You just need to cut the boards long enough to support both benches and have the boards be wide enough to attach to the legs.
- Attach the table base to the table legs: This step is pretty simple, just screw the table legs into the table base. Make sure to drill a pilot hole as the legs are thin and they could split if too much force is applied.
- Create the table top: For this step you just need to cut a board to be the size you want your table top.
- Attached the table top to the legs: To attach the table top to the legs I used wood glue and clamped it in place overnight. You could instead use screws but since the legs attach to the table top at an angle there is a decent chance the wood will split so I wouldn’t recommend it.
- Create the benches and attach the benches to the table base: For this step you need to cut the two pieces which will serve as the benches. Next screw the benches to the table base.
- Attach a board to connect the picnic to the fence: I added a board which would connect the table base to the fence, going perpendicular from the table base. If you go online you will see that there are multiple ways to connect the bench to the fence (other than the method I used).
- Attach a container to hold the squirrel food: In the picnic table I made I attached a pasta sauce lid with a screw which will hold bird seed and nuts to feed the squirrels.
And that’s it! It seems like a lot of steps, but the steps are short. From start to finish the project should only take an hour or so.
The video below summarizes the steps to build the squirrel picnic table.