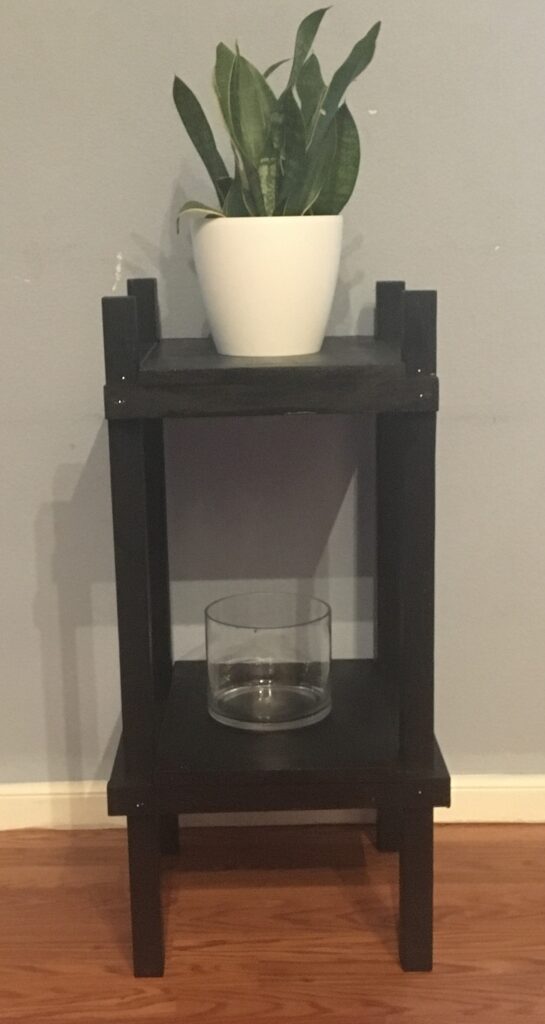
This project is a two level plant stand. It could also be used as a display stand or a combo display stand / plant stand (such as having a plant on the top level and a picture on the bottom level). It is a pretty useful thing to have in your house, you could also use it as a side table but would likely want to shorten the legs. The materials were inexpensive, I think total materials cost less than $15. The project came out pretty well, this is how the final project looks.
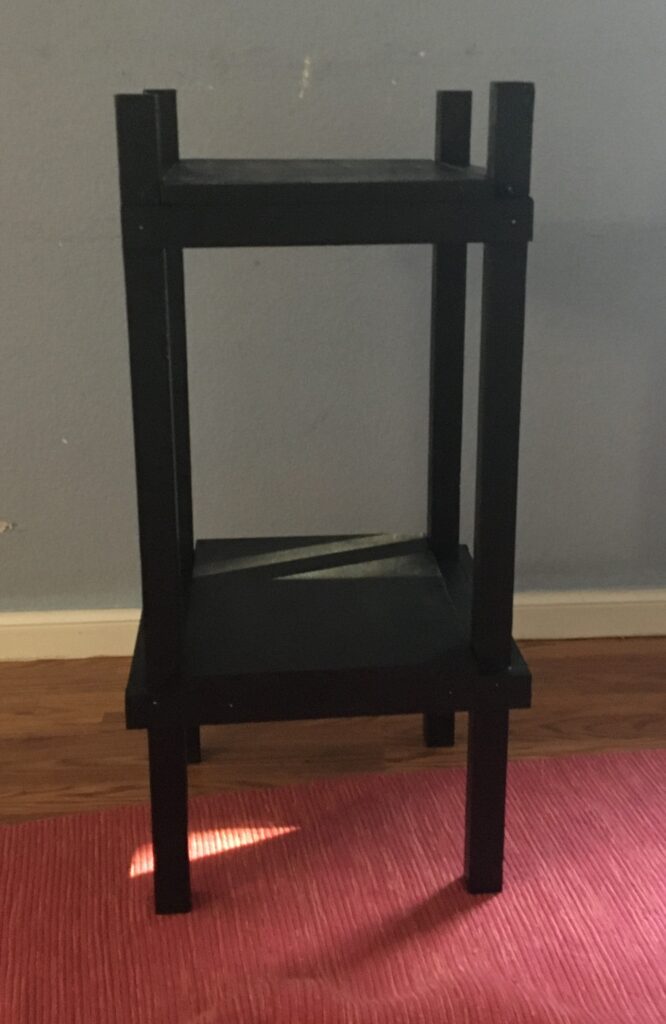
The dimensions of my plant stand are: 34 inches height (for the four posts), 20 inches in width and 20 inches in depth.
The steps to make the plant stand are pretty simple (See below). Also, before attaching anything I would sand it as it is easier to sand boards before they are attached.
Step 1: Cut the four legs (which are 34 inches long in this case): The legs I used were from a 1 inch by 1 inch square pole. An eight foot pole of this wood cost about $4 (wood was cheap).
Step 2: Cut the support boards and attach to the legs: These boards are the horizontal boards which will support the two shelves. I had two support boards per shelf. I screwed these into the legs using Robertson screws (I prefer Torx screws but have a ton of Robertson screws lying around).
Step 3: Cut and attach the two shelves: In this step you cut the shelves to the right size and screw them into the support boards. The wood I used for the shelf was one wide board but you could make each shelf using two boards.
Step 4: Attach stability boards under the shelves to make the plant stand stable.: To avoid the plant stand leaning I attached boards connecting the legs to each other. I attached four of these for each shelf (essentially making a square with the support boards). This kept the plant stand very stable. You can see these in more detail in the video.
Step 5: Paint the plant stand (optional): I hate painting but really took my time painting this project. It worked well, as the blotching / pooling of the paint was minimal.
Those are all the steps to make this. Including painting I would estimate making this project to take 3-6 hours.
The following video provides more details on building this project: