Skip to content

Life Hack and DIY Lifestyle

  • Things I like
  • Life Hacks
  • DIY projects
  • Home Improvement Basics
  • About Me
  • Resources
  • Lego
  • 3D Printing

Christmas Tree Stand Stabilizer

December 15, 2021December 16, 2021 admin

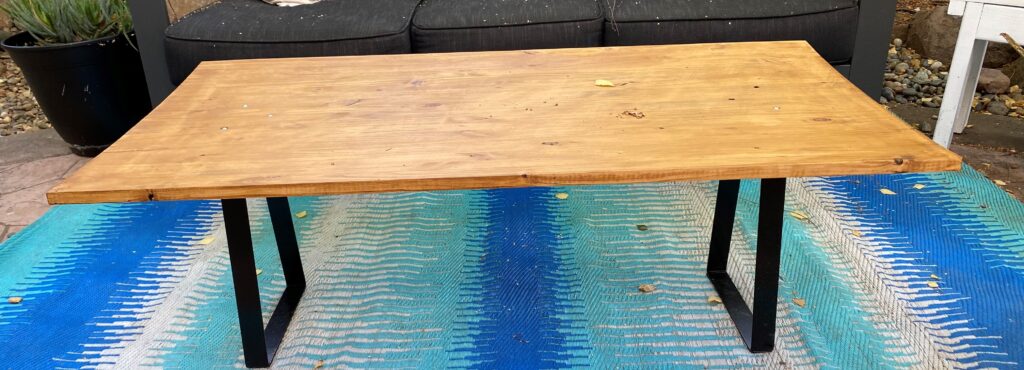
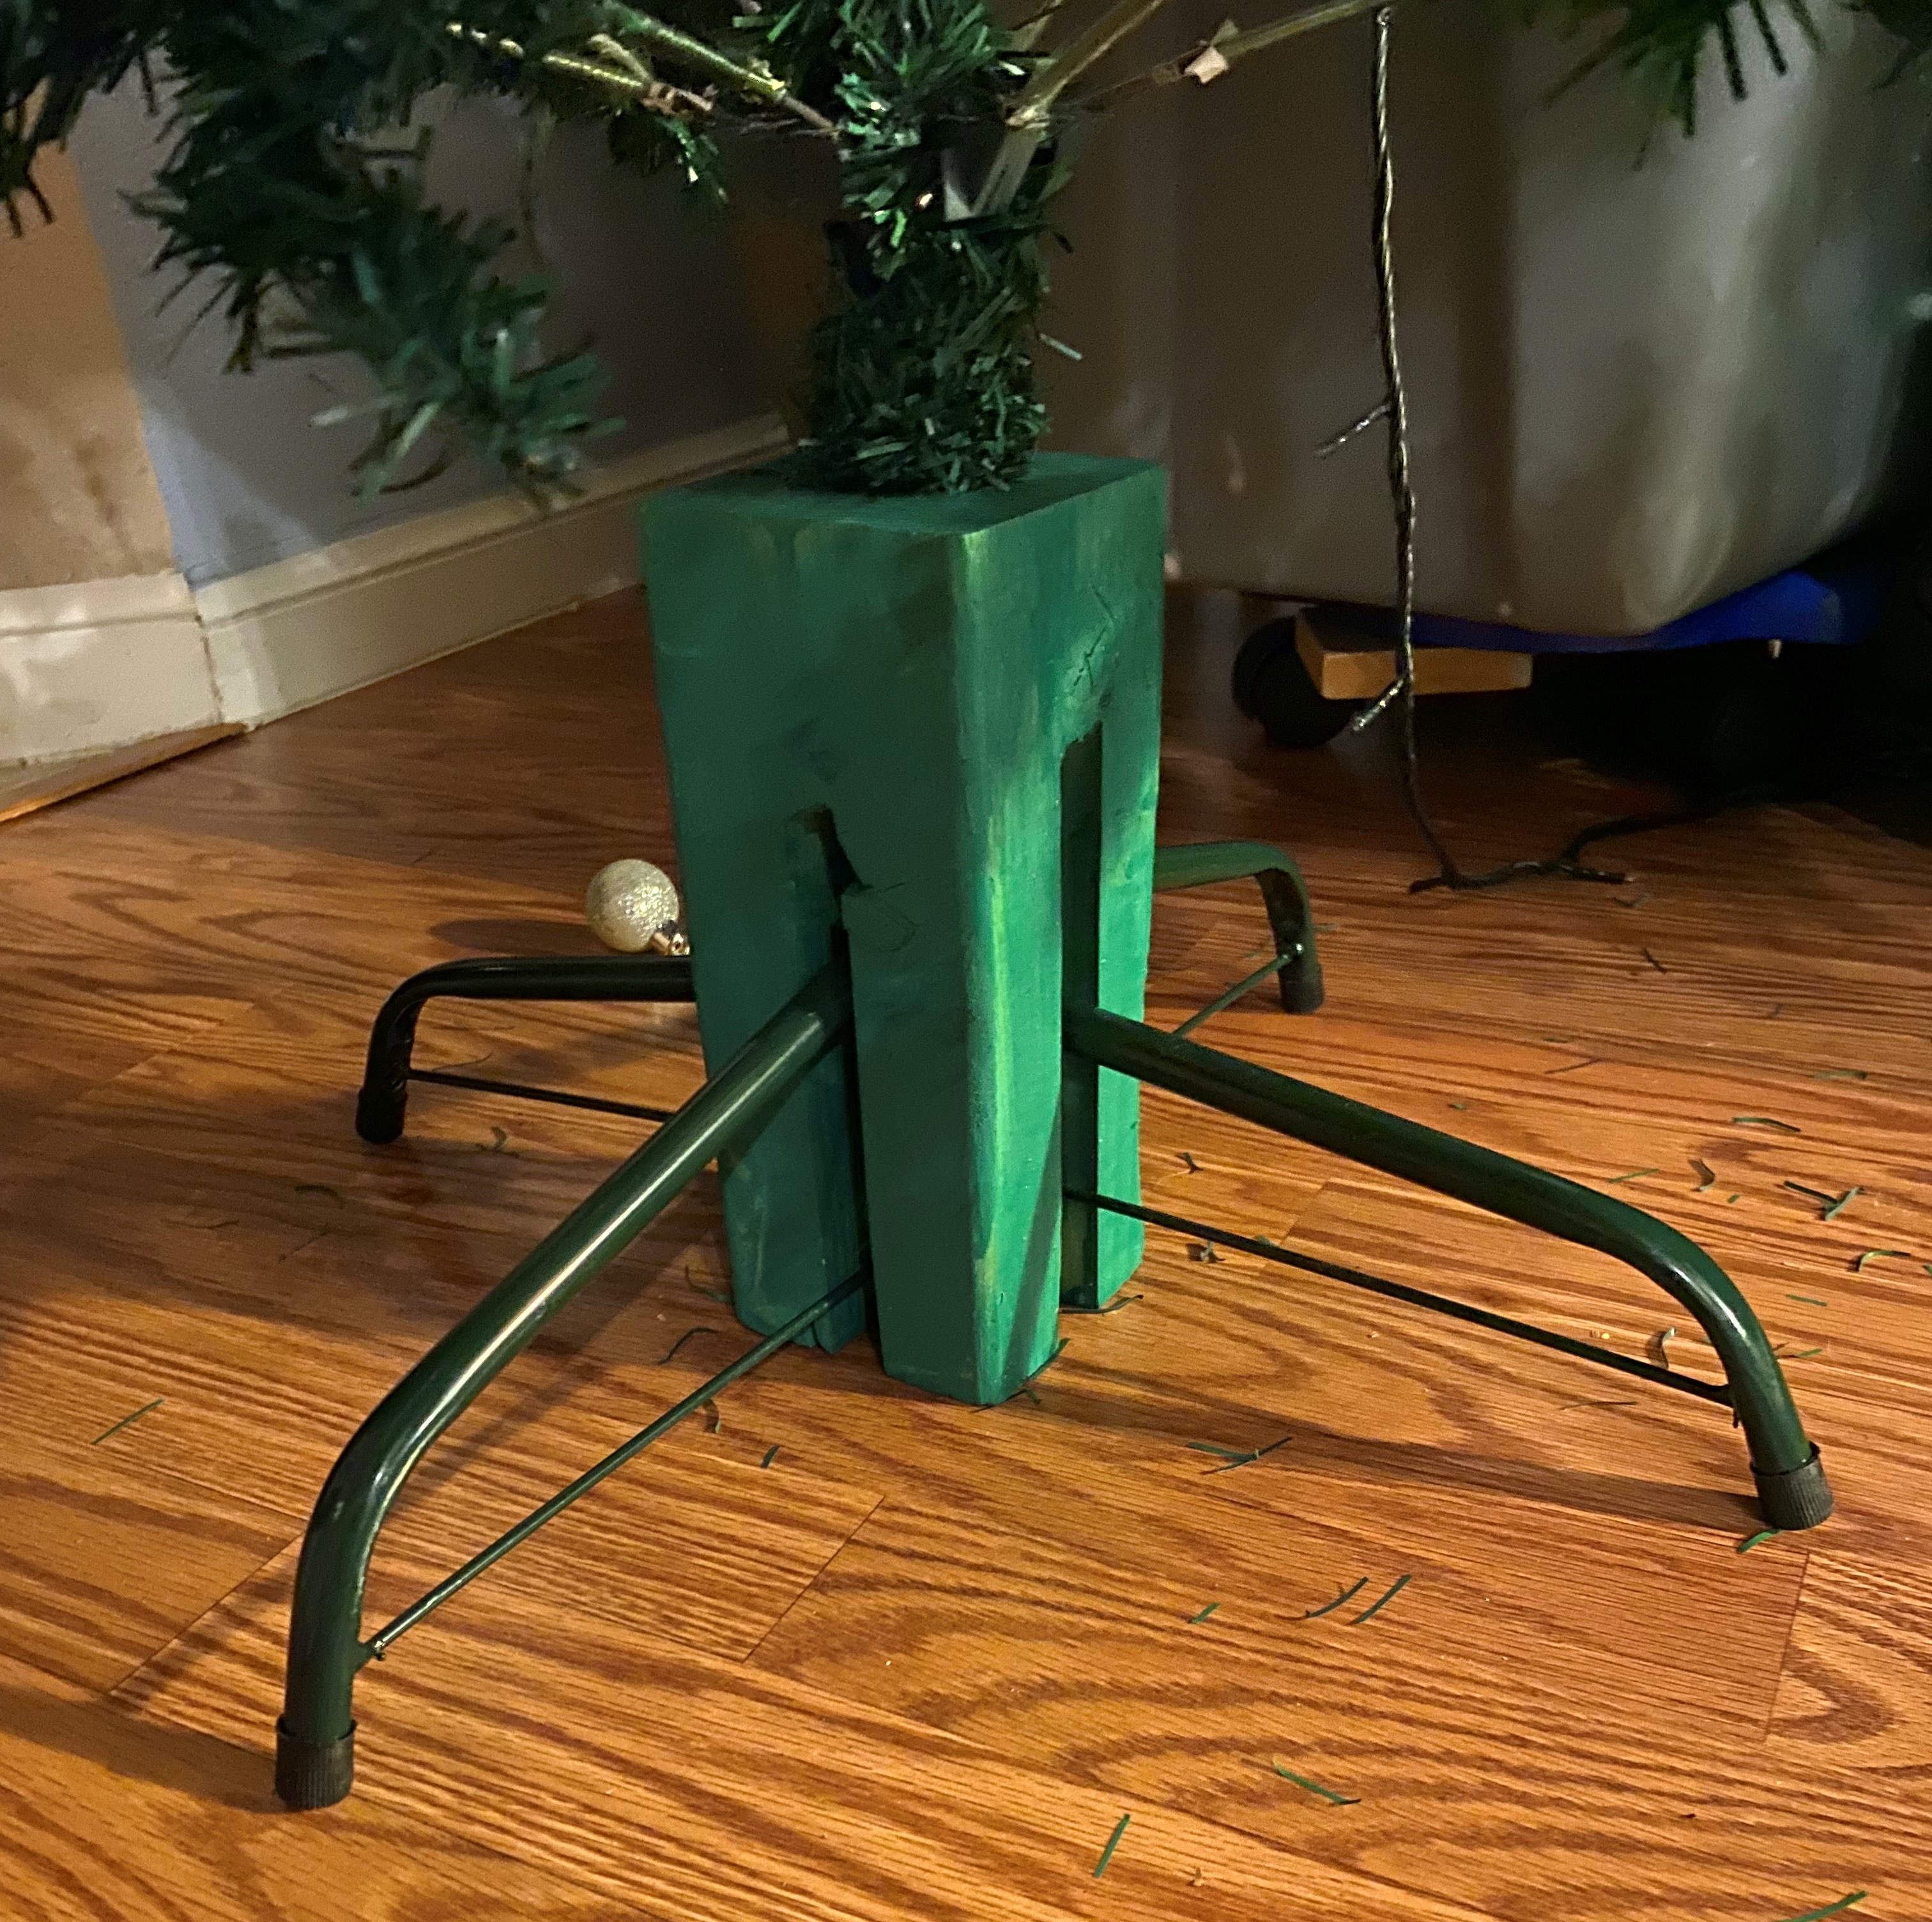
I had an issue with my artificial Christmas tree stand in that the screw ports to keep the stand stable had worn out (the tree is probably 5 years old). Therefore the screws to keep the tree in place were loose and couldn’t be used at all. This led to the tree stand collapsing on its own and the whole tree falling over. You can see a picture of the stand which kept falling over below.

This is the type of tree stand I had issue with as it would collapse.

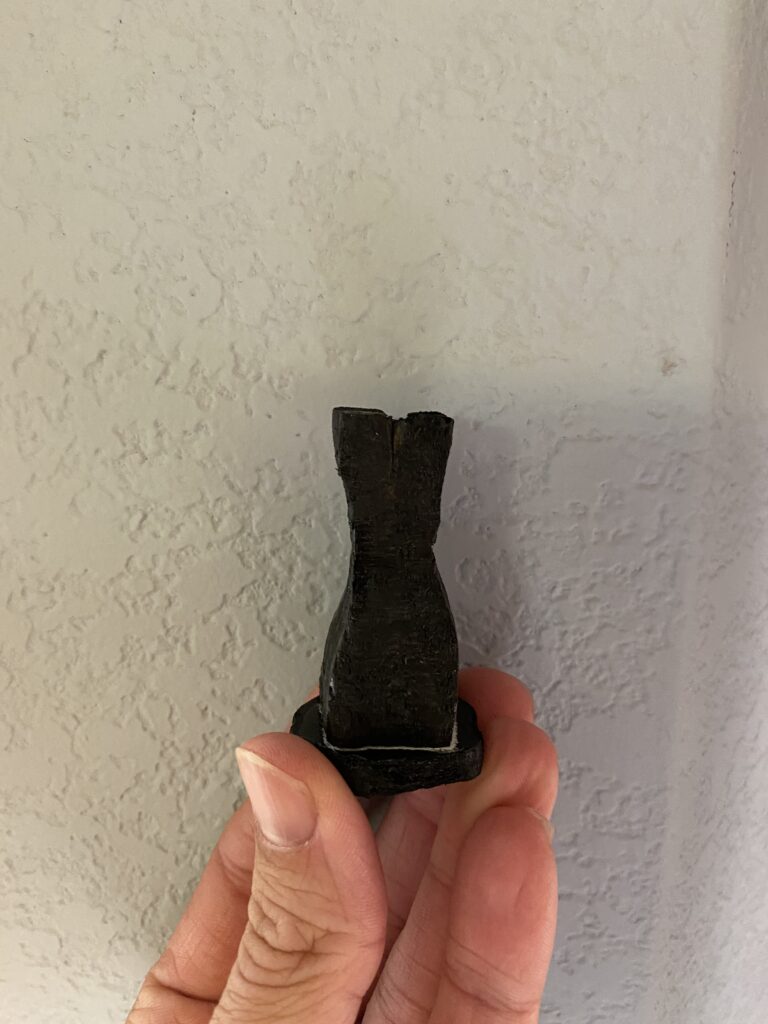
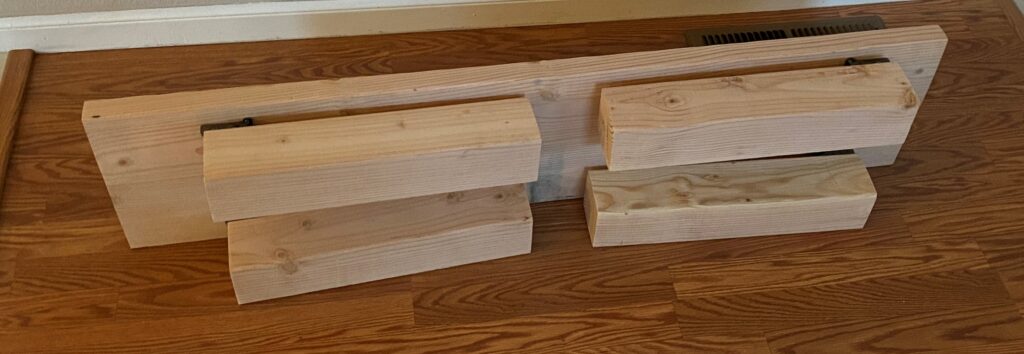
To fix this problem I decided to add a stabilizer to the tree stand. The stabilizer was a block of wood, where I cut a hole down the middle to fit the middle part of the stand and also cut spaces for the legs. I used a spade bit in a power drill to cut the hole and used a Mitre say to cut the spaces for the legs. The stabilizer holds the tree stand in place so that the legs can’t move (and therefore they can’t collapse). I also spray painted the stabilizer green to match the tree.

Here is how the stand supporter looks.

Overall I am really happy with how the tree stand support came out. Your can see more detail on how to build it in the following video:

Posted in DIY projects, Life Hacks

Life hack – Fixing a broken laundry bin with duct tape

November 30, 2021December 5, 2021 admin

This is a really easy life hack but helps demonstrate the brilliance of duct tape.

I had a laundry bin which developed a crack in it as shown in the picture below.

I decided instead of throwing this bin away (which cost about $10) I would try to repair it using duct tape.

The fix was really simple, I just pressed several strips of duct tape on the crack on both sides and made sure they were pressed on very solid.

It turned out really well, this is how it looked after it had been fixed:

See more details in the following video.

Posted in Life Hacks

Things I like – LED Christmas lights

November 22, 2021November 29, 2021 admin

This year I discovered something new, LED Christmas lights. I previously always used the traditional lights, like the ones in this photo.

These are the lights I used to use. It would get frustrating as they frequently stopped working.

It got increasingly frustrating using these lights, as the strands often stopped working. I tried looking for the broken bulbs and replacing them but it was really annoying having to do this every year. Every year I also ending up buying a few new strands to lights to replace the strands which no longer worked.

I wanted to try something new and come upon LED Christmas lights. These are the ones I bought, you can find them on Amazon here: https://www.amazon.com/gp/product/B08HZ5S8F3/ref=ppx_yo_dt_b_search_asin_title?ie=UTF8&th=1

These are the LED lights I bought, which I am very happy with.

These lights are great for a few reasons.

  1. The lights will work even if some of the bulbs break. The frustrating task of finding the malfunctioning bulb to make the lights work is eliminated.
  2. They are a single strand of 150 feet, so one strand covers the whole house.
  3. The lights only cost $25.

I would highly recommend these lights, they are cheaper than standard lights and also work better.

Watch the following video for more details!

Posted in Things I like

Building a standing raised garden bed

August 22, 2021August 22, 2021 admin

In this project I built a standing raised bed. We planted food bearing plants in it (strawberries, etc.) and wanted something which was off the ground to deter pests from eating the food. This is how I turned out, I am pretty happy with how it turned out and have had it for three years now.

This is a top view of the standing raised garden bed.

Building the standing raised garden bed was pretty simple.

  1. Build the legs: I wanted the bed to last a long time so I used thick legs. I used four by fours, which I cut to 5 feet high.
  2. Add supports to the legs for the flooring: I cut two 2 x 4s for each side. I screwed them into the legs, making sure that the support boards would be the same height on both sets of legs.
  3. Add additional support: Since dirt is heavy I wanted to add additional support boards for the flooring. I added two 2 x 4s, which you see in the photo.
  4. Add the garden bed flooring: I added the garden bed flooring. I used thick boards (the same thickness as the 2 x 4) again as the dirt would be a lot of weight and I wanted this to last a long time.
  5. Add the sides: I added the sides next. These boards were not as thick as the 2 x 4 (they were about half an inch thick) as they would have less weight pushing on them than the flooring.
  6. Paint everything: Lastly I painted everything. I used a water based paint, since this would be holding food. If I could do it again I wouldn’t have painted the inside of the garden bed where the dirt is, as the paint could potentially leach into the soil and then leach into the food. However, I did paint the inside but later learned that wasn’t the best idea.

Either way, I really liked this project. We use this regularly and have not had any issues with animals eating the food we are growing.

Below is a video which provides more details:

Posted in DIY projects

Building a blackberry trellis

July 17, 2021July 17, 2021 admin

For this project I built a trellis for my blackberries. This is how it turned out, I am pretty pleased with it.

The steps to build it were pretty simple. I used thicker boards to serve as the vertical poles and thinner boards to be the horizontal boards which serve as the frame for the blackberries. To give the trellis more weight I add two thick boards at the base to give the trellis more weight and make it more stable.

The overall goal was for the blackberries to grow in a rectangle which would increase in height over time. I will add more horizontal poles as the blackberries grew so they would have something to hold on to as the vines rise in height.

More details about the trellis are in the following video:

Posted in DIY projects

DIY Project: Outdoor Table

June 15, 2021June 25, 2022 admin

For this project I made a simple table for my backyard. I think it turned out pretty well, this is how it looks:

The steps to make the table were pretty simple. I purchased the legs from Amazon, you can find a link to them here. The legs were $35 but they seem really sturdy and should last for a long time.

The table top I bought as a single piece at Lowe’s. It is actually several boards glued together it seems, but it was the right size and didn’t require me to do any additional cutting so I went with it. I sanded the board, applied a pre-stain and then stained it (just one coat). I think it came out pretty well, I made sure to really take my time staining it. Then I drilled holes for the bolts that connect to the legs and tried to counter sink them so the bolts wouldn’t stick above the surface of the table. That is all the steps, it was pretty easy but I think it turned out well.

Here is a video which has more details on the project:

Posted in DIY projects

Building a chess piece (Rook)

June 7, 2021June 15, 2021 admin

This was a simple project where I build a rook out of wood. I traced a rook piece, then cut it out with a jigsaw and spray painted it. This is how it looks:

The project turned out pretty good I thought. It is far from perfect but I like how it looks. Here is a video which provides additional details:

Posted in Life Hacks

Lego Chair

April 24, 2021June 15, 2021 admin

For this project I build a chair out of lego that could support a person.

This is what it ended up looking like.

Also the chair was strong enough to support my own weight, as shown in the picture below:

Building the chair was pretty simple but took a lot of work. The legs were eight lego bricks wide. The seat combined lego boards and lego bricks. Overall this was a really fun project. See more details in the following video:

Posted in Lego

Make your own dog treat / dog bag carrier

March 13, 2021June 15, 2021 admin

In this project I made my own dog treat or dog bag carrier / container. We had bought our own which were $8-$10 each, and seemed kind of a rip off considering how easy they are to make.

Here is the dog poop bag carrier (left side) and dog treat carrier (right side) which we bought. They were $8 to $10 each.

The steps to make the carrier was simple. First find a small container to use to hold the bags or treats, which should only cost $1 or so. Next you need to make the loop to connect to your dog leash. To make this, cut a small hole in the container (small enough for a zip tie to fit through) and then place a dowel in the container. Wrap a zip tie around the dowel, then make a loop on the open end of the zip tie. Next, close this loop with another zip tie.

After this you are done it should look something like this.

This is a dog bag carrier I made. You can see the dowel in the container and the zip tie loops for attaching it to the leash.

It is hard to picture making this with just words. For more details on how to make it watch the following video:

Posted in Life Hacks, Uncategorized

Wooden workout bench with folding legs

January 5, 2021January 5, 2021 admin

For this project I built a workout bench with folding legs. The bench was made out of wood, and the idea was that the folding legs would be a space saver, allowing to move the bench out of the way when it is not in use.

Here is the weight bench with the legs extended.
Here is the weight bench with the legs folded. As shown it is a real space saver to have the legs fold.

The steps to make the bench were pretty simple.

  1. Purchase materials: Buy a 4 x 4 (for the bench legs) and a thick wide board for the top of the bench. You also need to buy folding brackets for the folding legs. I really like the ones I bought on Amazon, which you can find here: Brackets. The brackets are great in that they have a simple locking mechanism so you don’t have to worry about the legs accidentally folding in.
This is how the bracket looks, it has a lever you can push down to disengage the locking mechanism. I recommend these brackets.

2. Cut the bench top and legs to length. My benchtop was 48 inches and the legs were 17 inches (which are common weight bench measurements based on my research), but you can obviously cut these to whatever dimensions you like. Also, make sure all the legs are exactly the same length so that the bench will be even.

3. Sand the bench top and legs. Before putting everything together, sand these pieces so they are smooth. It will be much easier to sand the pieces at this step rather then sanding them after everything is put together.

3. Connect the brackets. To secure the brackets well, I drilled a hole through the top of the bench and had a bolt go through to hold the bracket in place. Then I added some small screws to keep it in place. For the bolts I counter-sinked them (made the hole wider at the top) so the bolt would sit flush on the bench top and not stick out.

4. Attach the legs to the brackets. To attach the legs I used one wide torque screw and then some smaller screws to keep it in place.

That is basically it for all the steps. It is a pretty simple but useful project.

The following video has more details on how to put the bench together:

Posted in DIY projects

Posts navigation

Older posts
Newer posts

Life Hack and DIY Facebook Page

Get more stuff

Subscribe to our mailing list and get interesting stuff and updates to your email inbox.

Thank you for subscribing.

Something went wrong.

We respect your privacy and take protecting it seriously

Proudly powered by WordPress | Theme: x-blog by wpthemespace.com