Skip to content

Life Hack and DIY Lifestyle

  • Things I like
  • Life Hacks
  • DIY projects
  • Home Improvement Basics
  • About Me
  • Resources
  • Lego
  • 3D Printing

Things I Like – Zip Ties

March 14, 2020March 14, 2020 admin

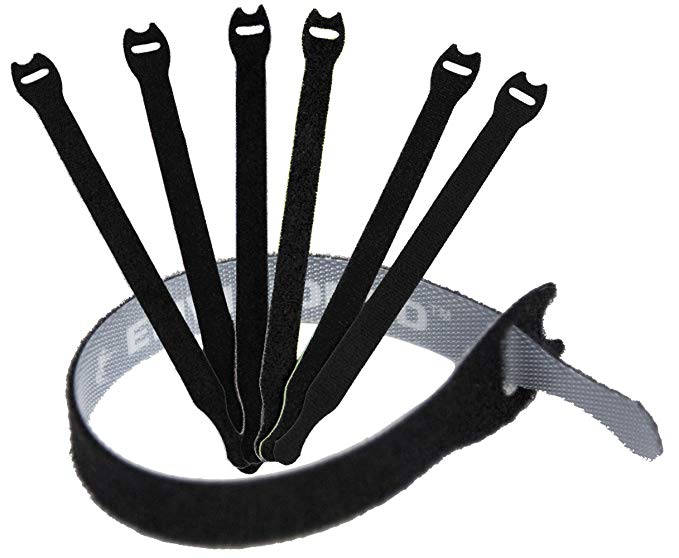
Similar to Velcro strips, zip ties are incredibly useful for attaching things, such as a cable to a wall. However, unlike Velcro strips, the zip tie is permanent or semi-permanent. For example, if you wanted to connect a power cord to a wall I would use a zip tie instead of a Velcro strip since I am unlikely to need to be re-position it anytime soon. Also, note that zip ties are usually cheaper than Velcro strips, with zip ties usually being less than a penny each. They come in varies sizes and colors as shown in the picture below.

This picture shows a variety of zip ties.

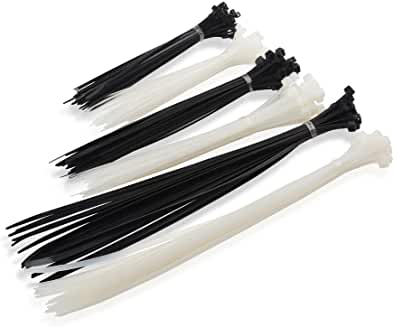
Here is a link to assorted zip ties on Amazon, where you will find they are pretty inexpensive:

Cable Matters Combo Pack Assorted 200 Self-Locking 6+8+12-Inch Nylon Cable Ties (Tie Wraps, Zip Ties) in Black and White

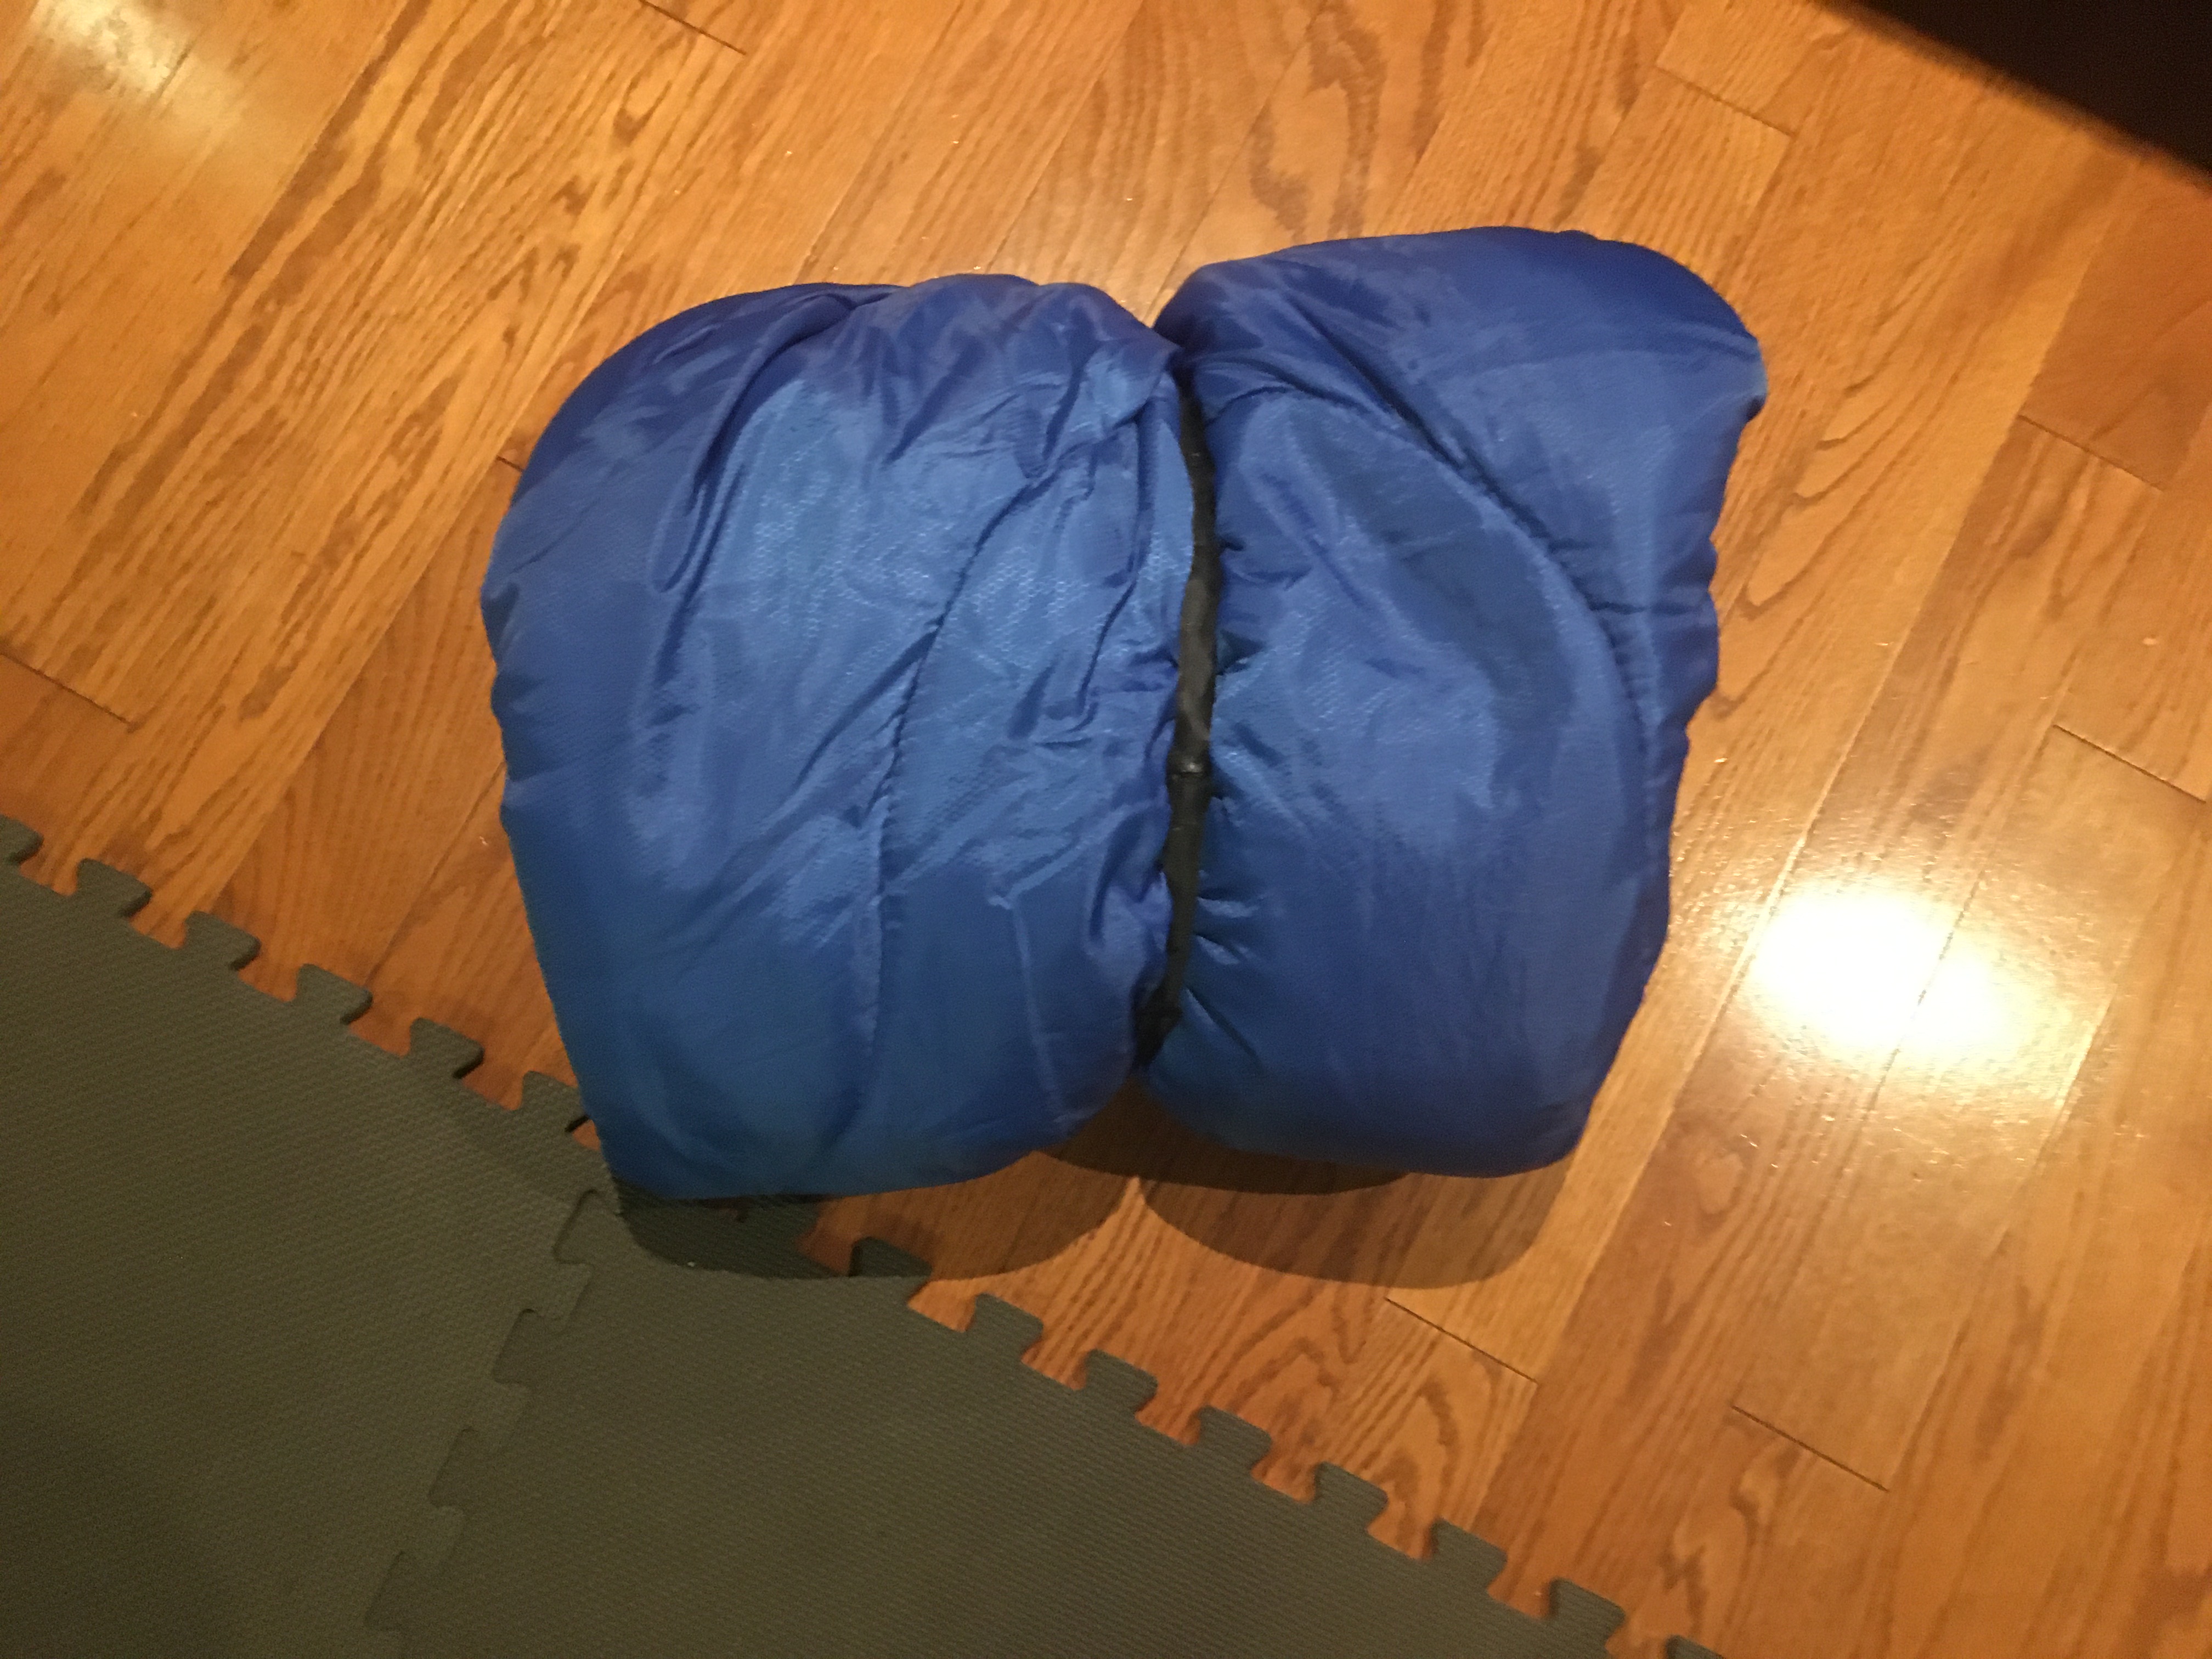
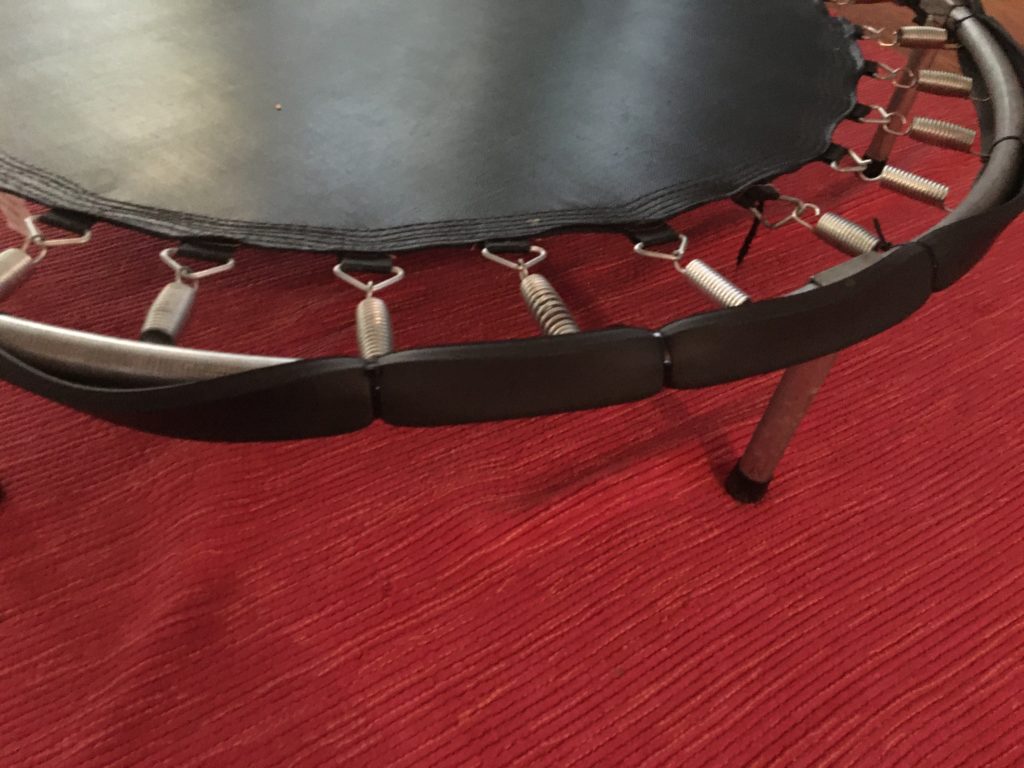
Here is an example of using a zip tie in your house, I zip tied protective foam to my indoor trampoline to protect my walls from being scuffed.

I zip-tied protective foam to this trampoline

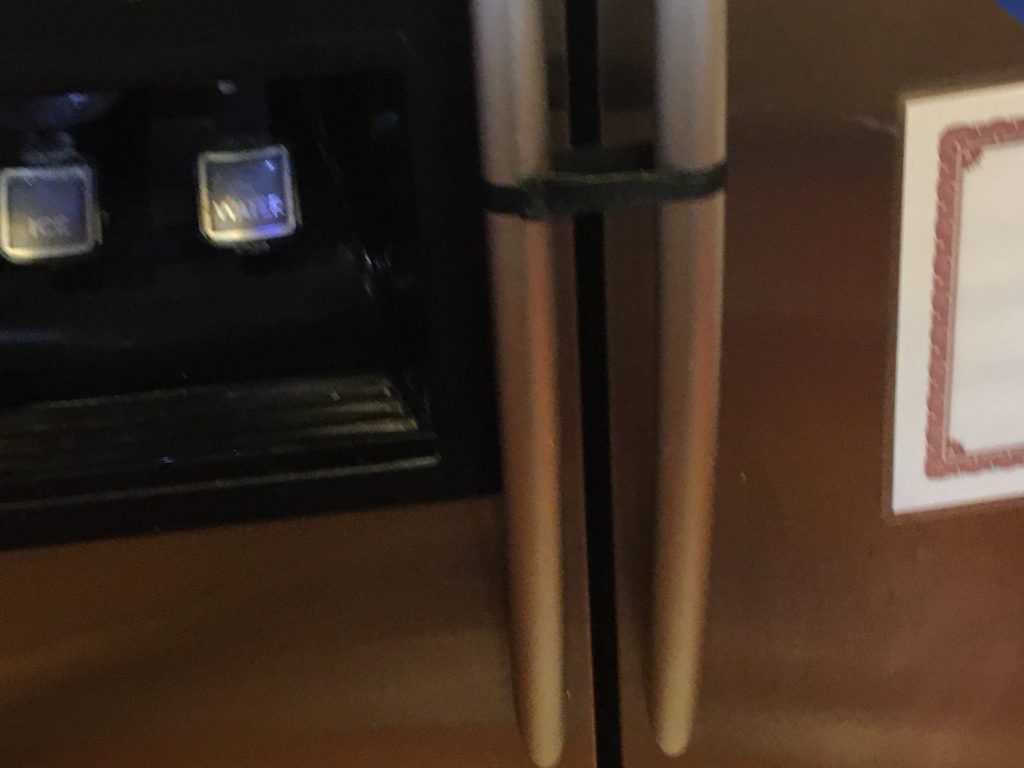
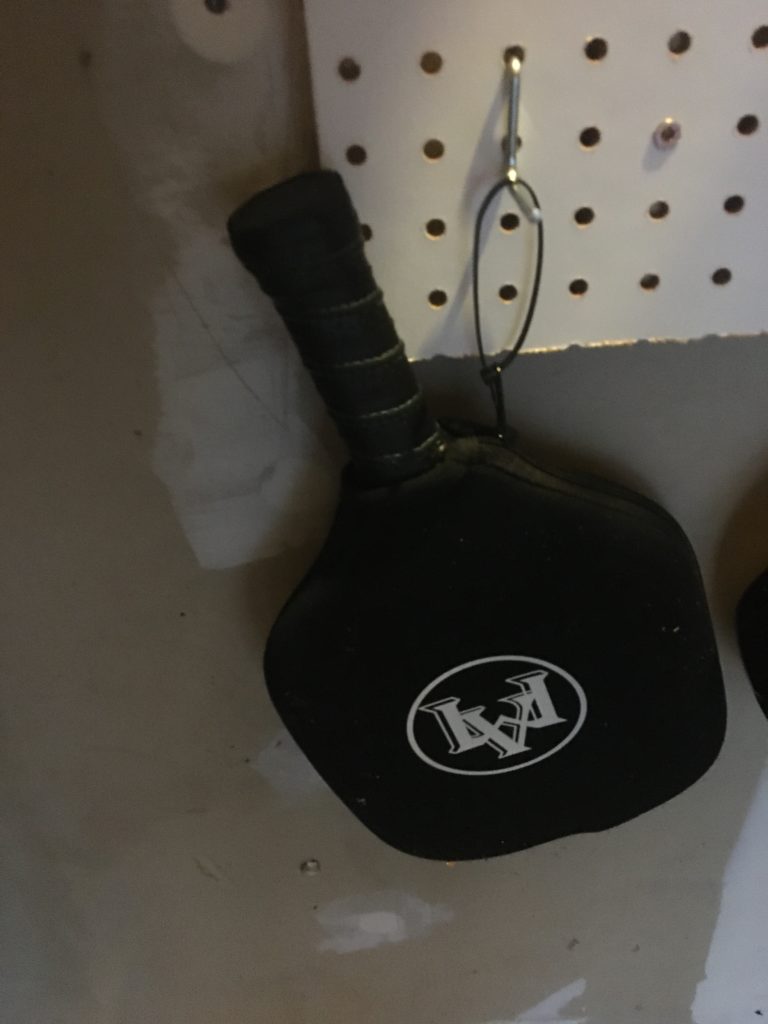
Also I hung up my pickle ball racket by making a loop with a zip tie and threading that through the zipper as shown in the photo below.

I attached a zip tie to hang up this pickle ball racket.

In general, zip ties can be used for a lot of things around your house and they are cheap and disposable. I would recommend everyone get some for various uses around their house.

I discuss the uses of zip ties a little further in this video.

Posted in Things I like

DIY Project – Building a Wooden Chair

March 6, 2020March 13, 2020 admin

For this project I built a wooden chair. To determine the dimensions I would use for the wooden chair I measured the dimensions of chairs around my house to give me a guide. In the end the dimensions I decided on were:

-Seat Height=19 inches

-Seat length (not including back leg): 15 inches

-Chair width: 16 inches

-Back leg height / back rest height: 44 inches

The picture below shows how the chair turned out (painted and unpainted). I am pretty happy with the chair but admit that it is not perfect and could be a little more exact.

Finished chair (unpainted)
Finished chair (painted)

Creating the chair is pretty straightforward and I estimate it would take 6-12 hours to build (before painting).

Here is a summary of the steps to create the chair. After this summary I have a video summarizing the chair and the steps to make it in greater detail.

Step 1: Build the legs of the chair. The back legs of the chair are 2 x 4s cut to the desired height. These legs are bolted to a 1 x 1 horizontal board which is the frame of the seat for the chair. This horizontal board attaches via torque screws to a 1 x 1 board which will serve as the front legs for the chair.

This side view shoes the completed chair leg.

Step 2: Build the seat of the chair. To build the seat of the chair I drilled thin boards into the horizontal boards on the legs of the chair. I spaced the boards apart by roughly a half an inch.

This picture shows the seat of the chair. The board are spaced out by roughly 0.5 inches.

Step 3: Build the back of the chair. To build the back of the chair I drilled thin boards into the chair’s back legs. I spaced these boards apart by roughly three quarters of an inch.

This picture shows the back of the chair. The board are spaced out by roughly 0.75 inches.

Step 4: Adding support boards to increase stability to the chair. The last step to build the chair was to add support boards to increase chair stability. One support board goes across the front legs to keep those boards secure and make sure the legs do not move. The second support board connects the back legs to the horizontal seat boards to keep the back legs stable. If this board is not added the back legs tend to shift based on how you are leaning in the chair.

This support board is bolt (and screwed) into the horizontal boards and also screwed in the rear legs (with screws coming from the sides). This keeps the rear legs in place.
This support board screws into both front legs and keeps them in place.

And with that your chair is done!

The following video describes the step in more detail and shows the progression of the project from start to finish.

Posted in DIY projects

10 foot tall Lego Tower

February 25, 2020February 25, 2020 admin
Here is the finished Lego Tower (10 feet tall)

For this project I built a 10 foot tall Lego Tower. The Tower was built with the widest section at the bottom and the thinnest section at the top, ending in an antenna. The widest section is an 8 by 8 square, and it decreases to a 6 x 6, then 4 x 4, then 2 x 2 and finally 1 x 1 square.

I made the tower over a series of weeks and it was a lot of fun. One issue I ran into was that I started running out of bricks which were not 1 x 1 or oddly shaped, so I bought some Lego equivalent blocks on Amazon. The best deal I could find was 1,000 blocks for $17. This set is really good, as the vast majority of the bricks are 2 x 2 or larger. Other sets of blocks advertise having a lot of blocks (1,000 or more) but most of the bricks are 1 x 1 so they are not that useful for building. The set I found can be found on Amazon here:

Build ‘N Blox 1000 Piece Building Bricks Set- 12 Classic Colors Guaranteed Tight Fit, Compatible with All Major Brands

Here is a video describing the Tower in more detail:

Posted in Lego

Life hack – how to always find the end of your roll of tape

February 23, 2020February 23, 2020 admin

This is a simple life hack but a useful one. One of the most annoying things with dealing with tape (duct tape, electrical tape, etc.) is locating the end of the roll. Often it can be tightly bound into the tape making it hard to find and when you do find it often the tape tears trying to wrestle the tape end off of the roll. To make it easy to find simply add a paper clip to the end of the roll.

By adding a paper clip it is very easy to find the ends of the rolls of tape, as shown above.

Once the paper clip is added it is very easy to find the end of the roll of tape. Note that the roll may dry out / lose its stickiness where the roll contacts the paper clip, but this is a small price to pay for being able to easily find the end of the roll.

The video below describes this in a little more detail:

Posted in Life Hacks

DIY Project – Easel

February 15, 2020February 15, 2020 admin

This project, creating your own wooden easel, is fairly easy. You can buy small easels (2 inches or so) for only a few bucks, so I wouldn’t bother building one that size. However, the easel I built could hold a letter sized piece of paper (8 inches by 11 inches or so). An easel this size (or larger) is more expensive if you buy one ($15 +) and is harder to find.

This is how the finished easel looks (before applying any stain or paint)
This is the finished easel, painted black.

Making the easel is pretty simple and shouldn’t take more than an hour. The only lumber you will need is a 3/4 inch square wooden rod which you can get at a hardware store for only a few dollars. Buy one which is six feet or so, as this rod will be used to make the easel legs, back support and cross beam. The steps to build the easel are shown below. The dimensions I mention are what I myself used to make my easel, but feel free to adjust the dimensions as needed to fit whatever size you want your easel to be.

Step 1: Make the easel legs: The first step is to make the two legs of the easel. For my easel the two legs were 17 inches long, so I just simply straight cut these two 17 inch pieces from the rod. Note that the legs will be placed at an angle which the easel is completed.

Step 2: Make the easel back support: The back support is the rod at the back of the easel. It should be about the same length as the legs, but could be longer depending on how you want it to look. To start I would cut a longer piece than needed (in my case 20 inches) and then adjust it once the easel is put together and I can see how the completed piece looks.

Step 3: Put the back support and legs together: The top of the legs and top of the back support will meet at the top of the easel. To get the legs to meet the back support in a flush manner you need to taper the top of the legs at about a 25 degree angle using a saw (mitre saw would work best). Next clamp the legs and back support together or simply hold it together so you can drill a hole. Then, drill a hole through all three. After that put a bolt through the holes and tighten a nut to it to keep the legs and back support together. Be careful when drilling the hole as it can cause the wood to split, which could require you have to replace that piece.

In this photo (circled section) you can see the tapered legs (with the rods cut at an angle), how they connect to the back support and the bolt going through the legs and back support, held in place by a tightening nut.

Step 4: Add the cross beam: The cross beam is the board which will hold up whatever is being placed on the easel. To add it, you need to cut a piece of the wooden rod to the appropriate length and then screw it into the legs (hopefully using torque screws). The length of the cross beam I used was 15 inches.

Step 5 (Optional): Taper legs and back support rod: One optional step is to taper the bottom of the legs or the back support rod so that it will sit flush with the ground instead of at an angle. If you don’t taper the leg or back support rods they will contact the ground at a single point and it will be less stable than if it was flush to the ground. However, it is stable enough even without tapering the rods, which is why I would say tapering the rods is optional. To taper a rod you just need to cut the end of the rod so that it will be flat when it touches the ground.

The picture below shows both tapered and untapered ends to the easel rods.

This picture show tapered (marked B) and un-tapered (marked A) legs / rods.

Step 6 (Optional): Paint or stain the easel: This is self explanatory, but if you wish to stain or paint your easel it is probably best to do it at the end. However you could also paint it before applying the screws and bolts.

The following video provides a summary of the steps to build the easel.

And there you have it, all you need to build your own easel.

Posted in DIY projects

Things I like – Mesh Strainers

February 12, 2020February 13, 2020 admin

One of the issues I used to run into was my shower drains were constantly getting clogged with hair, resulting in a lot of effort to remove the hair or the need to call a plumber.

While my showers had strainers they were wide hole strainers like the one pictured below that allowed hair to get through.

Here is an example of a wide hole strainer

To fix the problem I replaced all of the wide hole strainers with mesh strainers. The mesh strainers always catch the hair before it goes down the drain. Also, since they are mesh, you are able to mold the strainer to fit the size of the hole. The mesh strainers can be found in various sizes on Amazon and they are fairly inexpensive. One issue is that the mesh strainers will gunk up after six months or so, at which point you can either give them a deep cleaning or simply replace them. Since they cost $3 or so each I usually just end up replacing them. Since I have started using the mesh strainers I haven’t once had a clogged shower drain.

You can find three mesh strainers for $9 on Amazon on the following link: Arology 3 PCS Kitchen Sink Strainer – Stainless Steel Mesh, Large Wide Rim 4.5″ Diameter, Rust-Free, Prevent Clogging, Perfect for Garbage Disposals

In the following video I discuss mesh strainers in further detail.

Posted in Things I like 1 Comment on Things I like – Mesh Strainers

Things I like – Hex Shank Drill Bits

February 7, 2020February 8, 2020 admin

One of the issues with drill bits is that their diameter is usually much smaller than that of a driving bit (such as a Phillips driving bit). This results in having to make big adjustments to the power drill chuck when switching from drilling pilot holes to driving in screws, which ends up taking a lot of time and can get frustrating. It is good practice to drill pilot holes before drilling in screws, as it reduces the likelihood of the wood splitting and also makes it easier to drill in the screw.

The solution to this issue is to use hex shank drill bits. These drill bits have shanks the same size as the driving bit, making the switch between the two much quicker. You can see the difference between a standard drill bit and a hex shank drill bit in the picture below.

The drill bit on the left is a standard drill get. The drill bit in the middle is a hex shank drill bit. You can see how the hex shank drill bit is much more similar in diameter to the driving bit, which is on the right.

You can find a set of drill hex bits on amazon here:

COMOWARE Titanium Twist Drill Bit Set – 13 Pcs Hex Shank High Speed Steel for Wood Plastic Aluminum Alloy, Quick Change, 1/16″-1/4″

The following video compares standard drill bits to hex shank drill bits in more detail.

Posted in Things I like

DIY Project- Replacing your air cabin filter in your Honda vehicle

February 3, 2020February 3, 2020 admin

This video shows how to replace your air cabin filter in your Honda vehicle. It is a very easy process and only takes a few minutes. Save some money and do it yourself instead of paying someone to do it. It is possible other vehicles have a similar process but I can’t state this for sure.

Posted in Uncategorized

Things I like / Life Hack- Velcro strips

January 30, 2020January 31, 2020 admin

Velcro strips are strips normally four inches long or so which can connect on itself or connect to other strips.

Here is an example of what Velcro strips look like. You can get 100 velcro strips on Amazon for $10, see link here: VELCRO Brand One Wrap Thin Ties | Strong & Reusable | Perfect for Fastening Wires & Organizing Cords | Black, 8 x 1/2-Inch | 100 Count

The advertised use for these Velcro strips is to manage cords in your house. For example, you can use the Velcro strip to tie together excess TV cable or LAN cable. The picture below shows how this would look, this is taken from the actual product packaging.

The Velcro strips can be used for many other uses outside of these uses however. For example you can use the loop section to hang things on nails. I hung an extension cord on a nail using a Velcro strip as shown in the photo below. I did a similar thing to hang up my Xmas lights.


Or I use a few strips combined together to tie my fridge handles together to get my kids out of the fridge.

Here is my fridge doors being held shut by two velcro ties, a system my kids have yet to figure out.

You can also use Velcro strips to make a rope to tie things together such as sleeping bags.

The strap holding this sleeping bag together is made entirely of Velcro strips

Watch the following video for more details on things you can do with Velcro strips.

Posted in Life Hacks, Things I like

DIY Project – Bike Storage Rack

January 23, 2020January 23, 2020 admin

Both my kids are of bike riding age, so we have four bikes in our family, and do not have room to store them in our garage. We used to simply park them outside, uncovered. However, the bikes would rust over time due to being exposed to the rain and stopped working properly. The same thing happened with my kids scooters.

So my idea was to create a storage rack for the bikes and scooters that would be outside but would protect the bikes and scooters from the rain. The photo below shows what I came up with:

This is the side view
This is the front view (with the awning down)
This is the front view (with the awning up)

The steps to build the bike rack are shown below. Note that it will take a while to build it, an honest estimate would be 20+ hours of time to build it.

Step 1: Build the initial frame: The initial frame is two vertical boards and a horizontal board on the top. To keep the frame from swaying you need to add an additional support in the corner of the frames. Here is a picture of the corner supports I used.

You can get similar ones on Amazon here: Angle Code, WEBI Stainless Steel Corner Braces, Trapeziform Angle Brackets, Multi-Angle Joint Fastener, Shelf Support for Desk Edge, Box, Wood Beam, 3 Pack

The frame supports make the frame much stronger. Without them the frame would sway and possibly collapse, which is why I added the supports.

Step 2: Build the “feet” of the bike rack. The feet are the horizontal boards at the bottom of the bike rack which will attach to the initial frame and will keep it in place. To keep the bike rack steady I had a board on the outside and two boards in line with the vertical board to hold the feet in place. I also placed a 50 pound bag of rocks on each foot to hold it in place. You could add any weight you want to hold the feet in place, it obviously does not have to be a bag of rocks.

The picture below shows how the feet look, you can see the two horizontal boards which hold the vertical board in place:

Step 3: Add the bike hooks to the frame. The next steps is to add the bike hooks to the horizontal board. These are the hooks from which you will hang the bikes, scooters and so on. Installing the hooks is very easy as the hooks have a screw on one end and you simply twist them into the board (although it does take a decent amount of force to get the hook started). They are also fairly cheap, you can get a 8 pack of hooks for $14 on Amazon here: StoutMax Heavy Duty Bike Storage Hooks Set, 8 Pack

This is how the hooks look:

Step 4: Build the awning frame: If you don’t need to protect your bikes from the elements (rain, etc.) then your bike rack is done (besides painting). For those of you who do need to protect the bikes from the elements you need to build an awning. The frame for this awning will consist of five boards. It will have two long horizontal board which will stretch the distance that the awning will cover. At the end of each of these boards will be a short vertical board. This is because you don’t want the awning to be completely flat as rain water would pool on the awning. You want the awning to be on a decline so that rain water will roll off the awning. The last boards of the awning frame will be long board which will go the width of the bike rack and will hold the awning.

Here is a picture of the awning.

Step 5: Paint the bike rack: The next step would be to paint or stain the bike rack to protect the wood. I painted the bike rack white as you can see in the photos. It is much easier to paint the bike rack before installing the awning, as the awning can get in the way and will likely get paint on it.

Step 6: Install the awning: The awning is a tarp which will cover the bike rack and prevent the bikes, etc. from getting rained on and protect them from the sun. For the awning you will want to use a heavy tarp (10 millimeters thick), not a light tarp (less than 10 millimeters thick). If you use a light tarp in a year or less the sun will wear the tarp down to the point that it tears or otherwise starts falling apart.

Heavy duty tarps are more expensive than lightweight tarps, but still are not that expensive. The 6 ft by 8 ft tarp I used on my project cost about $16 and can be found on Amazon here: Super Heavy Duty Brown Tarp 8 Oz, 6’X8′

This is how the heavy duty tarp looks.

To install the awning I screwed it into the cross board at the end. I screwed it in with a screw and a washer in the grommets of the tarp.

This is a picture of the grommets in the tarp, which are spaced every 12 or 18 inches.

I also attached the midpoint of the tarp to the cross beam at the end of the horizontal board. This was attached with clamps.

And there you have it, after all these steps your bike storage rack will be done.

The following video provides a summary of the entire process to make the bike rack.

Posted in DIY projects 1 Comment on DIY Project – Bike Storage Rack

Posts navigation

Older posts
Newer posts

Life Hack and DIY Facebook Page

Get more stuff

Subscribe to our mailing list and get interesting stuff and updates to your email inbox.

Thank you for subscribing.

Something went wrong.

We respect your privacy and take protecting it seriously

Proudly powered by WordPress | Theme: x-blog by wpthemespace.com