One of the least fun (but necessary) components of many woodworking projects is sanding the wood used. Sanding is necessary to make the wood smooth and eliminate splinters. Also, if you are refinishing furniture, you might need to sand off the previous finish / paint color before applying a new color. For example, we took some of old furniture and wanted to paint it black (it was previously a tan color). However, the old paint was covered by some kind of clear coat. We first tried to remove the old paint with a stripping gel, but this only resulted in removing a minimal amount. The exact stripping gel we used can be found here: Citristrip QCSG801 Paint & Varnish Stripping Gel. In the end, the easiest way to remove the previous paint was to sand it off using low grit (highly abrasive) sandpaper (more on grit later).
Getting Started: Before you start sanding you need to make sure you have the proper protective gear. You will want some sort of eye protection and some sort of respiratory protection, so that the saw dust created from sanding doesn’t go in your eyes or your lungs. For eye protection you can either use safety glasses or safety goggles. I use safety goggles as they provide better protection than safety glasses. With safety glasses saw dust can still find its way into your eyes, you are much better protected with safety goggles. The safety goggles I actually use can be found on Amazon here: DEWALT DPG82-11/DPG82-11CTR Concealer Clear Anti-Fog Dual Mold Safety Goggle


You will also want a respiration mask to cover your nose and mouth, so that you avoid breathing in any of the debris you create while sanding. You will want a respiration mask that is N95 or better. The ‘N95’ designation means that when subjected to careful testing, the respirator blocks at least 95 percent of very small (0.3 micron) test particles.

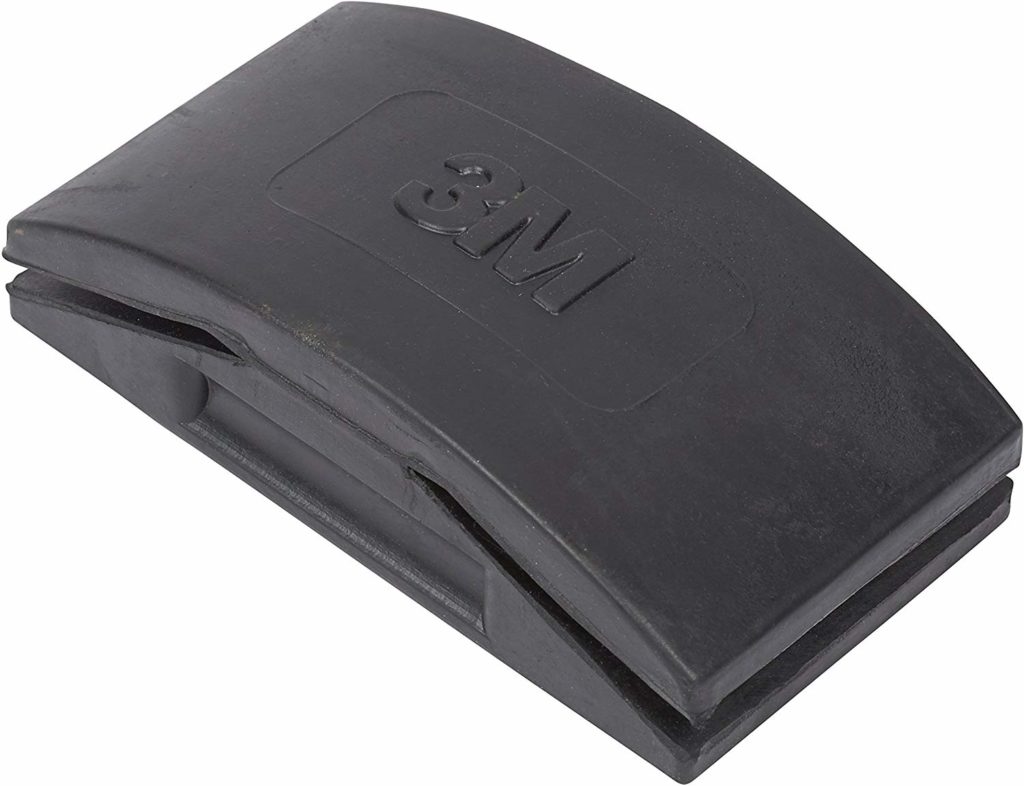
Manually Sanding: To manually sand wood you would need a sanding block like the one shown below. To use it you wedge the sandpaper in the two opening and then push back and forth until the wood is at the smoothness you desire. I wouldn’t recommend manually sanding except for the smallest of job as it is very tedious.
If you use an electric sander you will have various types of sanders to choose from. I compare the different types of electric sanders on a previous blog post which can be found here.
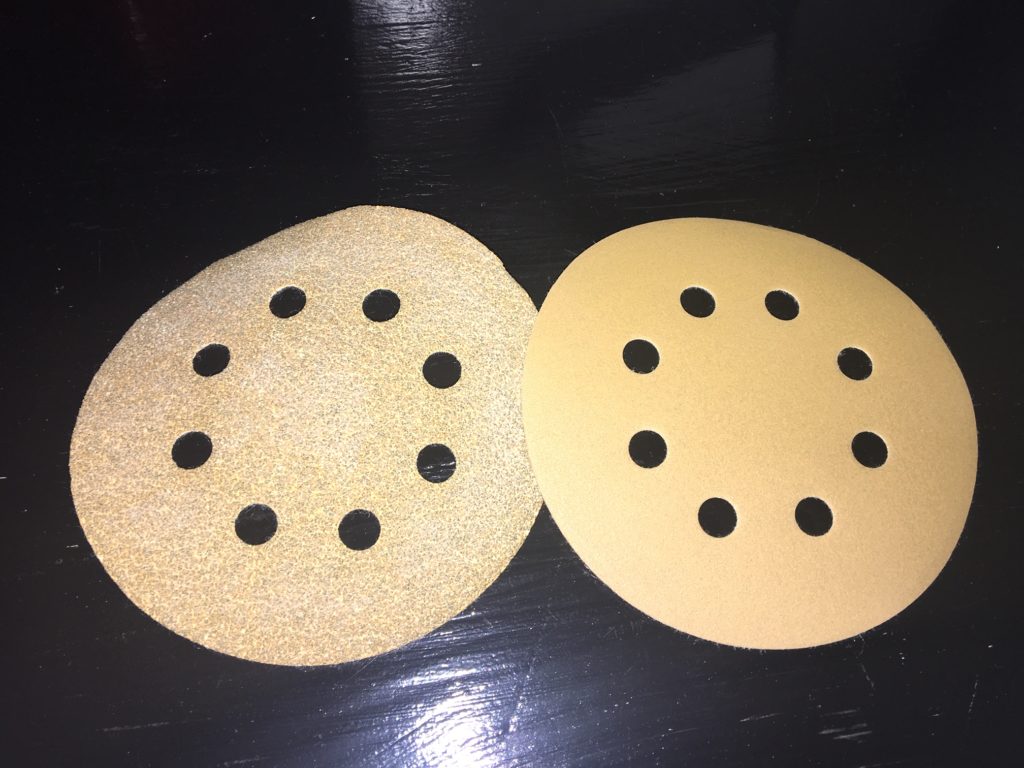
Sandpaper: Sandpaper comes in various grit levels. Grit is basically how abrasive the sandpaper is, the lower the grit rating the more abrasive the sandpaper. For example, I purchased a multi-pack of sander discs for my random orbit sander and the grit rating of the discs ranged from 60 to 220. The 60 grit rating disc would be used to remove paint or other coating, while the 220 grit rating disc would be used to finish polishing of a board so that it is fully smooth to the touch. You can see a comparison of the two below.