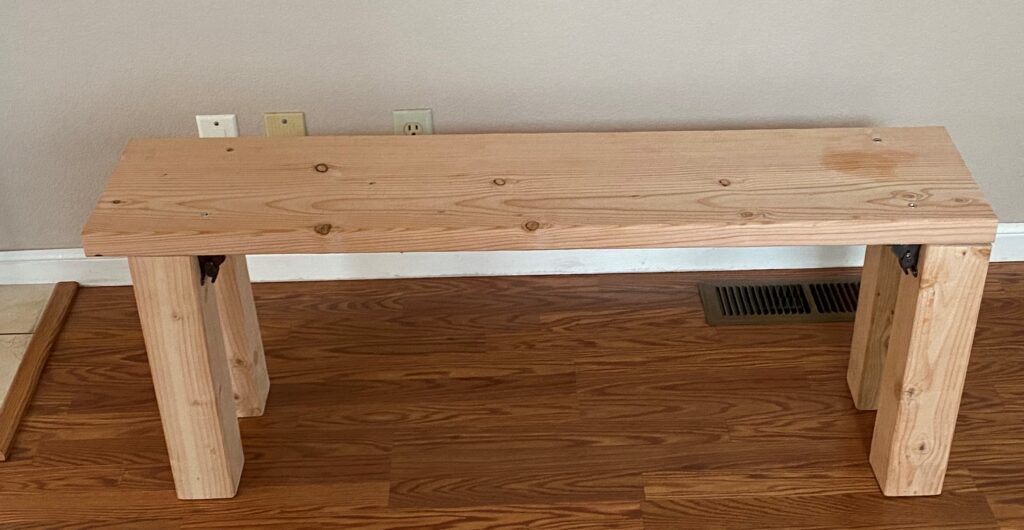
For this project I built a workout bench with folding legs. The bench was made out of wood, and the idea was that the folding legs would be a space saver, allowing to move the bench out of the way when it is not in use.
The steps to make the bench were pretty simple.
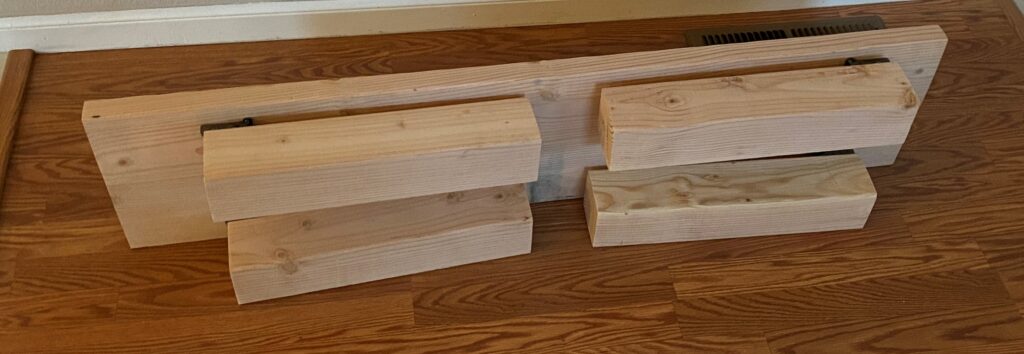
- Purchase materials: Buy a 4 x 4 (for the bench legs) and a thick wide board for the top of the bench. You also need to buy folding brackets for the folding legs. I really like the ones I bought on Amazon, which you can find here: Brackets. The brackets are great in that they have a simple locking mechanism so you don’t have to worry about the legs accidentally folding in.

2. Cut the bench top and legs to length. My benchtop was 48 inches and the legs were 17 inches (which are common weight bench measurements based on my research), but you can obviously cut these to whatever dimensions you like. Also, make sure all the legs are exactly the same length so that the bench will be even.
3. Sand the bench top and legs. Before putting everything together, sand these pieces so they are smooth. It will be much easier to sand the pieces at this step rather then sanding them after everything is put together.
3. Connect the brackets. To secure the brackets well, I drilled a hole through the top of the bench and had a bolt go through to hold the bracket in place. Then I added some small screws to keep it in place. For the bolts I counter-sinked them (made the hole wider at the top) so the bolt would sit flush on the bench top and not stick out.
4. Attach the legs to the brackets. To attach the legs I used one wide torque screw and then some smaller screws to keep it in place.
That is basically it for all the steps. It is a pretty simple but useful project.
The following video has more details on how to put the bench together: